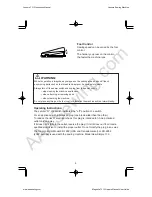
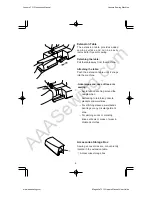
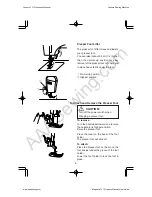
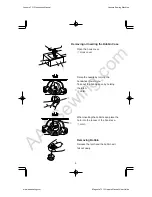
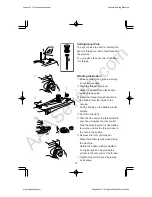
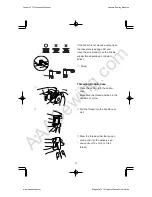
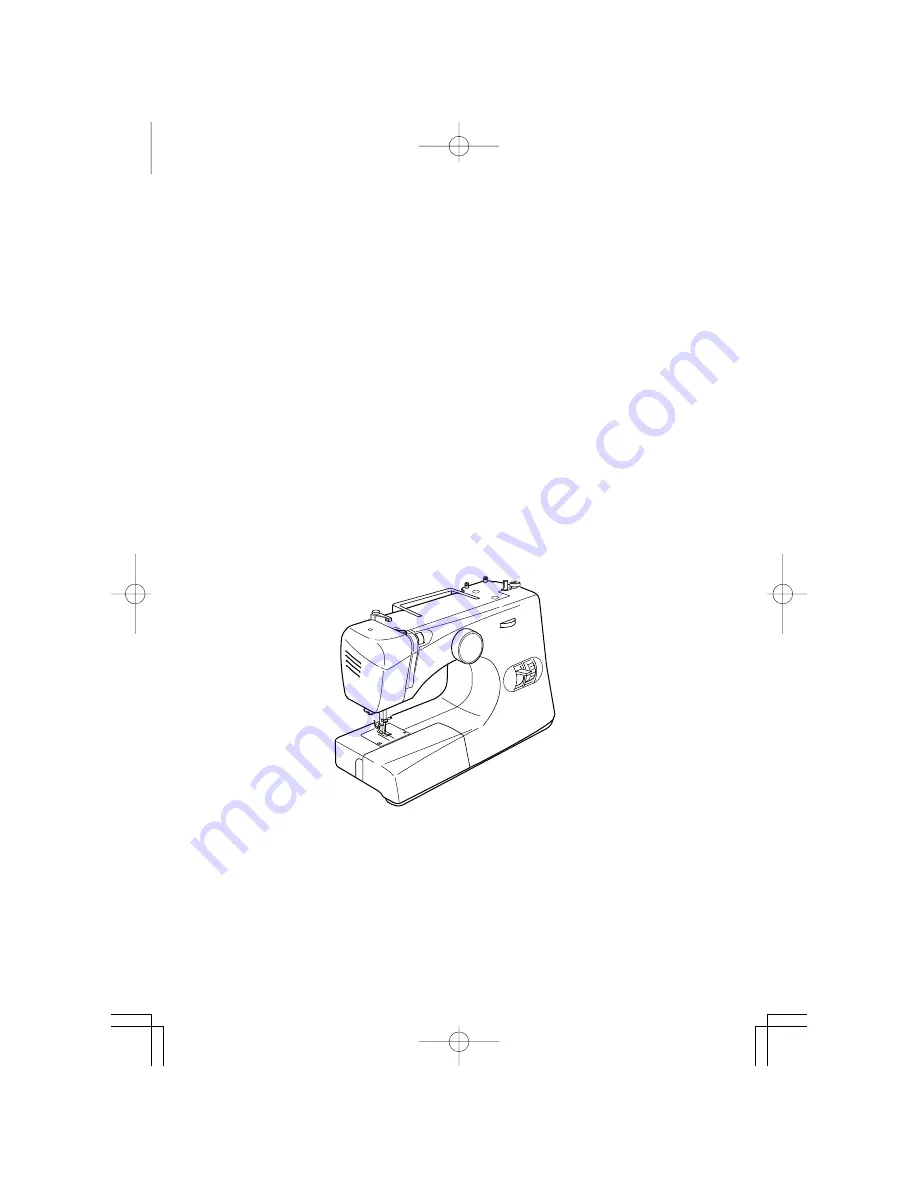
background image

AAASewing.com

Janome 

Magnolia 7312

Instruction Manual 

Janome 7312 Instruction Manual

Janome Sewing Machine

www.aaasewing.com

Magnolia 7312 Owners Manual/ User Guide

Summary of Contents for Magnolia 7312

Page 1: ...A A A S e w i n g c o m Janome Magnolia 7312 Instruction Manual Janome 7312 Instruction Manual Janome Sewing Machine www aaasewing com Magnolia 7312 Owners Manual User Guide...

Page 2: ...shock 1 An appliance should never be left unattended when plugged in Always unplug this sewing machine from the electric outlet immediately after using and before cleaning 2 Always unplug before repl...

Page 3: ...from accumulation of lint dust and loosen cloth 5 Never drop or insert any object into any opening 6 Do not use outdoors 7 Do not operate where aerosol spray products are being used or where oxygen is...

Page 4: ...A A A S e w i n g c o m Janome 7312 Instruction Manual Janome Sewing Machine www aaasewing com Magnolia 7312 Owners Manual User Guide...

Page 5: ...15 To check the needle 15 To Drop or Raise the Feed Dogs 16 Reverse Stitch Button 16 Pattern Selector Dial 17 Stitch Length Dial 17 Stitch Width Dial 17 Stich Reference Chart 18 3 BASIC SEWING 19 20...

Page 6: ...indle y Spool pins u Thread tension dial i Bobbin winder thread guide o Thread take up lever 0 Face plate 1 Thread cutter 2 Needle plate 3 Extension table 4 Pattern selector dial 5 Needle clamp screw...

Page 7: ...r Seam ripper buttonhole opener t Quilting guide y Mchine oil u Felt i Zipper foot o Buttonhole foot 0 Blind hem foot 1 Zigzag foot set on the machine q w e r t y u i 0 o 1 Janome 7312 Instruction Ma...

Page 8: ...wer switch 2 Insert the machine plug into the machine socket 3 Insert the power supply plug into the outlet 4 Turn on the power switch to turn on the power and sewing light q Power switch w Outlet e M...

Page 9: ...se the machine will run intermittently Operating Instructions The symbol O of a switch indicates the off position of a switch For an appliance with a polarized plug one blade wider than the other To r...

Page 10: ...ee arm sewing Avoid fabric bunching around the needle when bartacking to reinforce pockets plackets and waistlines For stitching sleeves waistbands pant legs or any circular garment area For darning s...

Page 11: ...Levelling the Machine Turn the adjusting foot to adjust its height so the machine sits stable without wobbling A B Janome 7312 Instruction Manual Janome Sewing Machine www aaasewing com Magnolia 7312...

Page 12: ...the presser foot so the pin on the foot lies just under the groove of the foot holder Lower the foot holder to lock the foot in place Presser Foot Lifter The presser foot lifter raises and lowers you...

Page 13: ...toward you Take out the bobbin case by holding the latch w Latch When inserting the bobbin case place the horn into the recess of the hook race e Horn Removing Bobbin Release the latch and the bobbin...

Page 14: ...to the outside Put the bobbin on the bobbin winder spindle vPush it to the right bWith the free end of the thread held in your hand depress the foot control Stop the machine when it has made a few tur...

Page 15: ...ing and into the delivery eye Leave about 10 cm 4 of free thread xPull the thread into the bobbin case slot x c z If the bobbin is not wound evenly open the face plate see page 34 and loose the screw...

Page 16: ...n and slip it into needle bar thread guide bThread the needle eye from front to back cFirmly draw the thread up and through the take up lever from right to left zDraw the thread into thread guide usin...

Page 17: ...our right hand until the needle goes down and continue turning the handwheel until the take up lever is at its highest position Lightly draw up the needle thread forming a loop of the bobbin thread cP...

Page 18: ...q Needle thread Top thread w Bobbin thread Bottom thread e Right side Top side of fabric r Wrong side Bottom side of fabric t Thread tension dial y Setting mark x Needle thread tension is too tight T...

Page 19: ...nt and are almost always caused by a damaged needle To check the needle Place the flat side of the needle on something flat needle plate glass etc The clearance between the needle and flat surface sho...

Page 20: ...he shuttle cover by pulling down the embossed part on the left of the cover q To drop the feed dogs push feed lever down in the direction of the arrow as illustrated w To raise the feed dogs push feed...

Page 21: ...e desired stitch width at the setting mark The higher the number the wider the stitch width q Setting mark 4 2 Pattern Selector Dial Raise the needle and presser foot Turn the pattern selector dial to...

Page 22: ...Blind stitch Buttonhole Single overlock stitch Honeycomb stitch Slant over edge Zigzag stretch stitch Straight stretch stitch Double overlock stitch Free hand embroidery A B C D E F G H I J 1 5 4 1 3...

Page 23: ...ed by itself x For fastening the end of seams press the reverse stitch button and sew several reverse stitches Raise the presser foot and remove the fabric drawing the threads to the back c Draw the t...

Page 24: ...he needle plate The seam guides on the needle plate help you to measure seam width Quilting Guide 1 Slide the quilting guide through the hole on top of the pressure foot holder 2 Move the quilting gui...

Page 25: ...s for overcasting rough edges A Machine Setting 1 Stitch Pattern A 2 Stitch Length 0 5 4 3 Stitch Width 3 5 4 Thread Tension 2 5 5 Presser foot Zigzag foot Machine Setting 1 Stitch Pattern D H 2 Stitc...

Page 26: ...q w q w A B Blind Stitch z Fold up the hem and fold it back to from a 0 4 to 0 7cm 1 4 allowance as illustrated q Wrong side of the fabric w 0 4 to 0 7 cm 1 4 A Heavy weight fabrics B Fine or medium w...

Page 27: ...guide aligning with the folded edge Sew along the folded edge guiding the fabric so the needle catches the folded edge e Guide screw r Guide t Folded edge v Open the fold flat y Right side of the fab...

Page 28: ...snap on the zipper foot Fit the pin on the zipper foot into the groove on the foot holder To sew the left side of the zipper attach the zipper foot on the right hand side To sew the right side of the...

Page 29: ...e right seam allowance to make a 1 8 0 2 to 0 3cm fold Place the zipper teeth next to the fold and pin in place z x 3 Stop just before the zipper foot reaches the slider on the zipper tape about 2 5 0...

Page 30: ...stitch the remainder of the seam making sure the fold is even 5 Move the zipper foot to the left pin Guide the edge of the foot along the zipper teeth and stitch through the garment and zipper opening...

Page 31: ...that the top mark C on the slider meets the start mark B Line up the markings on the starting point on the fabric Note The scale on the slider is engraved in centimeters Machine Setting 1 Stitch Patt...

Page 32: ...e w Stop sewing at a right stitch 6 Set the pattern selector dial at Sew a few bartacks and raise the needle from the fabric Set the stitch length dial to 0 and the pattern selector dial at straight s...

Page 33: ...the foot control gently and sew the buttonhole Each side of the buttonhole and the bartacks will be shown over the cord The sewing process is the same as the ordinary buttonhole see page 27 c Remove t...

Page 34: ...oidered Satin Stitch Satin stitching can be used for sewing initials patterns applique etc A 1 3 2 1 Machine Setting 1 Stitch Pattern A 2 Stitch Length Any 3 Stitch Width 0 or 5 4 Thread Tension 1 4 P...

Page 35: ...tchy fabrics The stitch enables your seam to stretch without breaking the thread Machine Setting 1 Stitch Pattern F J 2 Stitch Length 4 3 Stitch Width 5 4 Thread Tension 1 4 5 Presser foot Zigzag foot...

Page 36: ...ve the needle plate With a brush clean out dust and lint clogging the feed dog teeth Reset the needle plate CAUTION Turn off the power switch and or unplug the machine before cleaning the feed dog 6 C...

Page 37: ...race unit Hold the hook by the center pin and fit it carefully back into the hook race forming a perfect circle with the shuttle driver Attach the hook race ring making sure the bottom pin fits into...

Page 38: ...handle it Oiling CAUTION Turn off the power switch and or unplug the machine Oil the points as shown at least once a year Use good quality sewing machine oil One or two drops of oil is sufficient Rem...

Page 39: ...se 2 Lint has collected in the bobbin case 3 The bobbin is damaged and doesn t turn smoothly 1 The needle is incorrectly inserted 2 The needle is bent or blunt 3 The needle clamp screw is loose 4 The...

Page 40: ...c 1 The needle thread tension is too loose 2 The needle is either too heavy or too fine for the thread 1 The feed dog is packed with lint 2 The stitches are too fine 1 The machine is not plugged in 2...

Reviews: