background image

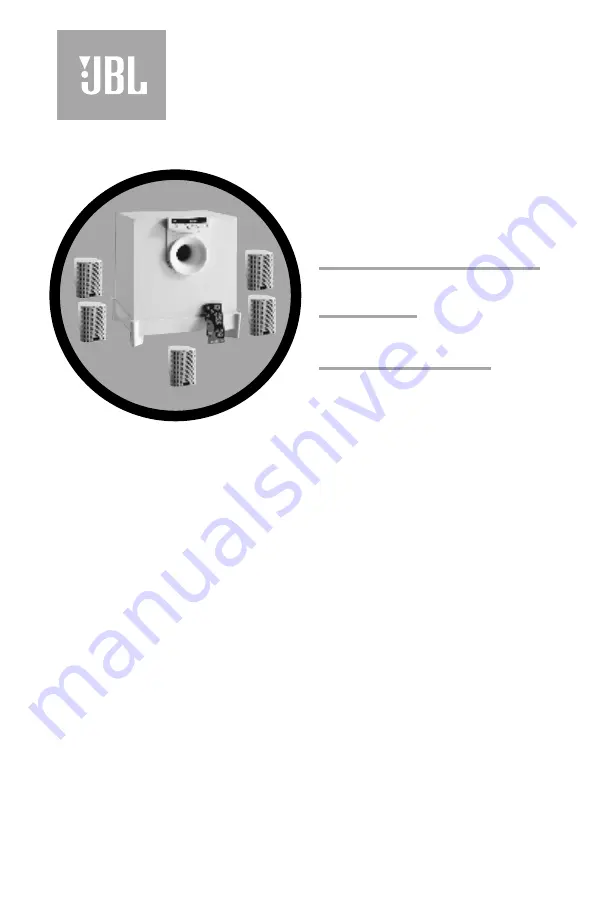
Media 3000

Simple

setup guide

thank you

for choosing JBL. For more than 50 years, 

JBL has been involved in every aspect of music and film recording 

and reproduction, from live performances to the recordings you play

in your home, car or office.

We’re confident that the JBL system you have chosen will 

provide every note of enjoyment that you expected – and that 

when you think about purchasing additional audio equipment for

your home, car or office, you will once again choose JBL.

JBL Consumer Products

Summary of Contents for Media 3000

Page 1: ...d reproduction from live performances to the recordings you play in your home car or office We re confident that the JBL system you have chosen will provide every note of enjoyment that you expected a...

Page 2: ...scribed in this owner s manual are in compliance with technical standards EN 55 013 6 1990 EN 55 020 6 1988 EN 55 022 6 1993 EN 60 065 1994 EN 60 555 2 3 1987 88 Steen Michaelsen Harman Consumer Inter...

Page 3: ...source is powered on Upon power down of this digital unit if no other source is on the Media 3000 will switch itself off after five minutes If the analog source that was selected prior to the digital...

Page 4: ...ttime listening without unexpected and objectionably loud passages All amplification and controls are mounted in the subwoofer eliminating the need for a separate control unit Remote controllable via...

Page 5: ...he most robust one being the 5 1 channel mode which provides separate signals for five satellite speakers as well as for a subwoofer The Media 3000 features a 5 1 Ch indicator that illuminates when a...

Page 6: ...er Surround Speakers 5 6 ft 1 5 2 m Satellites and Surrounds one Speaker Placement Satellites Mounting Remote Sensor to Center Speaker Place remote sensor at bottom of center speaker Insert support le...

Page 7: ...JBL dealer Left Front TV Audio Output OPTICAL Right Left Center Right Front Remote Sensor COAXIAL TV AUX COAXIAL OPTICAL Right Surround Left Surround FRONT SPEAKERS SURROUND SPEAKERS RIGHT CENTER LEFT...

Page 8: ...signal has been received and when no unit connected to any of its two digital inputs has been on for approximately five minutes Rear Panel Control Remote Control Battery Installation Push small tab t...

Page 9: ...The Media 3000 can also be powered on by using the Input button 4 on the front panel of the subwoofer or on the remote control Please note that if input selection is done by pressing the Input button...

Page 10: ...rround speakers compared to the front left and front right speakers can be adjusted The first press of this button allows adjustment of the center channel all the way from the default setting of 0 ms...

Page 11: ...23 5 1 Ch Works in conjunction with the Dolby Digital indicator 22 This indicator illuminates when the Dolby Digital signal contains 6 discrete channels of information one subwoofer and five satellite...

Page 12: ...2 LED Bar Indicators illuminate in response to adjustments in volume delay level bass and treble controls Status Bar Indicators Increase Decrease Volume Level Delay 0dB 0dB Increase Decrease Bass Treb...

Page 13: ...n of the adjustment as the adjustment is being made The default adjustment level of 0 dB is indicated by five status bar indicators illuminated If adjustments are done in a mode where a certain channe...

Page 14: ...r the software you are using are recorded in Dolby Digital or Pro Logic Surround If it is not try the Phantom or Simulated Surround mode Increase the surround speakers level using the level adjustment...

Page 15: ...ivity analog inputs 400mV Auto Turn On Sensitivity analog inputs 2mV Frequency Response 6 dB 35Hz 20kHz Dimensions H x W x D Satellites each 4 3 8 x 3 3 16 x 3 3 4 inches 111 x 81 x 95mm Subwoofer 15...

Page 16: ...ull on the plug itself not on the cord Pulling the cord may break the wire Disconnect the plug from the AC outlet whenever the unit is to be left unused for an extended period of time Do not place fur...

Reviews: