


1
Note: Gamma is a Prescribed Medical Device.
To be used only with the guidance of
Therapist or Prescribing Practitioner.
Please read these instructions carefully before use.
All User
s
GB
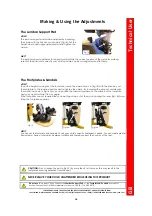
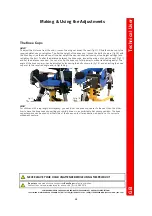
Section 2
Pages 9 - 21
Technical User
-
Physiotherapist, Occupational Therapist.
Section 3
Pages 23 - 27
Home User
-
Home or School Carer.
Section 4
Pages 29 - 33
Re-Issue
-
Stores Personnel.
FOR FREE ADVICE ON THE USE OF THIS PRODUCT, PLEASE CONTACT OUR SALES SUPPORT TEAM
Jenx Limited, Wardsend Road, Sheffield, S6 1RQ, Tel: +44 (0)114 285 3376 Fax: +44 (0)114 285 3528 info@jenx.com www.jenx.com
Ver; 004 June 2009 SJB
Section 1
Pages 2 - 8
All Users
-
Safety Information
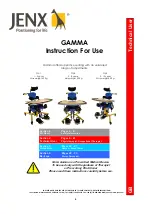
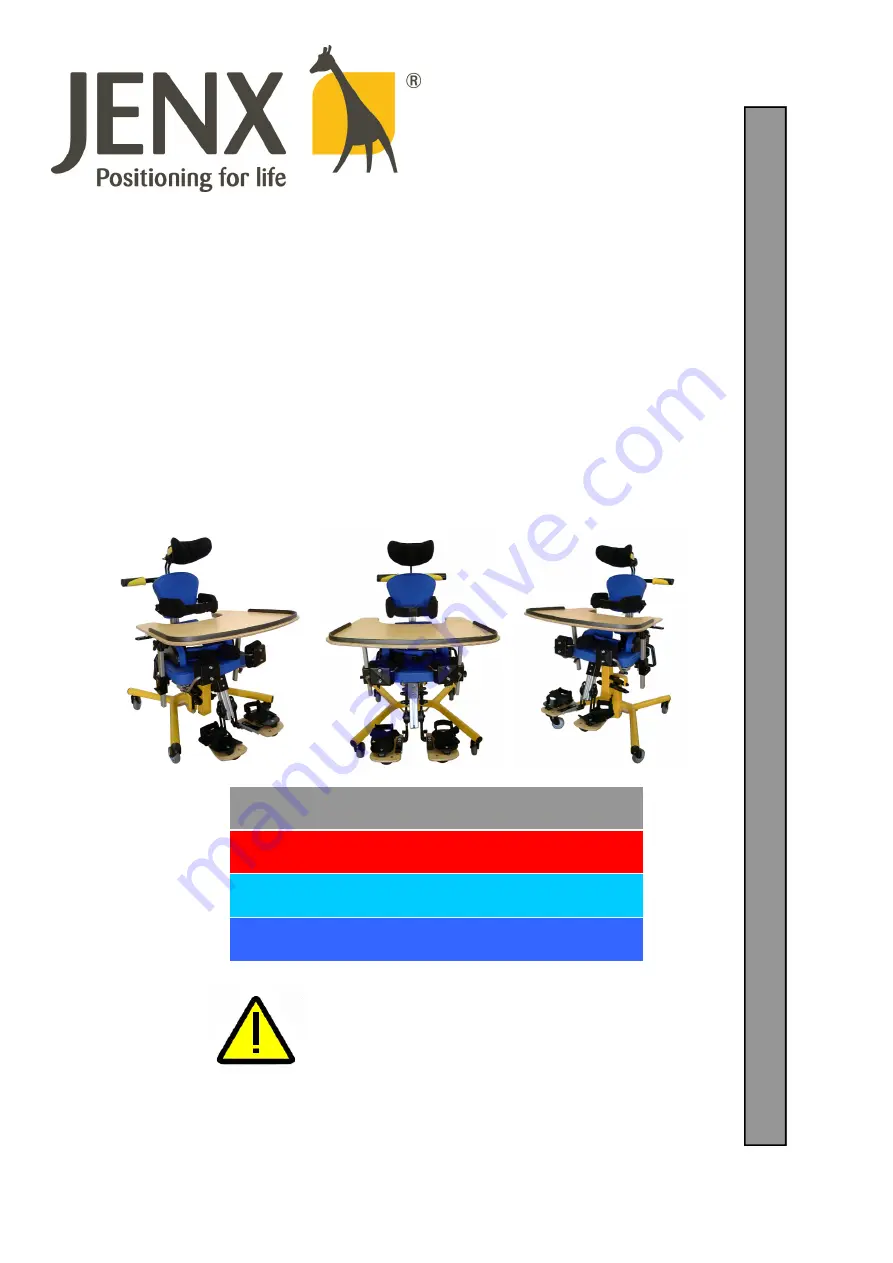
GAMMA
Instruction For Use
Gamma offers supportive seating with an unrivalled
range of adjustments.
GA1
1 - 5 years
Max weight 45 Kg
GA3
5 - 10 years
Max weight 45 Kg
GA2
3 - 8 years
Max weight 45 Kg


