background image

ELEMENT

ELECTRIC FOLDING SCOOTER

Summary of Contents for Element

Page 1: ...ELEMENT ELECTRIC FOLDING SCOOTER ...

Page 2: ... Battery 4 Unfolding the Element 5 Operating the Element 6 Speed Settings 7 Settings Mode 8 Riding the Element 9 Using the Thumb Throttle 10 Using the E Brake 11 Using the Rear Foot Brake 12 Using the Kickstand 13 Folding the Element 14 Care and Maintenance 15 Safety Warnings 16 ...

Page 3: ...1 WHAT S IN THE BOX 1 3 4 5 6 7 8 9 10 1 FRONT TIRE 2 RELEASE LEVER 3 HEADLIGHT 4 HANDLEBAR 5 DECK 6 REAR FOOT BRAKE 7 REAR TIRE 8 KICKSTAND 9 CHARGER 10 CHARGING CABLE 2 ...

Page 4: ...Limit 220 lbs Product Weight 18 7 lbs Recommended Age 13 Tire Size 6 Max Speed Up To 15 mph Max Range Up To 10 Miles Battery 24V 5 0Ah Lithium Ion Motor 250W Hub Motor Charger 100 240V Charge Time Up To 4 Hours Climbing Angle Up To 15 Frame Material Aluminum ELEMENT ...

Page 5: ...and see which is labeled L left and R right Place L into the left side and R into the right side left and right directions are as though you are standing on the Deck Tighten by turning the Handlebars until they can no longer turn Make sure the Handlebars are tight and secure ...

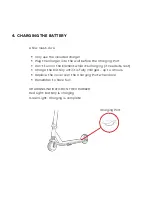
Page 6: ...rging Port Don t turn on the Element while it s charging it needs its rest Charge the battery until it is fully charged up to 4 hours Replace the cover over the Charging Port when done Remember to have fun CHARGING INDICATOR ON THE CHARGER Red Light Battery is charging Green Light Charging is complete Charging Port ...

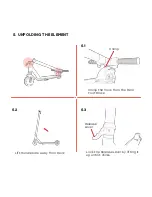
Page 7: ...5 UNFOLDING THE ELEMENT 5 1 5 2 5 3 Unclip Unclip the hook from the Rear Foot Brake Lift Handlebars away from Deck Lock the Release Lever by lifting it up until it clicks Release Lever ...

Page 8: ...5 4 5 5 Make sure the Release Lever and Handlebars are secure ...

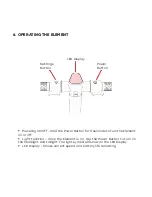
Page 9: ...for 3 seconds to turn the Element on or off Light Function Once the Element is on tap the Power Button to turn on the headlight and taillight The light symbol will show on the LED Display LED Display Shows current speed and battery life remaining Settings Button Power Button ...

Page 10: ... SPEED SETTINGS Press the Settings Button to cycle through the speed settings P0 No assistance from the motor P1 Max speed up to 6 mph P2 Max speed up to 11 mph P3 Max speed up to 15 mph Settings Button ...

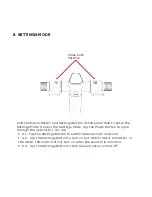
Page 11: ...p the Power Button to cycle through the options C1 C2 C3 C1 Tap the Settings Button to switch between mph and km h C2 Tap the Settings Button to turn on Kick Motion Motor Activation In this mode the motor will only turn on when the scooter is in motion C3 Tap the Settings Button to turn Cruise Control on and off Press both buttons ...

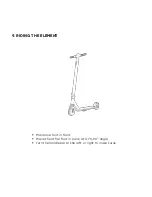
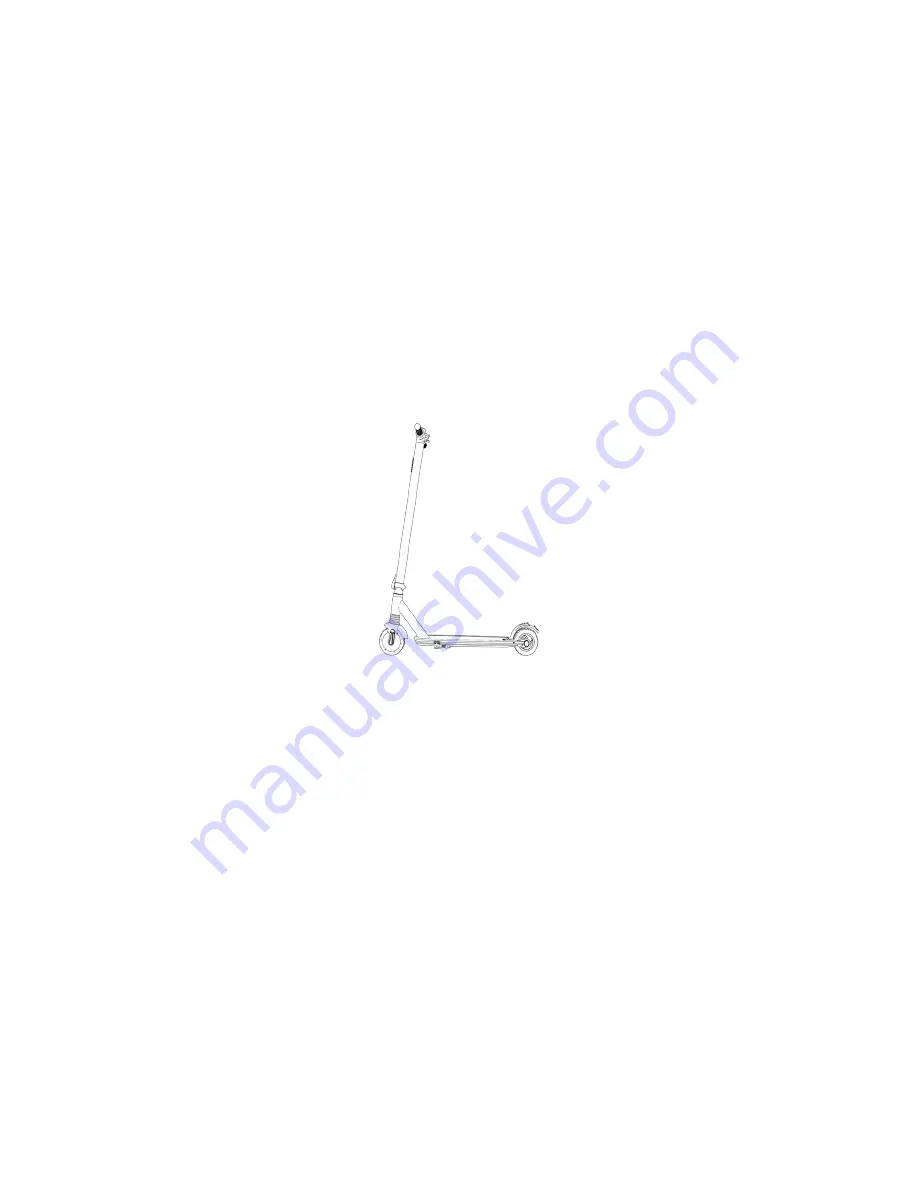
Page 12: ...9 RIDING THE ELEMENT Place one foot in front Place the other foot in back at a 70 90 angle Turn the handlebar to the left or right to make turns ...

Page 13: ...10 USING THE THUMB THROTTLE Quick Note Try to take it easy on the throttle until you get used to it ...

Page 14: ...11 USING THE E BRAKE Quick Note Press down on the E Brake slowly to avoid stopping abruptly or losing control ...

Page 15: ...12 USING THE REAR FOOT BRAKE 12 1 12 2 Press down ...

Page 16: ...13 USING THE KICKSTAND 13 1 13 2 ...

Page 17: ...14 FOLDING THE ELEMENT Release Lever 14 1 14 2 14 3 Open the Release Lever Lower the Handlebar towards the Deck ...

Page 18: ...14 4 14 5 Connect the hook to the Rear Foot Brake ...

Page 19: ...cloth Do not use water to clean the Element as the electrical and electronic systems may get wet resulting in personal injury or malfunction of the Element BATTERY Keep the Element away from fire and excessive heat Do not subject the Element to intense physical shock severe vibration or impact Protect from water or moisture Do not disassemble the Element or its battery If there are any issues with...

Page 20: ...g Always wear shoes a helmet and appropriate safety gear Prior to each ride inspect each part of the product to ensure it has been maintained correctly and is functioning properly Always give way to pedestrians Always comply with local traffic laws and regulations Be alert to things in front and far away from you Make sure your feet are always placed securely on the deck The product cannot be ridd...

Page 21: ...ing reflectors and signal flags on flexible poles CALIFORNIA PROPOSITION 65 WARNING This product contains chemicals including lead which are known to the state of California to cause cancer birth defects and other medical conditions MODIFICATIONS Do not attempt to disassemble modify repair or replace the unit or any components of the unit without instruction from Jetson Customer Support This will ...

Page 22: ...1 888 976 9904 help ridejetson com www ridejetson com 1 Rewe Street Brooklyn NY 11211 ...

Reviews: