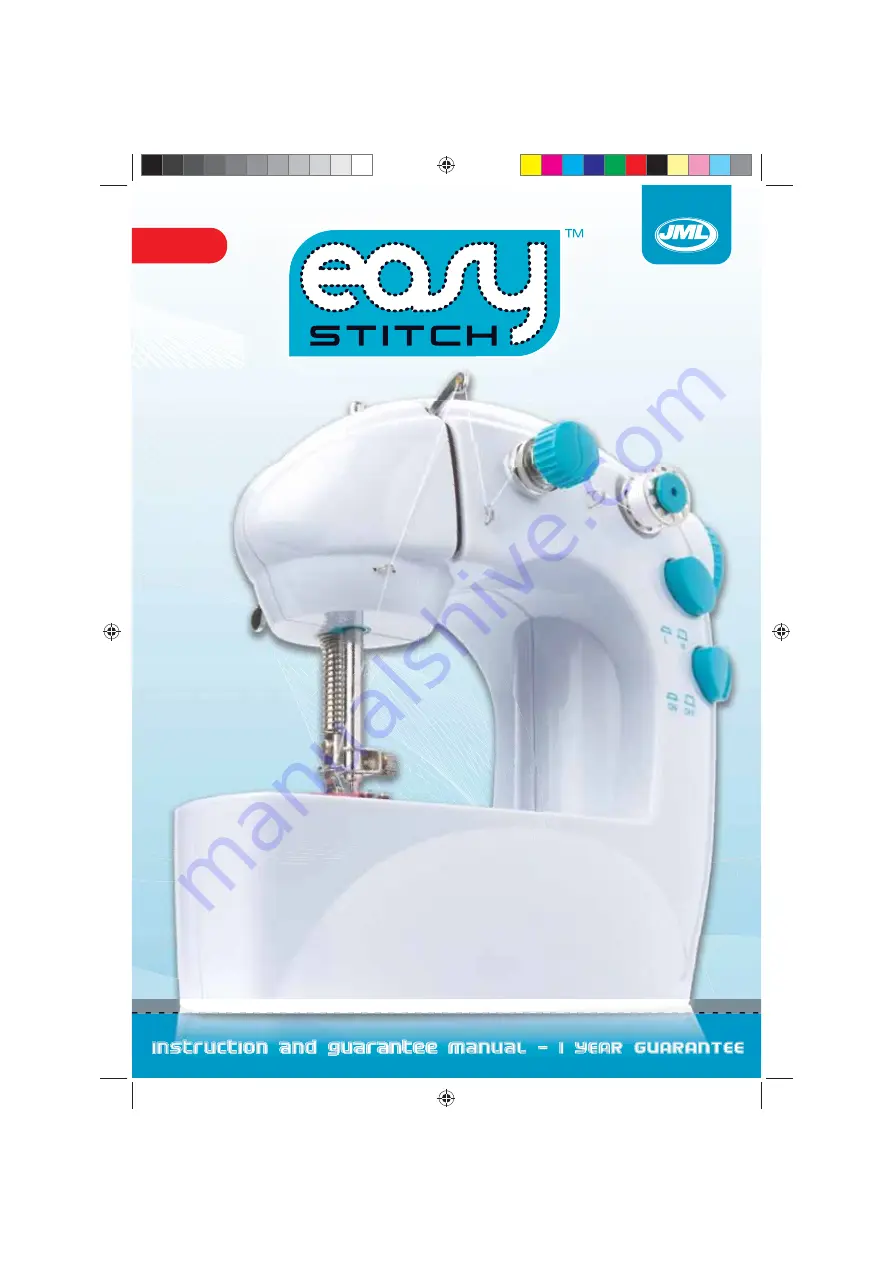
background image

AS SEEN

ON TV

ES_Inst.indd   1

ES_Inst.indd   1

14/11/07   09:11:09

14/11/07   09:11:09

Summary of Contents for easy STITCH

Page 1: ...AS SEEN ON TV ES_Inst indd 1 ES_Inst indd 1 14 11 07 09 11 09 14 11 07 09 11 09 ...

Page 2: ...ns 4 Battery Installation 5 Threading 6 Fitting fabric and sewing 7 Adjusting stitching 8 Bobbin rewinding 9 Replacing the needle 10 Using the foot pedal 11 Connecting the adaptor 12 Trouble shooting ES_Inst indd 2 ES_Inst indd 2 14 11 07 09 12 08 14 11 07 09 12 08 ...

Page 3: ...T NUT 9 THREAD CLAMP 11 THREAD CLAMP SPRING 12 TAKE UP LEVER 13 NEEDLE HOLDER POLE 15 THREAD GUIDE EYES 15 A 15 B 15 C 15 D 16 FOOT HOLDER POLE SPRING 17 FOOT HOLDER 18 THREAD HOLE 19 FOOT PLATE 20 NEEDLE 14 22 COVER SHUTTER PLATE 1 POWER SWITCH 2 SPEED SWITCH 3 REWIND THREAD POLE 4 HAND WHEEL 5 SHORT BOBBIN POLE 6 TOP THREAD BOBBIN 7 THREAD SPOOL not included 8 SPINDLE ES_Inst indd 3 ES_Inst indd...

Page 4: ...s with the and correctly aligned 4 If the adaptor is used make sure that the poles are correct Please Note Turn the switch OFF when inserting batteries or plugging in to avoid hazards 5 Always take care to fit your batteries correctly observing the plus and minus marks of the battery and product 6 Always replace a whole set of batteries at one time Do not mix old with new 7 Always store unused bat...

Page 5: ... second thread guide eye 15B situated between the thread clamps 9 and take up lever 12 4 Run the thread through the eye on the take up lever 12 and through the third thread guide eye 15C 5 Run the thread through the thread guide eye 15D attached to foot holder pole spring 16 6 Run thread through the needle 20 from the left hand side to the right hand side 7 Place the thread under the foot holder t...

Page 6: ...he foot well 5 Continue to slowly turn the hand wheel until you notice the thread on the bottom spool run across the bobbin 6 Continue to turn the hand wheel until the needle ascends You should now be able to notice the bottom thread looped over the top thread 7 Stop turning the hand wheel and carefully pull the threads towards you This will result in the bottom thread coming up through the foot p...

Page 7: ...ovement and stitching 5 Turn the switch on and start sewing 6 High or low speed can be selected by using the speed switch 7 When sewing is finished turn the power switches off rotate the hand wheel and lift the needle Raise the foot lever to remove the fabric and cut the thread Please Note If the fabric is difficult to remove rotate the hand wheel back and forth and the fabric should then come out...

Page 8: ...turns to normal However when the top thread looks like a straight line indicating an over tight top thread slowly turn the thread clamp anti clockwise to reduce pressure until the stitching is back to normal Please Note When adjusting the stitching check whether the top thread has come out If so replace back into position TOP THREAD BOTTOM THREAD CLOTH BOTTOM THREAD OVER TIGHT TOP THREAD OVER TIGH...

Page 9: ...Then thread one of the holes on the bobbin 6 Place the empty bobbin on the pole 3 Wind thread from the full reel around the empty bobbin four to five times in a clockwise direction 7 Guide the thread as per the photograph 8 Turn the power on and start winding Avoid winding over the bobbins edge 9 When complete cut the thread and take the bobbin off the pole 3 1 3 4 4 5 10 Insert the pole back insi...

Page 10: ...lat edge away from you 5 Replace needle clamp screw 21 back into the original position and tighten the screw firmly turning it clockwise make sure this is as tight as possible to avoid any problems when sewing Insert the foot pedal into the foot control jack 23 This can be used instead of the power switch 1 allowing you to sew using both hands Make sure to unplug the switch after use ES_Inst indd ...

Page 11: ...Trouble shooting Align the batteries Replace the batteries Use similar life batteries Check mains lead plugged in correctly Contact Customer Service Contact Customer Service Redo the top and bottom threading see instructions Make sure needle is fitted correctly see instructions Material unsuitable for machine Re thread the top or bottom thread see instructions Trouble The machine doesn t work when...

Page 12: ...ct us at John Mills Limited JML House Regis Road London NW5 3EG Email info johnmillsltd co uk Freephone Customer Service Number 0800 781 7831 Sewing Machine 6V DC requires 4 x 1 5V AA batteries not included Adaptor 230v 50HZ 6V 800mA 4 8w output i ÃiÊÀiVÞV i Ü iÀiÊv V Ì iÃÊiÝ ÃÌ ES_Inst indd 12 ES_Inst indd 12 14 11 07 09 12 13 14 11 07 09 12 13 ...

Reviews: