background image

Summary of Contents for DDL-5550-6

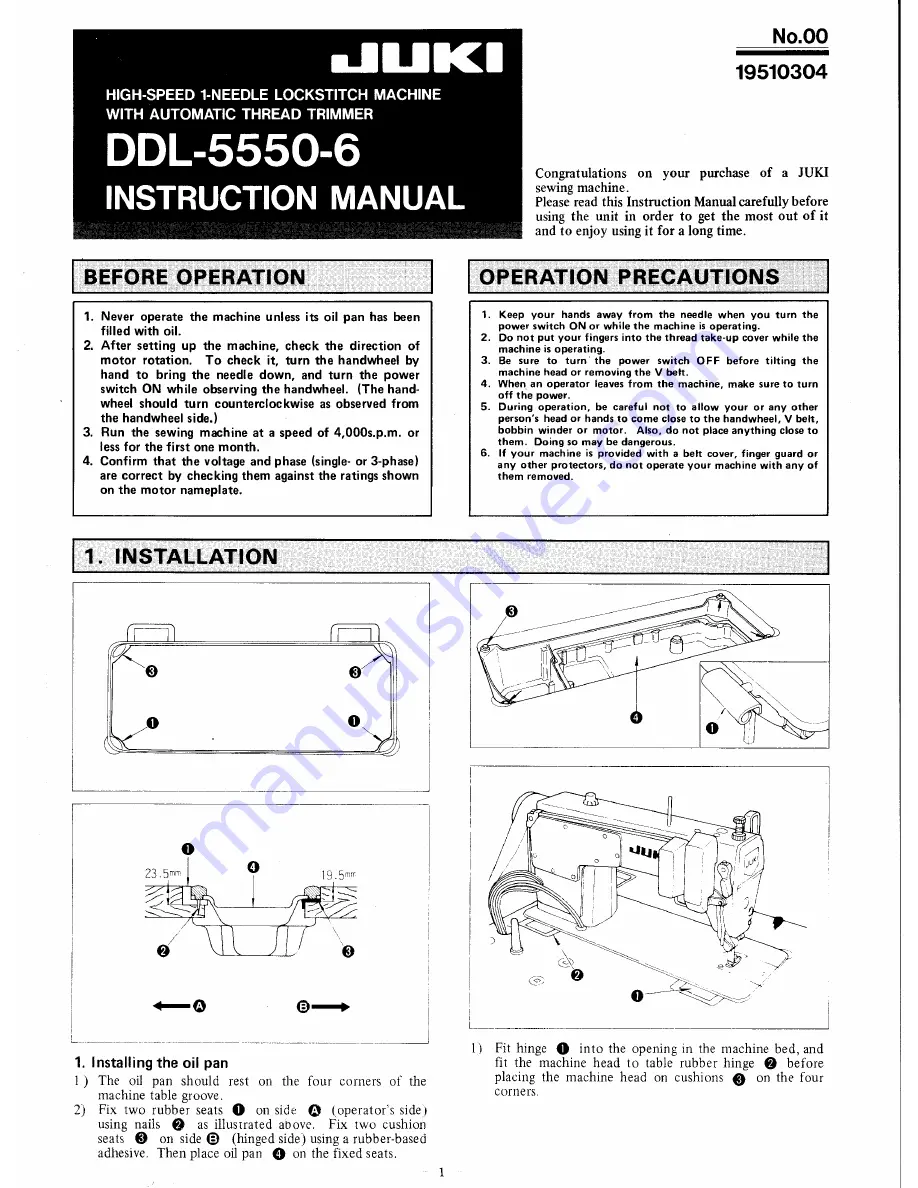
Page 1: ...rating 2 Do not put your fingersinto the thread take up coverwhile the machine is operating 3 Be sure to turn the power switch OFF before tilting the machine head or removing the V belt 4 When an operator leavesfrom the machine make sure to turn off the power 5 During operation be careful not to allow your or any other person s head or hands to come eloseto the handwheel V belt bobbin winder or mo...

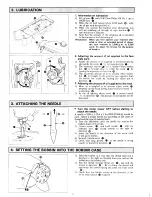
Page 2: ...oil supplied to thehook 1 More oil is supplied as oil amount adjust screw mounted on the hook drivinsshaftis turned toward rQ in direction 2 As the oil amount adjust screw is turned toward Q in direction the amount of oil suppliedwill be decreased 3 ATTACHING T IE NEEDLE o Turn the motor power OFF before starting to attach the needle A needle of DB x I DA x I for DDL 5550A 6 shouldbe used Select a...

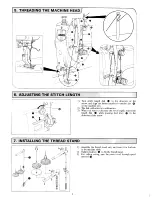
Page 3: ... machinearm The dial calibrationis in millimeters Whenyou want to decrease the stitchlength turn stitch length dial O while pressingfeed lever in the directionof the arrow 1 2 3 Assemblethe threadstandunit andinsertit in the hole in the machinetable Tightenlocknut O to fix the threadstand For ceiling wiring passthe power cord through spool restrod l 2 3 ...

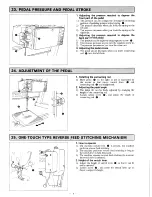
Page 4: ...dal 2 The machinerunsat high sewingspeedwhenyou further depress the front part oTthe ped al O If the automatic reverse feed stitchinghasbeenpreset the machineruns at high speedafter it completesreverse feed stitching 3 The machinestops with its needieup or down when you resetthepedaito its original position 1 The machinetrims threadswhen you fully depress the backpartof thepedal e If your machine ...

Page 5: ...s you turn the knob counterclockwise in direction thestrokewill be decreased 2 Changing thepressure of threadtake up spring O 1 LoosensetscrewO andremovetensionpost 2 Loosen setscrew 3 As you turn tension post clockwise in direction thepressure will be increased 4 As you turn the post counterclockwise in direction the pressure will be decreased l 2 r 4 To stop the machinewith its presserfoot up tu...

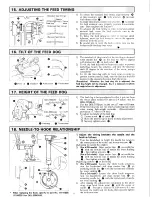
Page 6: ...g is factory adjusted so that it juts out from the throat plate surface0 8 mm to 0 9 mm 1 mm for DDL 5550H 6 For the DDL 5550A 6 it juts out 0 7 mm to 0 8 mm If the feeddogjuts out to6 much puckering may result when sewing light weight materials Recommended protrusion 0 7 mm to 0 8 mm To adjustthe heightof the feeddog l oosenscrew ofcrank O Movethe feedbar up or down to makeadjustment Securely tig...

Page 7: ... the threadtake up Normally thread guide Q is positionedin a way that markerline is alignedwith the centerof the screw 22 ADJUSTINGTHE NEEDLE STOP POSITION 1 Stopposition afterthreadtrimming 1 Thestandard needle stoppositionis obtained by aligning red marker dot O on the rnachinearm with white markerdot on thehandwheel 2 Stop the needle in its highest position loosen screw Q to performadiustment w...

Page 8: ... hole 2 l 2 3 3 1 1 Installing theconnecting rod 1 Move pedal O to the right or left as illustratedby the arrows so that motor control lever O and connectingrod arestraightened 2 Adjusting thepedal angle l The pedal tilt can be freely adjustedby changingthe lengthof the connecting rod 2 Loosen adjust screw and adjust the length of connecting rod O REVERSE FEEDSTITCHINGMECHANISM 1 Howto operate 1 T...

Page 9: ...e wiperis pressed andfixed by wiper collar 3 When the wiper is unnecessary turn wiper switch OFF l I I I I i n a 27 SPECIFICATIONS DDL 5550 6 DDL5550A 6 DDL 5550H 6 Application Generalfabrics light weight materials andmedium weightmaterials General fabrics andlight weightmaterials Medium weight materials andheavy weight materials rylq r g__ l i 9 sl y db _ Presser ioot lift r _l jry_ Ill1l ____ l ...

Page 10: ...idto causestopper A O to come into contactwith the oil reservoir 5 Tum the kneeswitch OFF then raisestopper A O an additionalturn 6 Tightenlocknutofstopper A O andlocknut Q 7 Raisestopper B O until it comesinto contactwith the oil reservoir then providea clearance of about I mm betweenthe indented part of lifter lever and knee lifter pushingrod O comingfrom the oil reservoir 8 Tightenlocknut ofsto...

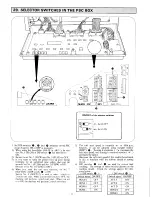
Page 11: ... to ON SwitchNo 8 SOFT1 2 is usedto selectl stitchor l stitch soft start Whenyou setthisswitchro OFF the machinewill perfurm l strtchsoft start Whenyou set it to ON thernachine wili perform2 stitchsottsrarr The soft start speed is normally set to 800s p m however it can be adjusted using variable resistor SOFT Turningit clockwise V increases the soft start speed and turningit counterclockwise f de...

Page 12: ...SHINJUKU KU TOKYO 160 JAPAN CABLE JUKITOKYO TELEX J22967 232 2301 PHONE 03 205 1188 1183 1190 Please do not hesitate to contaclour drstributors or necessary XAppearandspecification lrsled in thisinstruction agents in your area for furtherIniormations when marual are sLbJecteo 1o changewrthorrl lotice 1988 4 Printedin Japan ...

Reviews: