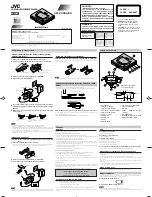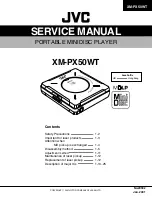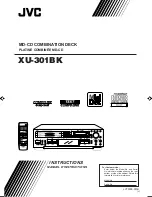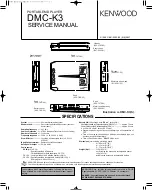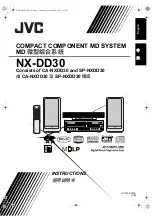


COMPACT COMPONENT MD SYSTEM
MD
微型组合系统
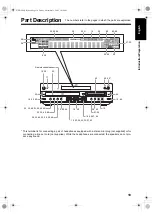
STANDBY
DISC IN
MD IN
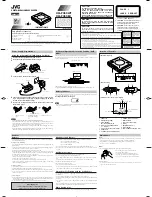
DISC LOADING MECHANISM
0
0
REC
SURROUND
MODE
OUTPUT
MODE
PHONES/
LINE OUT
VOLUME
for Digital Audio Player
DVD/CD
LINE
FM/AM
MD
LINE
DVD/CD
MD
FM/AM
--- +
NX-DD30
Consists of CA-NXDD30 and SP-NXDD30
由
CA-NXDD30
及
SP-NXDD30
组成
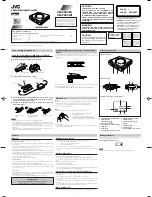
INSTRUCTIONS
使用说明书
LVT1430-002A
[UB]
English
中
文
NX-DD30[UB]-01.fm Page 1 Thursday, November 24, 2005 1:47 PM