


GVT0053-003A
[US, UN, UJ]
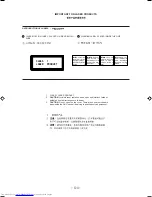
For Customer Use:
Enter below the Model No. and Serial No.
which are located either on the rear, bot-
tom or side of the cabinet. Retain this
information for future reference.
Model No.
Serial No.
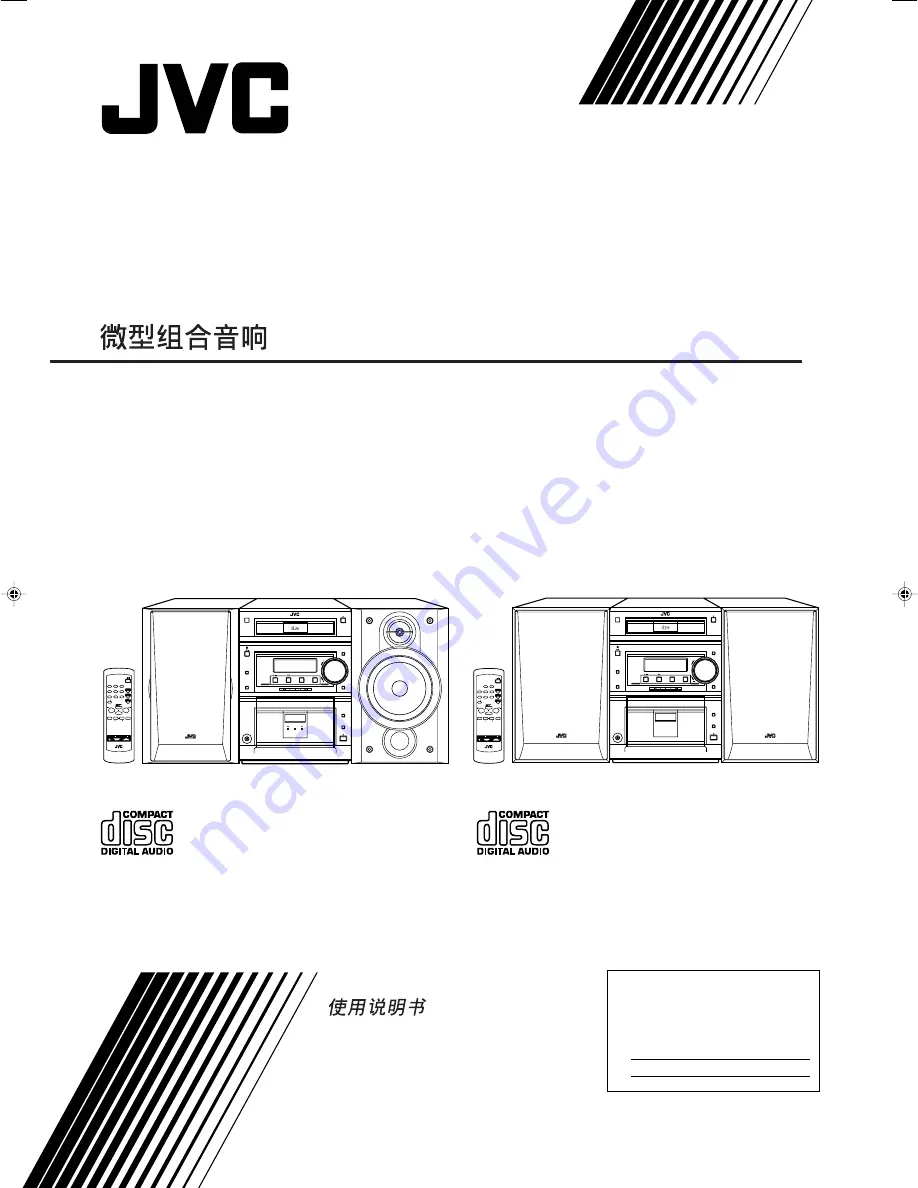
UX-P5
— Consists of CA-UXP5 and SP-UXP5.
UX-P3
— Consists of CA-UXP3 and SP-UXP3.
MICRO COMPONENT SYSTEM
INSTRUCTIONS
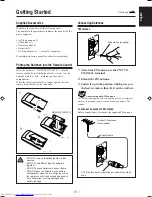
SLEEP
STANDBY/ON
MD/AUX
FM/AM
TAPE
CD
DISPLAY
DIMMER
REPEAT
RANDOM
PROG
FM MODE
AUTO
PRESET
SOUND
MODE
CD
CANCEL
MULTI KEY
SET
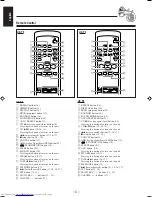
RM-SUXP5U REMOTE CONTROL
VOLUME
AHB
PRO
COMPACT
DIGITAL AUDIO
CD
TAPE
FM/AM
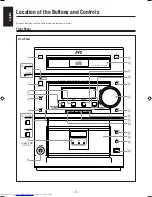
M I C R O C O M P O N E N T S Y S T E M U X · P 5
C D - R / R W P L A Y B A C K
MD/AUX
TIMER
CLOCK
STANDBY/ON
STANDBY
/ ON
VOLUME
FUNCTION
SOUND
DIRECT OPERATING
AHB PRO
REC
REV.MODE
PHONES
A U T O R E V E R S E
REC
/
COMPACT
DIGITAL AUDIO
CD
TAPE
FM/AM
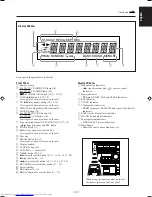
M I C R O C O M P O N E N T S Y S T E M U X · P 3
C D - R / R W P L A Y B A C K
AUX
TIMER
CLOCK
STANDBY
STANDBY
/ ON
VOLUME
FUNCTION
SOUND
DIRECT OPERATING
AHB PRO
A U T O R E V E R S E
AUTO TAPE SELECTOR
REC
REV.MODE
PHONES
SLEEP
STANDBY/ON
AUX
FM/AM
TAPE
CD
DISPLAY
REPEAT
RANDOM
PROG
FM MODE
AUTO
PRESET
SOUND
MODE
CD
CANCEL
MULTI KEY
SET
RM-SUXP3U REMOTE CONTROL
VOLUME
AHB
PRO
/
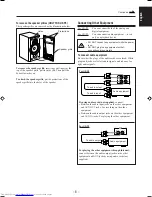
SP-UXP5
CA-UXP5
SP-UXP5
SP-UXP3
CA-UXP3
SP-UXP3
UX-P5&3[US,UN,UJ]_Cover
01.2.2, 3:48 PM
3


