r.002
-002
1
GY-HM200HW Additional Functions
Please read this together with the “INSTRUCTIONS”.
Product and company names included in this instruction manual are trademarks and/or registered
trademarks of their respective companies. Marks such as
™
and ® have been omitted in this manual.
Overlay
This camera recorder enables single-camera producing real-time text and image overlays on recorded
or streamed HD video. Overlays are available when the recording resolution is 1920×1080 only.
Selecting the Overlay Type
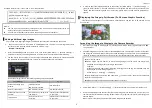
Press [MENU] button of the camera recorder to display the menu screen, and then select “HoW
(Default)” in [Main Menu] → [Overlay Settings] → [Type]. Then press [MENU] button to close the menu
screen.
HoW (Default) :
None
:
None displayed.
Overlay Control
1.
Following the “Connecting to the Network” directions in the “INSTRUCTIONS” stored in the
CD-ROM or the Mobile User Guide
(http://manual3.jvckenwood.com/pro/mobile/global/), connect a network device such as a
smartphone or a tablet with the camera recorder via network. Then, launch a web browser on the
network device.
2.
Input the following URL in the address field of the web browser.
http://
“IP address of the camera recorder“
Example: http://192.168.0.1
You can find the
“IP address of the camera recorder”
by the following procedure.
(1)
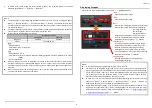
Press [STATUS] button of the camera to display the status screen.
(2)
Use the cross-shaped button (
) to display the [Network] status.
3.
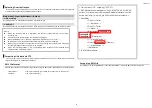
Input a username (jvc) and a password (default: 0000) on the login screen. And then, press the
[Overlay Control] button on the web page to move to the overlay control page.
Memo
:
This Camera cannot use the [Planning Metadata Function] in the INSTRUCTIONS
.
<A>
<B>
<C>
<
D>
<B>
⑦
⑤
⑥
①
①
①
②
④
③
Image
Logo
Title 1
Title 2
Memo
:
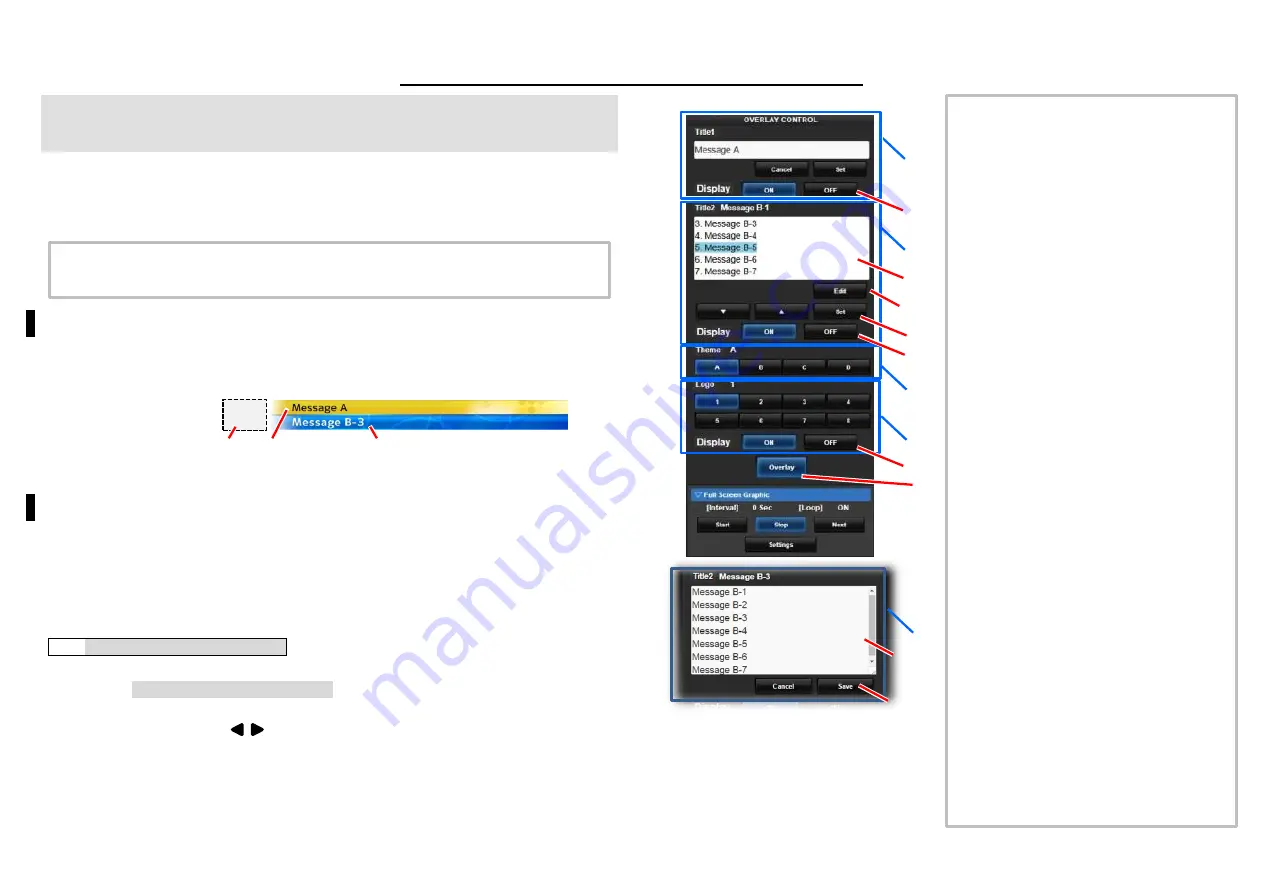
Section <A> Title 1
Section <B> Title 2
Section <C> Background Image
Section <D> Logo Image
①
[Display] button
Activation of display on screen.
②
Title 2 pre-input area
Highlighted sentence will be displayed in
Title 2.(Ref
④
)
③
[Edit] button
Select to engage input mode.
④
Selecting Title 2 sentence
Select the sentence to display in section
<B> by [
▼
] or [
▲
] buttons, then update by
[Set] button.
⑤
[Overlay] button
Turns the entire overlay on or off.
⑥
Title 2 pre-input area (input mode)
After pushing [Edit] button
③
, input
sentences will be accessible for Title 2.
Enter the content for the desired line.
⑦
[Cancel] and [Save] button
Press [Save] to retain the pre-input data to
the camera. Press [Cancel] to exit the input
mode
●
Press the [DISPLAY] button of the camera
to switch the display mode if the overlay is
difficult to see due to the camera operation
graphics.


