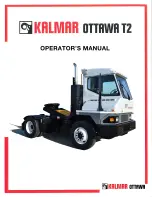
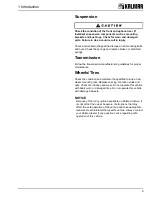
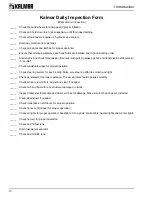
Kalmar Ottawa t2, Operator'S Manual
The Kalmar Ottawa T2 Maintenance Manual is an essential resource for maintaining and understanding the inner workings of this powerful terminal tractor. Download this comprehensive manual for free from our website to ensure optimal performance and longevity of your equipment.
Share
Download


Reviews:
No comments
Related manuals for Ottawa t2
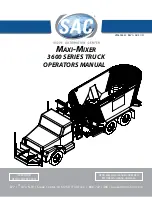
3600 Series
Brand: SAC Pages: 134
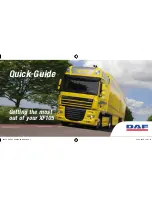
XF105
Brand: DAF Pages: 20
810
Brand: Jacobsen Pages: 20
C5
Brand: Magliner Pages: 4
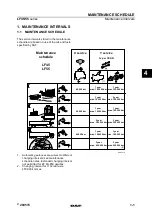
LF Series
Brand: DAF Pages: 44
5200
Brand: Ravas Pages: 36
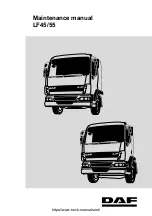
LF45 Series
Brand: DAF Pages: 12
LF45 Series
Brand: DAF Pages: 128
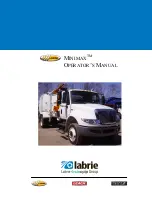
MINIMAX
Brand: Labrie Pages: 113
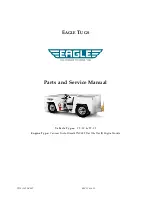
TT Series
Brand: Eagle Pages: 166
LEU
Brand: Mack Pages: 59
5490
Brand: KAMAZ Pages: 327
2018 PROMASTER
Brand: RAM Commercial Pages: 172
T-3000
Brand: TARCO Pages: 39
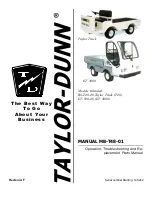
B0-T48-48 Taylor Truck T48
Brand: Taylor-Dunn Pages: 240
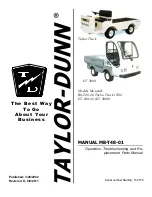
B0-T48-48 Taylor Truck T48
Brand: Taylor-Dunn Pages: 242
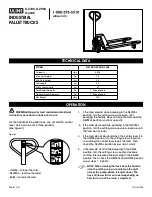
H-2708
Brand: U-Line Pages: 3

UNIKAR
Brand: SANO Pages: 8


