

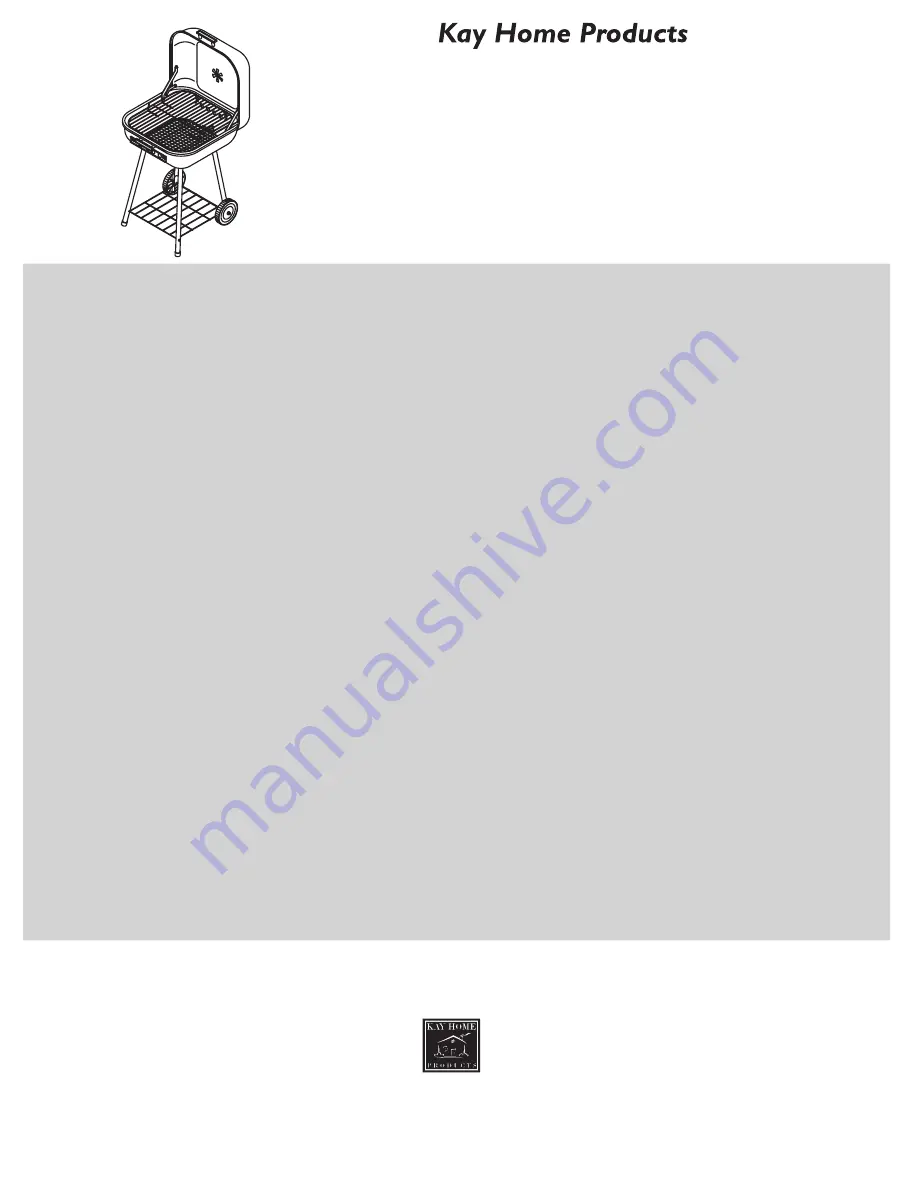
18218
Charcoal Grill
18218_033116
WARNING:
• Your grill is intended for residential outdoor use only. Do not use for commercial cooking. Do not use in or on boats
or recreational vehicles. Do not use for indoor cooking or heating. Toxic carbon monoxide fumes may accumulate
and cause death.
• Designate the grilling area as a no play zone and keep kids and pets away. Do not wear loose fitting clothing
when cooking.
• Only use your grill on a hard, level, non-combustible surface. Keep away from house, garage, trailer, building, tent
or under overhead construction.
• Grill must be kept at a distance of 36” from any building to ensure that there is no fire or melting of materials from
building. Live hot briquettes and coals can create a fire hazard.
• Do not use this product without reading all warning and operating instructions. Death, serious injury or damage to
property may occur if all warnings are not followed.
• Do not force parts together as this can cause personal injury or damage to the product. Use protective gloves when
assembling this grill. Do not use grill until it is completely assembled and all fasteners are tight. Do not modify grill.
• Check to make sure the air vents are free of debris and ash before lighting charcoal and during use. This grill
should be thoroughly clean and inspected on a regular basis.
• Do not place charcoal briquettes, wood or lump charcoal directly into bottom of grill. Place only on charcoal grid.
• Do not use gasoline, kerosene, or alcohol for lighting charcoal. Only use starter fluid made for barbecue grill to
start charcoal.
• During initial start up remove lid until charcoal turn to white coals. Use caution when opening the lid. Do not
expose any part of your body directly above grill when lighting and cooking as high heat and steam can escape
and severely burn you.
• Never handle grill while in use. Use long handled barbecue tools to avoid burns from heat, flare ups, and splatters.
Use oven mitts to protect hands from burns.
• Do not use hot grill near electrical cords, in high winds, near flammable liquids, gases or where flammable vapor
is present.
• Do not cover entire cooking area with aluminum foil. Always use a meat thermometer to ensure food is cooked to
a safe temperature.
• Never move or remove the ashes until the grill is completely cool. Always empty ashes from grill after use.
90 McMillen Road •
Antioch, IL 60002
Customer Service (800) 635-3831 • Fax: (847) 395-3305
Made in China


