background image

Summary of Contents for 122.16435010 Use & care guide

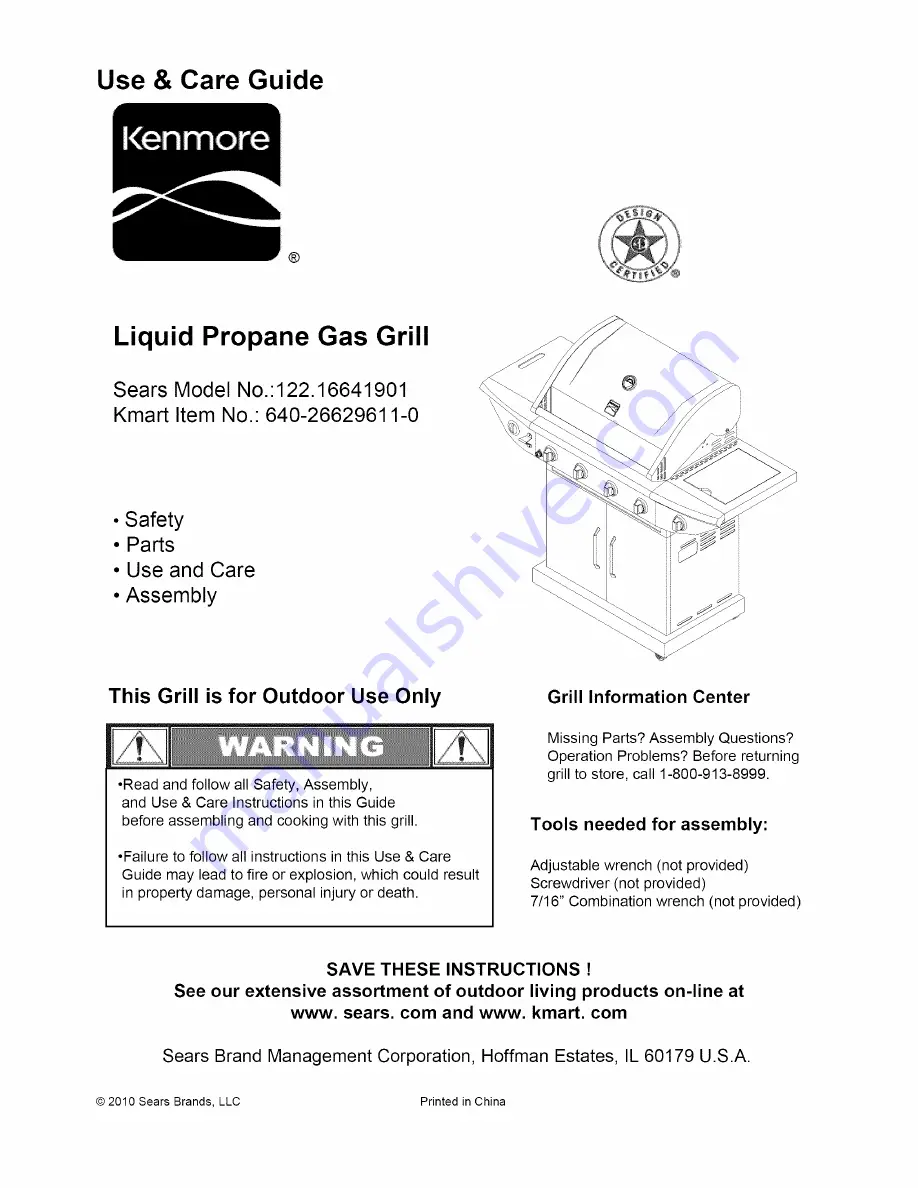
Page 1: ...o fire or explosion which could result in property damage personal injury or death Grill Information Center Missing Parts Assembly Questions Operation Problems Before returning grill to store call 1 800 913 8999 Tools needed for assembly Adjustable wrench not provided Screwdriver not provided 7 16 Combination wrench not provided SAVE THESE INSTRUCTIONS See our extensive assortment of outdoor livin...

Page 2: ... product contain chemicals known to the State of California to cause cancer birth defects or other reproductive harm _ WARNING Failure to comply with these instructions could result in a fire or explosion that could cause serious bodily injury death or property damage _WARNING Your grill will get very hot Never lean over the cooking area while using your grill Do not touch cooking surfaces grill h...

Page 3: ...n to an LP gas tank Only use the regulator and the hose assembly supplied with your gas grill Replacement regulators and hose assemblies must be those specified in this manual Have your LP gas tank filled by a reputable propane gas dealer and visually inspected and re qualified at each filling Do not store a spare LP gas tank under or near this appliance Never fill the tank beyond 80 percent full ...

Page 4: ... burner tubes before assembling your grill and at least once a month in late summer or early fall when spiders are most active Also perform this burner tube cleaning procedure if your grill has not been used for an extended period of time See Cleaning Burner Tubes and Ports on page 15 Visually check the burner flames prior to each use The flames should look like picture if they do not refer to the...

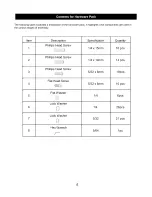
Page 5: ...the various stages of assembly Item 4 Description Phillips Head Screw Phillips Head Screw Phillips Head Screw Flat Head Screw Flat Washer Lock Washer Lock Washer Hex Wrench Specification 1 4 x 15mm 1 4 x 10mm 5 32 x 8mm 5 32 x 8mm 1 4 1 4 5 32 5 64 Quantity 16 pcs 14 pcs 19pcs 10 pcs 6pcs 26pcs 21 pcs 1pc 5 ...

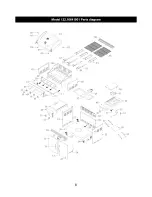
Page 6: ...02q 5_ 04_ _02 55 12 11 46 4_ 58 6 ...

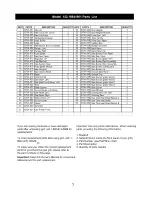
Page 7: ...anel LP 1 58 670A 058 Swivel Caster 1 59 670A 059 Caster 2 60 670A 060 Tank Bolt 1 Cart Frame Front 1 DESCRIPTION Door Magnet Door Magnet Bracket Front Door Left Door Handle Front Door Right Lighting Rod Rubber Grommet Back Panel Back Panel Top Side Burner Front Panel Side Gas Valve Side Burner Igniter Wire Side Burner Pipel Assembly Side Burner Bow I Assembly Side Burner Cooking Grid Side Burner ...

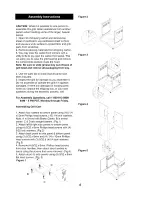
Page 8: ...t Do not assemble or operate the grill if it appears damaged If there are damaged or missing parts when you unpack the shipping box or you have questions during the assembly process call For Assembly Questions call 1 800 913 8999 8AM 5 PM PST Monday through Friday Assembling Grill Cart 1 Attach four casters to bottom panel using 16 1 4 x15mm Phillips head screws 16 1 4 lock washers Note A is Swive...

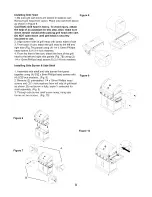
Page 9: ...de Fig 7A panels using 4 1 4 x 10mm Phillips head screws 4 1 4 lock washers 4 From the front of the cart attach the front of the grill head to the left and right side panels Fig 7B using 2 1 4 x 10mm Phillips head screws 2 1 4 lock washers Installing Side Burner Side Shelf 1 Assemble side shelf and side burner front panel together using 4 5 32 x 8mm Phillips head screws with 4 5 32 lock washers Fi...

Page 10: ...nob bezel over side burner valve control stem Secure bezel to control and valve with 2 screws removed in step 2 Push control knob onto valve control stem See Figure 13 4 Insert valve orifice tip into burner tube as shown in Fig 12 Reattach burner to underside of side burner shelf with screws removed in step 1 5 Plug ignition wire into igniter wire electrode on underside of burner Fig 14 6 Secure a...

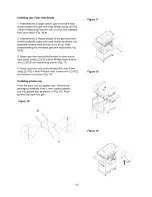
Page 11: ...preassembling the complete gas tank heat shield Fig 16 B 3 Attach gas tank heat shield bracket A other end to back panel using 2 5 32 x 8mm Phillips head screws with 2 5 32 lock washers as shown Fig 17 4 Attach gas tank heat shield bracket B to cart frame using 2 5 32 x 8mm Phillips head screws with 2 5 32 lock washers as shown Fig 18 Installing grease cup From the back pull out grease tray remove...

Page 12: ... Fig 21 2 Check the tank valve to ensure it has proper external mating threads to fit the hose and regulator assembly provided 3 Make sure all burner valves are in OFF position 4 Inspect the valve connection port and regulator assembly Look for damage or debris Remove any debris Inspect hose for damage Never use damaged or plugged equipment 5 When connecting regulator and hose assembly to tank val...

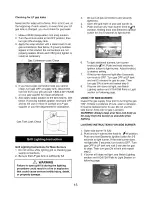
Page 13: ...rty damage 4 5 Be sure all gas connections are securely tightened Open the grill main lid and side burner lid Push and turn any main burner knob to_i_HI position holding knob and Electronic i9_nition button for 3 to 5 seconds to light burner To light additional burners turn burner to_ HI Push and hold electronic knob s ignition button to light burner Adjust knob s to desired setting If the burner ...

Page 14: ...ll all orifices burners and cooking components 3 If an obstruction is suspected in gas valves please call for repair service at 1 800 4 MY HOME 4 If the grill still does not light you may need to purge air from the gas line or reset the regulator excess gas flow device Note This procedure should be done every time a new LP gas tank is connected to your grill WARNING Should a FLASH BACK fire occur ...

Page 15: ... Reconnect gas source and observe burner flame for correct operation Cleaning Exterior Surface We suggest you wash your grill using a mild soap and warm water solution You can use a wash cloth or sponge for this process Do not use abrasives or a brush that might remove finish during the cleaning process Cleaning Exterior Stainless Steel Surfaces Weathering and extreme heat can cause exterior stain...

Page 16: ...he grill does not function properly use the following check list before calling for service You should inspect the burners at least once a year or immediately after any of the following conditions occur I e I LvlvJ E II IIl e_ Imle Grill won t light when the control knob is rotated Burner flame is yellow or orange in combination with the odor of gas Low heat with knob in HI position Check to see i...

Page 17: ...ect cooking method can be used with the supplied cooking grids and food placed directly over the lit grill Burners Direct cooking requires the grill lid to be up The method is ideal for searing and whenever you want meat poultry or fish to have and open flame barbecued taste Deep frying and smoking are also best cooked in this manner because they require direct heat _ WARNING Do not line the botto...

Page 18: ...Steaks 1 2 to 3 4 inches High Medium 4 to 15 minutes grill 3 to 5 minutes on each side or until desired doneness Grill turning once when juices rise to the surface or until desired amount of doneness Ground Meats 1 2 to 3 4 inches Medium 8 to 15 minutes Do not leavehamburgers unattended since a flare up could occur quickly Grill turning occassionally During last few Ribs 1 2 or full rack Medium 20...

Page 19: ...w searmcom www _ars_ca Our Home For repair of carry in items iike vacuums iawn equipment and electronics cal anytime for the location of your nearest Sears Parts Repair Sewice Center 1 800 488 1222 U S A 1 800 469_663 Canada WWW S a_S_CO_ www sears ca To purchase a protection agreement on a product serviced by Sears 1 800 827 6655 U S A 800 36 6665 Canada Para pedir servicio de reparaci6n Au Canad...

Reviews: