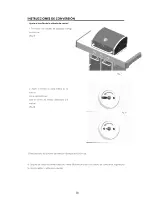
Kenmore 30611, Use & Care Manual
The Kenmore 30611 is a versatile appliance designed to simplify your household chores. With its comprehensive Use & Care Manual, you'll have all the essential information at your fingertips. Download this manual for free from our website, ensuring you're equipped to unleash the full potential of your Kenmore 30611.
Share
Download


Reviews:
No comments
Related manuals for 30611

OBC36
Brand: Dacor Pages: 4

GPCI 240R
Brand: Gorenje Pages: 20
Turkey Cannon
Brand: Camp Chef Pages: 11
AC266
Brand: Jata Pages: 8

Z11CG10X0
Brand: NEFF Pages: 24
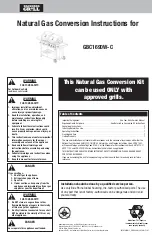
VFK1002W-C
Brand: BackyardGrill Pages: 14
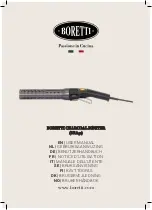
BBA91
Brand: BORETTI Pages: 110

IVACCT20
Brand: Ivation Pages: 3
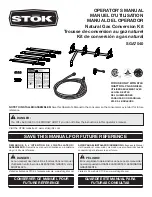
SGA7040
Brand: STOK Pages: 52
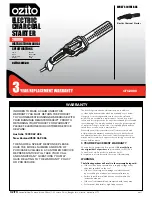
CFS-2000
Brand: Ozito Pages: 6
5-8013
Brand: Sunartis Pages: 17
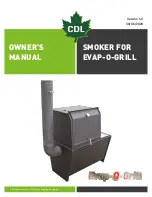
67009010
Brand: CDL Pages: 19

5729581
Brand: Char-Broil Pages: 20
4539937
Brand: Char-Broil Pages: 24
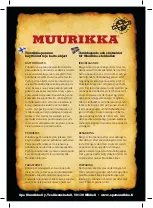
78
Brand: MUURIKKA Pages: 2
FCC-A-10069-PDQ
Brand: FCC BBQ Pages: 8
141.15804
Brand: Kenmore Pages: 5

34562
Brand: Kenmore Pages: 28


