background image

Summary of Contents for 79079449600

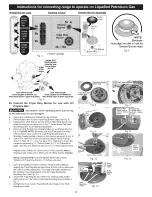
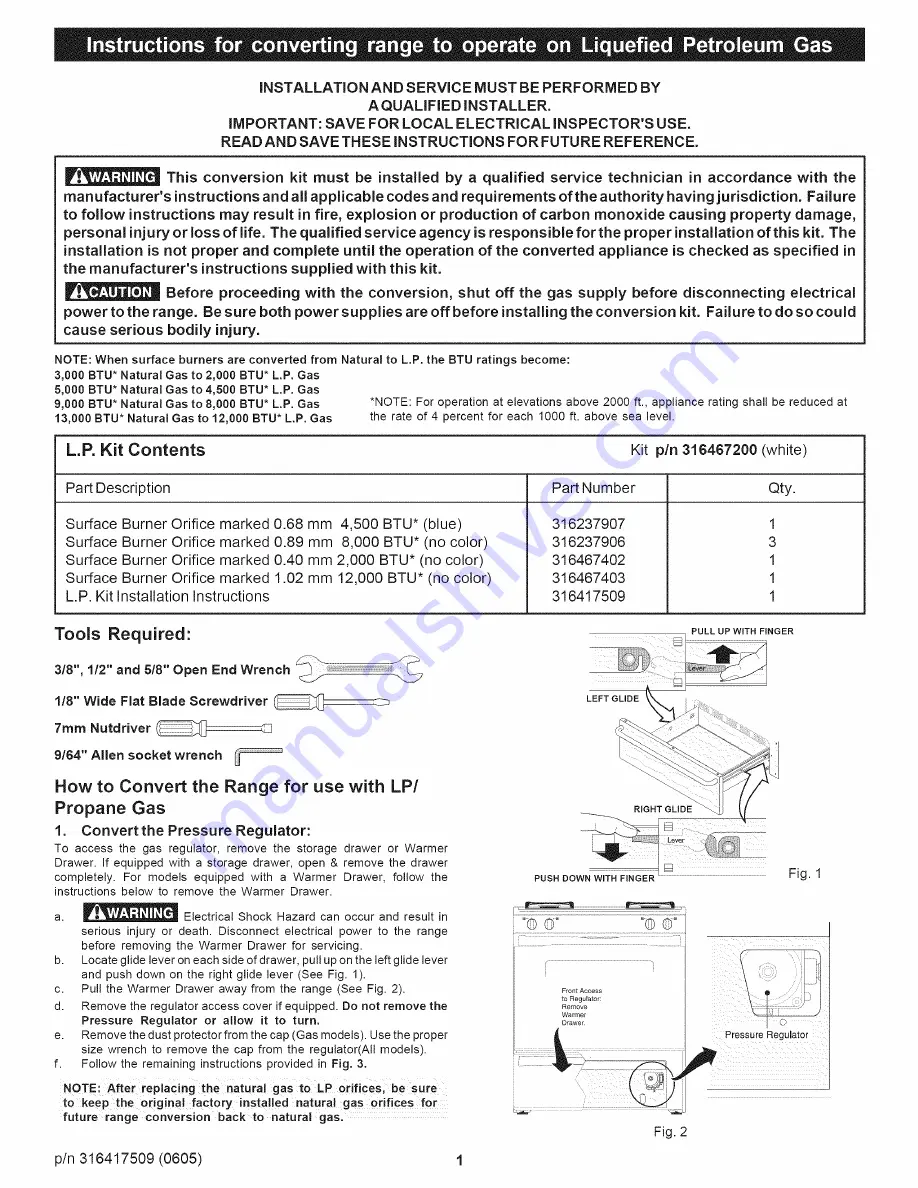
Page 1: ... Burner Orifice marked 0 68 mm 4 500 BTU blue Surface Burner Orifice marked 0 89 mm 8 000 BTU no color Surface Burner Orifice marked 0 40 mm 2 000 BTU no color Surface Burner Orifice marked 1 02 mm 12 000 BTU no color L P Kit Installation Instructions 316237907 316237906 316467402 316467403 316417509 1 3 1 1 1 Tools Required 3 8 1 2 and 5 8 Open End Wrench 1 8 Wide Flat Blade Screwdriver 7ram Nutd...

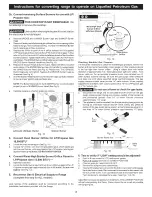
Page 2: ...ing Mounting Skirt Mounting Gasket setting in place on the cooktop as shown in Fig 8 e Use a 7mm Nutdriver to remove both the Natural Gas orifices as shown in Figs 10 11 Use the same 7mm Nutdriver to mount the correct corresponding L P Orifices Refer to L P Kit Contents on page 1 and Fig 9 to determine the correct L P Orifice replacement Replace Inner Orifice NG 80mm with LP orifice marked 40mm Re...

Page 3: ...ply pressure should never be over 14 water column When properly adjusted the manifold water column pressure is 10 for LP Propane gas or 4 for Natural gas Do not use a flame to check for gas leaks a Disconnect the range and its individual shut off valve from the gas supply piping system during any pressure testing of that system at test pressures greater than 14 of water column pressure approximate...

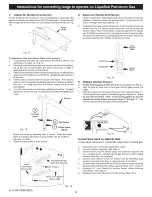
Page 4: ...fthe flame is a distinct blue but lifting away from the burner reduce the air shutter opening size Tighten the shutter set screw Oven Burner Tube Lock Screw I Air Shutter Orifice Hood Fig 20 9 Replace Warmer Drawer a Pull the bearing glides to the front of the chassis glide See Fig 21 b Align the glide on each side of the drawer with the glide slots on the range c Push the drawer into the range un...

Reviews: