background image


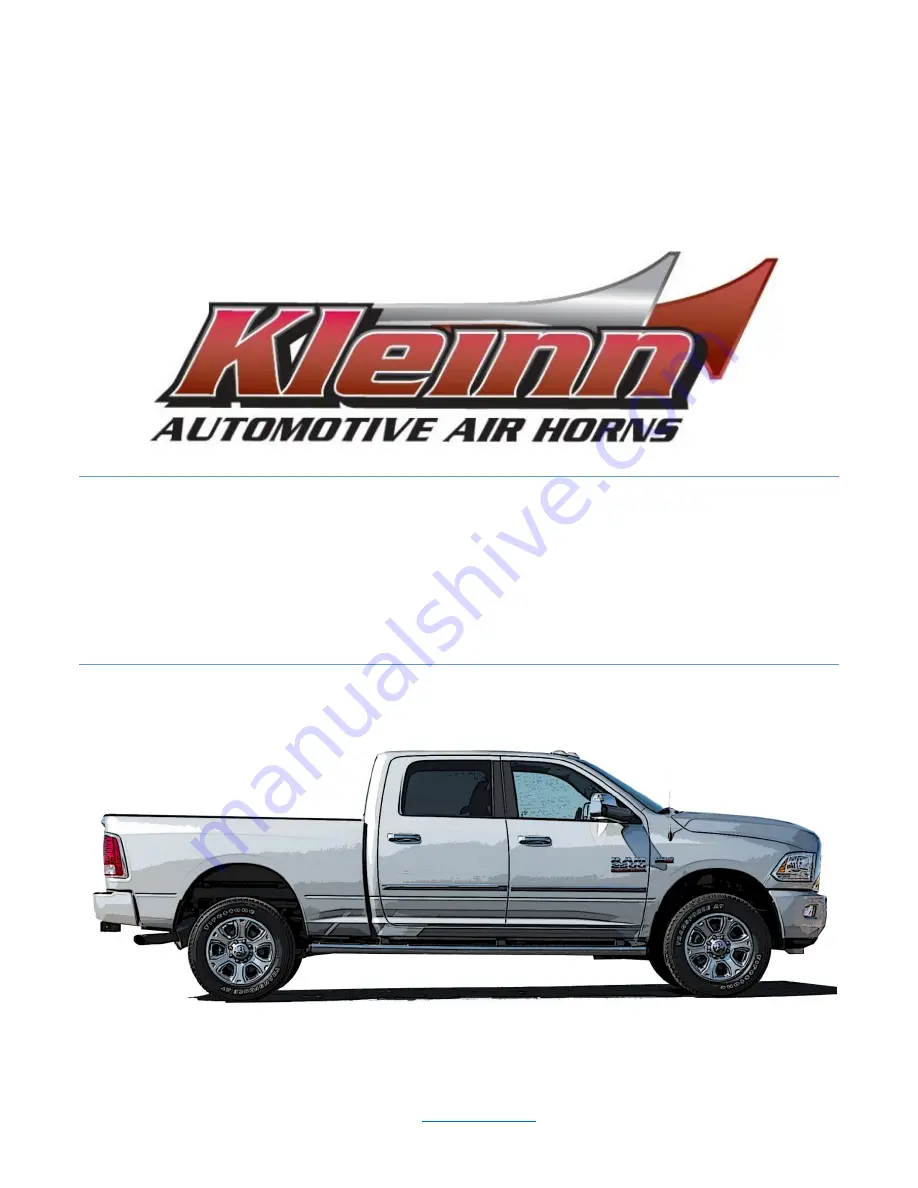
RAMHDOBA-6450 

INSTALLATION INSTRUCTIONS


© Kleinn Air Horns 2021, All rights reserved. 

PO Box 91278 Tucson, AZ 85752 

Phone: (520) 579-1531 

Web

www.Kleinn.com


REV: A (08/05/2022) 

Summary of Contents for RAMHDOBA-6450

Page 1: ...RAMHDOBA 6450 INSTALLATION INSTRUCTIONS Kleinn Air Horns 2021 All rights reserved PO Box 91278 Tucson AZ 85752 Phone 520 579 1531 Web www Kleinn com REV A 08 05 2022 ...

Page 2: ...fined 7 3 Mount Medium and Large Horn Drivers to Bracket Error Bookmark not defined 7 4 Mount Small Horn Driver to Bracket Error Bookmark not defined 7 5 Mount Air Tank to Bracket Error Bookmark not defined 8 On Vehicle Mechanical Assembly Steps 12 8 1 Large Medium Horn Assembly Installation 12 8 2 Small Horn Assembly Installation 15 8 3 Air Tank Assembly Installation 18 8 4 Compressor and Bracket...

Page 3: ...Operation Manual Go to Table of Contents PG 2 32 REV A 08 05 2022 11 3 Test Quick Connect Coupler 29 12 General Operation of Kit 30 12 1 Compressor Operation 30 12 2 Horn Operation 30 13 Routine Maintenance 31 14 Warranty Information 32 ...

Page 4: ...ch may be present on kit and vehicle parts 2 Application Chart RAMHDOBA 6450 is a bolt on aftermarket product for all DODGE vehicles listed in below chart All vehicles listed may require drilling holes for ground wires and installing switches based on preference of switch locations and wire grounding points MODEL YR MODEL DRIVE ENGINE BODY TRIM 2014 2021 RAM 2500 2WD 4WD ALL Crew Cab short bed Meg...

Page 5: ...e Approximate 1 6355RT 3 0 Gallon Air Tank Under passenger side front door Bolted to outside of frame rail 2 Hours 2 6450RC 150 PSI Waterproof Compressor Under passenger side rear door Bolted to outside of frame rail 1 2 Hours 3 1301 Illuminated Dash Panel Gauge Kit Installer Customer Preference 1 Hours 4 1302 Remote Quick Connect Kit Installer Customer Preference 1 Hours Not Illustrated Top View ...

Page 6: ...2022 3 1 Approximate Installation Time RAMHDOBA 6450 is a multi faceted product consisting of multiple mechanical electrical and pneumatic components For a typical home mechanic or auto enthusiast a professional installation job with setup and testing of final product is estimated to take 6 Hours ...

Page 7: ...Wire Cutter Pliers 5 Wire Strippers 6 Wire Terminal Crimpers 7 Slip Joint Pliers 8 Utility Knife or Utility Razor blade 4 2 Special Tool List Recommended 1 10 100 ft lb torque wrench 2 50 150 in lb torque wrench 3 Multi Meter for 12V DC electrical systems or equivalent 4 12V DC Test Light or equivalent 4 3 Shop Consumables List Recommended 1 Quality Electrical tape 2 Di electric grease for electri...

Page 8: ...upply 2 1 6355RT 3 0 Gallon Air Tank 3 12 Ft 25014 1 1 4 Air Tubing 4 1 1301 Illuminated Dash Panel Gauge Kit 5 1 1302 Quick Connect Air Coupler Kit with relocation bracket 6 1 INF 1 Tire Inflation Kit w bag fittings 7 20 Ft N A Loom Pack 1 4 8 10 Ft Loom Pack 1 8 9 5 Ft Loom Pack 3 8 10 1 59830 Digital Tire Inflator w Pressure Release 11 1 2151 1 4 NPT Pressure Switch 110 PSI On 145 PSI Off 12 1 ...

Page 9: ...X 1 4 Compression Fitting 17 1 JUICE Thread Sealant for NPT Fittings 18 1 N A 4 Bolt Tank Hardware 7 16 14 Bolts Nuts and Washers 19 1 N A Hardware Pack 1 2 13 Bolts Nuts and Washers 7 16 14 Nuts and Washers 20 1 6852 Compressor Wiring Kit Complete 21 1 RAMHD_TANK_BRKT ASSY Air Tank Bracket 22 1 RAMHD 200 Air Compressor Bracket 23 3 RAMHD_WASHER Washer for Frame Slots 24 1 RAMHD 201 for 2019 RAMHD...

Page 10: ...0 and verify all parts are included per above Parts List Contact Kleinn support if any questions arise 6 2 Air Tank Fittings 1 Attach and tighten air fittings to tank per below illustrations a Apply two small drops of Kleinn Air Horn Juice to each male pipe thread b Hand tighten each fitting then further tighten each 1 4 1 2 turn using proper sized combination wrench or equivalent adjust as necess...

Page 11: ...tents PG 10 32 REV A 08 05 2022 2 Attach air tank to bracket per below illustration a Use 4 Bolt Tank Hardware kit i Assemble fasteners clean and dry tank should not move freely but can be repositioned with some hand force ii Final tightening will be completed on vehicle ...

Page 12: ...RAMHD 734KIT6450 Installation and Operation Manual Go to Table of Contents PG 11 32 REV A 08 05 2022 ...

Page 13: ...underneath vehicle and applying forces to vehicle chassis Follow all recommended safety preCAUTIONs for raising vehicle consult vehicle owner s manual 8 1 Large Medium Horn Assembly Installation 1 Attach Large Medium Horn bracket assembly onto vehicle chassis per below illustration a Use RAMHD Hardware kit i Finger tighten fasteners only but ensure bracket is sitting entirely flush on chassis b In...

Page 14: ...ration a Move bracket up down and fore aft as necessary to ensure adequate clearance between all trumpets and underbody i Large Horn Trumpet must have minimum 1 4 i e thickness of Bic Pen clearance between underbody floor brace ii Horns can also be repositioned on bracket slots b Hold bracket in correct position and tighten mounting fasteners firmly c Tighten horn mounting fasteners to bracket fir...

Page 15: ...RAMHD 734KIT6450 Installation and Operation Manual Go to Table of Contents PG 14 32 REV A 08 05 2022 Crew Cab and Mega Cab Orientation ...

Page 16: ...Small Horn Assembly Installation 1 Attach Small Horn bracket assembly onto vehicle chassis per below illustration a Use RAMHD Hardware kit i Finger tighten fasteners only but ensure bracket is sitting entirely flush on chassis b Install Small trumpet into open driver and tighten firmly Crew Cab Orientation ...

Page 17: ...RAMHD 734KIT6450 Installation and Operation Manual Go to Table of Contents PG 16 32 REV A 08 05 2022 Crew Cab Orientation ...

Page 18: ...y and tighten fasteners per below illustration a Move bracket up down and fore aft as necessary to ensure adequate clearance between trumpet and underbody i Horn can also be repositioned on bracket slots b Hold bracket in correct position and tighten mounting fasteners firmly c Tighten horn mounting fasteners to bracket firmly Crew Cab Orientation ...

Page 19: ...g air tank onto vehicle chassis requires hands to be near exhaust system make sure vehicle exhaust is cool enough to touch before installation 1 Attach Air Tank assembly onto vehicle chassis per below illustration a Use RAMHD Hardware kit i Ensure bracket is sitting entirely flush on chassis and finger tighten fasteners Crew Cab and Mega Cab Orientation ...

Page 20: ...eners per below illustrations b Move bracket up down and fore aft as necessary to ensure adequate clearance around tank i Air Tank must have minimum 1 4 clearance between underbody and rocker panels ii Reposition Tank up down on bracket slots if necessary c Hold bracket in correct position and tighten mounting fasteners firmly d Tighten Tank mounting fasteners to bracket firmly ...

Page 21: ...RAMHD 734KIT6450 Installation and Operation Manual Go to Table of Contents PG 20 32 REV A 08 05 2022 Crew Cab and Mega Cab Orientation ...

Page 22: ...32 REV A 08 05 2022 8 4 Compressor and Bracket Installation 1 Attach Compressor bracket onto vehicle chassis per below illustration a Use RAMHD Hardware kit i Ensure bracket is parallel to frame i e level ii Hold bracket in position and firmly tighten fasteners Crew Cab Orientation ...

Page 23: ...RAMHD 734KIT6450 Installation and Operation Manual Go to Table of Contents PG 22 32 REV A 08 05 2022 Crew Cab Orientation Mega Cab Orientation ...

Page 24: ...sized box end wrench top plug requires hex wrench 2019 RAMHD For 2019 RAMHD use the compressor bracket and bolt tie plate to attach the compressor bracket to the frame Insert one end of the bolt tie plate through the square hole One bolt sticks out of this square hole the other bolt sticks out of the round hole just in front of it Use your fingers to hold the tie plate against the inside of the fr...

Page 25: ...adiator and fasten securely to vehicle using zip ties or equivalent 2 Connect air compressor outlet to air tank using supplied 1 4 tubing per below illustration 3 Connect Medium Air Horn solenoid to air tank outlet using supplied 1 2 tubing 4 Connect Remote Quick Connect kit to air tank outlet per below illustration a Route and attach Quick Connect Coupler Kit to vehicle as desired I e under hood ...

Page 26: ... in location away from road spray water excessive dust etc 6 Re connect all horns using supplied 1 4 tubing per below illustration a Cut all tubing to length using sharp utility blade razor blade tubing cutter or equivalent ends must be square and not deformed before attaching to air fittings i For further instruction on properly installing into fittings reference this SMC Video 1 4 Tubing to Remo...

Page 27: ...32 REV A 08 05 2022 7 View this general Kleinn 6450RC installation manual for more information 8 View this general Kleinn 730 Horn Kit installation manual for more information 1 2 Tubing from Air Tank 1 4 Tubing to either Small or Large Horn 1 4 Tubing to either Small or Large Horn ...

Page 28: ...yellow wire to other wire on pressure switch route to vehicle interior and connect it to a fused 12v switched power source i e open accessory spot on fuse block 8 3 Route Wiring and Install Horn Button a Locate red 10 gauge power wire this wire will be run to battery and down to compressor bracket Wire should be routed down passenger side frame rail away from all exhaust for later connection to co...

Page 29: ...erminal is properly grounded by either touching bare metal or via self tapping screw c Connect Pin 86 to supplied Yellow wire and to pressure switch wire on Air Tank either wire can be connected Connect remaining yellow wire to other wire on pressure switch route to vehicle interior and connect it to a fused 12v switched power source i e open accessory spot on fuse block 8 5 Connect Air Horn Solen...

Page 30: ...b Verify all tubing and electrical wire is securely fastened to vehicle brackets or kit parts if necessary use extra zip ties to hold tubing and wire in place c Ensure all nearby persons have adequate hearing protection and provide courtesy warning to neighbors or others in vicinity WARNING NEVER operate train horns with ears close to trumpets or in an enclosed space without substantial hearing pr...

Page 31: ...t discharge of vehicle s battery and for best performance keep vehicle s engine running while using air compressor for any prolonged use i e filling tires using air tools etc 10 2 Horn Operation a Allow Air Compressor to run until it shuts off automatically i e Air Tank is full or for at least one minute in between horn activations b Press Horn Button to activate Horns i Horn sound loudness will t...

Page 32: ... climates where road salts are used 3 Yearly or every 12000 miles check electrical and air fitting connections and wires for abrasion corrosion or other damage Replace damaged components NOTE if system runs continuously or turns on unexpectedly leaks or intermittent electrical connection may be present 4 Monthly or every 10 hours of compressor run time drain moisture from air tank using drain valv...

Page 33: ...ranty Information Thank you for purchasing this RAMHDOBA 6450 Shall you experience any unexpected problems during installation or have problems with any part at any time please contact Kleinn support Kleinn Air Horns 2021 All rights reserved PO Box 91278 Tucson AZ 85752 Phone 520 579 1531 Web www Kleinn com ...

Reviews: