background image

1

AB16499


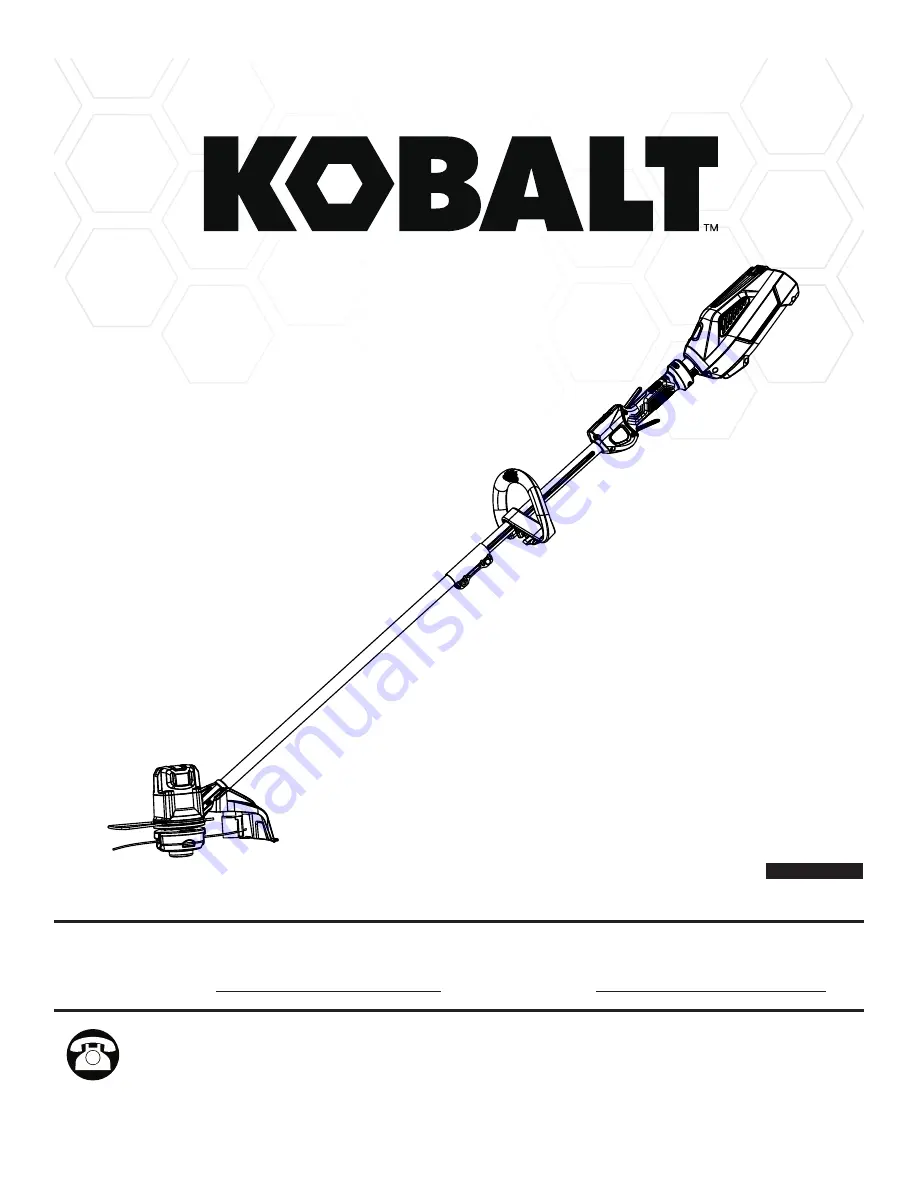
40 V STRING TRIMMER

ITEM #0796787

MODEL #KST 130X-06

Español p. 20

Questions, problems, missing parts?

 Before returning to your retailer, call our customer  

service department at 

1-888-3KOBALT

 (1-888-356-2258), 8 a.m. - 8 p.m., EST,  

Monday - Friday.

ATTACH YOUR RECEIPT HERE

Serial Number

Purchase Date

Summary of Contents for KST 130X-06

Page 1: ...DEL KST 130X 06 Español p 20 Questions problems missing parts Before returning to your retailer call our customer service department at 1 888 3KOBALT 1 888 356 2258 8 a m 8 p m EST Monday Friday ATTACH YOUR RECEIPT HERE Serial Number Purchase Date ...

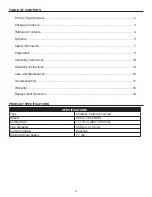
Page 2: ...ly Instructions Operating Instructions Care and Maintenance Troubleshooting Warranty Replacement Parts List 2 3 4 5 7 9 10 14 16 17 18 19 Type Speed Cutting Path Line diameter Cutting capacity Cordless battery powered 6 800 7 800 RPM 11 13 in 280 330 mm 0 080 in 2 0 mm Dual line SPECIFICATIONS Weight without battery 7 7 lbs ...

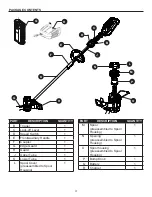
Page 3: ...r 1 G Edge Guard 1 H Guard 1 J Upper Tube 1 K Lower Tube 1 PART DESCRIPTION QUANTITY N Opening preassembled to Spool Housing 1 O Spool housing preassembled to Spool Housing 1 Q R L M N O Q Battery 1 R Charger 1 P L Spool Cover preassembled to Spool Housing 1 P Bump Knob 1 M Spool preassembled to Spool Housing 1 G B C D E F H J K ...

Page 4: ...4 HARDWARE CONTENTS not shown actual size Screw preassembled to the Guard H Qty 2 Fastening Knob Qty 1 Qty 1 AA BB CC DD Hex Wrench Qty 1 Bolt ...

Page 5: ...read and understand operator s manual before using this product Eye Protection Wear eye protection with side shields that are marked to comply with ANSI Z87 1 when operating this equipment Safety Alert Precautions that involve your safety No Blade Do not install or use any type of blade on a product displaying this symbol Ricochet Thrown objects can ricochet and result in personal injury or proper...

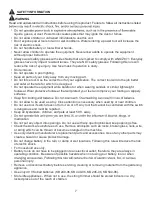
Page 6: ...roughly and understand it completely If you do not understand the warnings and instructions in this Owner s Manual do not use this product Call 1 888 356 2258 for assistance The operation of any power tool can result in foreign objects being thrown into your eyes which can result in severe eye damage Before beginning power tool operation always wear safety goggles or safety glasses with side shiel...

Page 7: ...ct your feet and improve your footing on slippery surfaces Do not allow to be used as a toy Close attention is necessary when used by or near children Do not use tool if switch does not turn it on or off Any tool that cannot be controlled with the switch is dangerous and must be repaired Keep all bystanders children and pets at least 50 ft away medication Do not put any object into openings Do not...

Page 8: ...n a dry locked up place out of the reach of children Maintain tool with care Keep all vents and openings clean and clear of debris Follow instructions it off and removing the battery Dress Properly Do not wear loose clothing or jewelry They can be caught in moving parts Use of rubber gloves and substantial footwear is recommended when working outdoors Wear protective hair covering to contain long ...

Page 9: ...ur view of a child who may run into the path of the trimmer WARNING Proposition 65 Some dust created by power sanding sawing grinding drilling and other construction activities contains chemicals known to the state of California to cause cancer birth defects or other reproductive harm Some examples of these chemicals are Lead from lead based paints Crystalline silica from bricks and cement and oth...

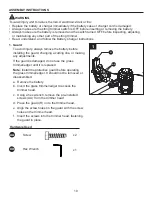
Page 10: ...talling the guard changing a cutting line or making any adjustments If the guard is damaged do not use the grass trimmer edger until it is replaced Note Install the protective guard before operating the grass trimmer edger It should not be removed or disassembled a Remove the battery b Invert the grass trimmer edger to access the trimmer head c Using a hex wrench remove the pre installed screws AA...

Page 11: ... locks into the positioning hole 3 WARNING J K F a Tighten the screw with the hex wrench DD b Release button Positioning hole Hardware Used Hex Wrench x 1 DD DD 2 Front handle a Position the front auxiliary handle E onto the upper portion of the trimmer section by sliding over the upper tube J c The front handle can be adjusted to a suitable position Note Do not overtighten the fastening knob It c...

Page 12: ... spool M Ensure line snaps into position in the slot c direction Once completed put the line in the slot so it does not unwind d Do not wind the line beyond the edge of the spool M 4a 4b 4c 4 Cutting line trimmer edger When the cutting line needs replacing insert a new spool not included or rewind new line onto existing spool CAUTION To avoid injury always remove the battery before installing the ...

Page 13: ...he trimmer for and charge Battery release button 6 Adjusting the cutter blade 6 This trimmer is equipped with a line cut off blade on the guard The line cut off blade continuously trims the line to ensure a consistent and efficient cut diameter Advance line whenever you hear the engine running faster than normal or when trimming efficiency diminishes This will maintain best performance and keep li...

Page 14: ...mmer is operating the cutting line gets worn down and becomes shorter This trimmer is equipped with bump feed line advancement which advances additional line once the head is bumped on the ground while rotating The cut off blade will cut the line to keep an accurate cutting swath Trimmer tips Before each use Make sure the protective guard is tightly installed If not tighten the guard screws Before...

Page 15: ...only the tip of the cutting line to do the trimming especially near walls and fences Trimming with the side of the cutting line may overload the motor wear out the line faster and break the line more often Do not rest the trimmer spool on the ground while trimming This will cause spool wear and battery drain If the grass is higher than 6 in 15 cm trim in small stages When the grass trimmer edger i...

Page 16: ...e dirt and debris from guard using a paint brush not included 2 Clean dirt and debris off of motor cover and connection joints Trimmer Guard and Motor Maintenance CARE AND MAINTENANCE 3 Clean line cutter blades by using a wire brush and spraying with an appropriate degreaser ...

Page 17: ...he string trimmer If you still have questions or an unresolved issue after going through this troubleshooting guide or just want to speak to a Kobalt product expert please call our customer service department at 1 888 3KOBALT 1 888 356 2258 8 a m 8 p m EST Monday Friday Line is not cutting well 1 The cutting blade on the guard has become dull 1 Sharpen the cutting blade with a file or replace it w...

Page 18: ...t or refund or call 1 888 3KOBALT 1 888 356 2258 for warranty service This warranty is void if defects in materials or workmanship or damages result from repairs or alterations which have been made or attempted by others or the unauthorized use of nonconforming parts the damage is due to normal wear damage is due to abuse including overloading of the tool beyond capacity improper maintenance negle...

Page 19: ...88 356 2258 8 a m 8 p m EST Monday Friday Printed in China Kobalt is a registered trademark of LF LLC All Rights Reserved PART DESCRIPTION PART BB 341111437AB CC 322041444 DD 329011444 Fastening knob Bolt Hex wrench BB E 341131444 Front auxiliary handle CC DD E H H 311141444 Guard L L 311091429 Spool cover ...

Reviews: