background image

PL 

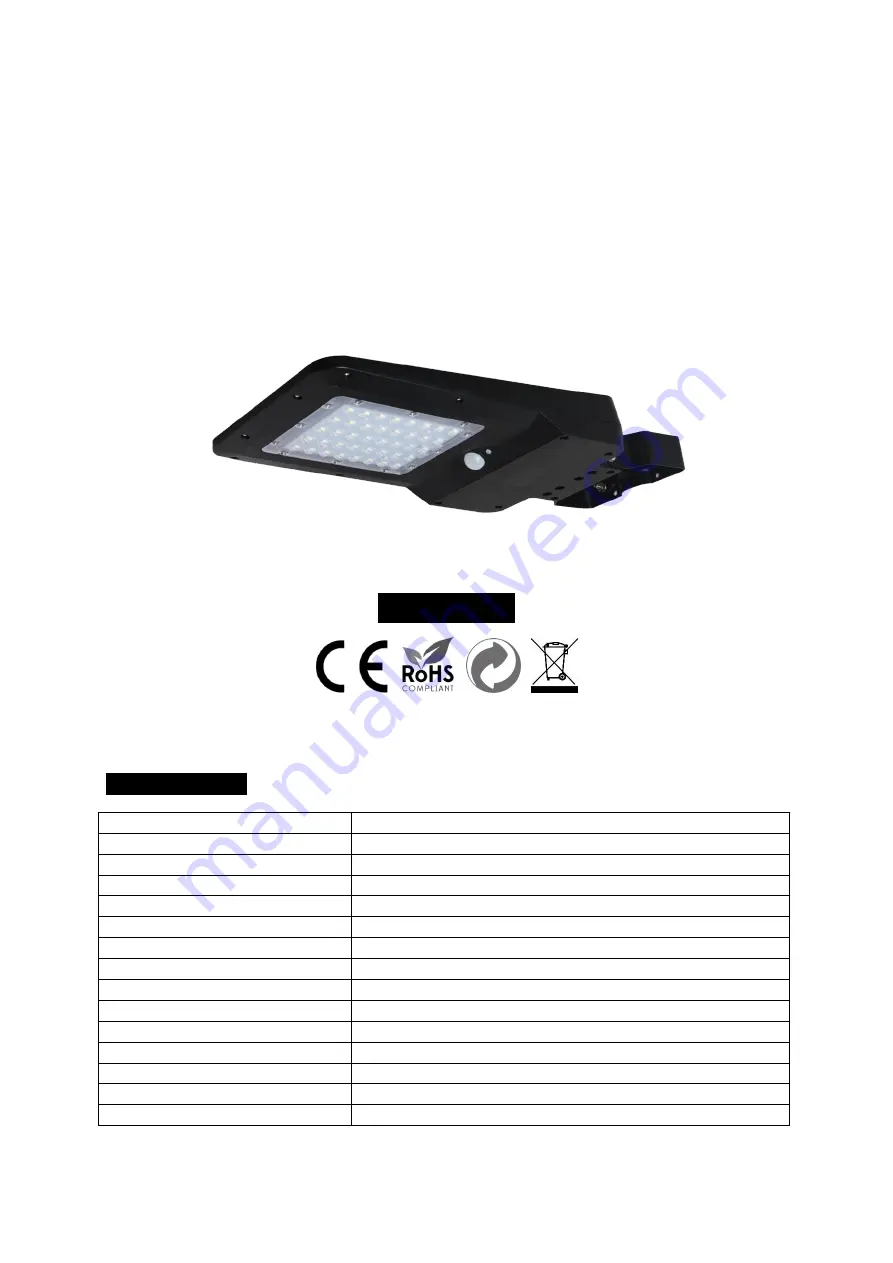
Solarna lampa uliczna LED (15W)  

z czujnikami ruchu i 

natężenia światła


Instrukcja Obsługi


15W/1600LM 


Szanowny kliencie. Dziękujemy za zakup naszego produktu i


prosimy o zapoznanie się z poniższ

ymi 

informacjami. 

DANE TECHNICZNE 

Nazwa produktu 

Solar LED STREET 15W 

Wymiary produktu 

413x232x58mm 

Zastosowany układ LED


40*SMD2835 

Temperatura barwowa 

4000K 

Akumulator 

wymienialny Li-ion; 

7,4V

 / 5400mAh 

Moc instalacji fotowoltaicznej 

9.5Wp 

Pobór mocy 


15W 

Strumień świetlny


1600LM 

Kąt świecenia


140x70

°


Trwałość źródła światła


35 000h 

Klasa szczelności                                                                                               


IP65 

Wysokość montażu


3-5m 

Obszar detekcji czujnika ruchu 

3-8m 

Kąt detekcji czujnika ruchu


120

°


Gwarancja 

24 miesiące (12 miesięcy na baterię)


Summary of Contents for Solar LED STREET 15W

Page 1: ... Solar LED STREET 15W Wymiary produktu 413x232x58mm Zastosowany układ LED 40 SMD2835 Temperatura barwowa 4000K Akumulator wymienialny Li ion 7 4V 5400mAh Moc instalacji fotowoltaicznej 9 5Wp Pobór mocy 15W Strumień świetlny 1600LM Kąt świecenia 140x70 Trwałość źródła światła 35 000h Klasa szczelności IP65 Wysokość montażu 3 5m Obszar detekcji czujnika ruchu 3 8m Kąt detekcji czujnika ruchu 120 Gwa...

Page 2: ...wy Wielofunkcyjny Długotrwały MONTAŻ A ŚCIENNY 1 Przygotuj lampę i potrzebne narzędzia do montażu 2 Wywierć 2 otwory o średnicy 8mm i głębokości 60mm na ścianie w odległości 105mm 1 3 Umieść kołki rozporowe w wywiercone otwory 2 4 Przymocować oprawę do ściany śrubami do kołków rozporowych 3 MONTAŻ B NA MASZCIE PROSTYM 1 Przygotuj lampę i potrzebne narzędzia do montażu 2 Odkręć nakrętki z uchwytu 1...

Page 3: ...uj lampę i potrzebne narzędzia do montażu 2 Otwórz i wyjmij osłonę gniazda oprawy 1 3 Przyłóż w odpowiednie miejsce dołączony do zestawu element do mocowania masztu 2 4 Zamontuj maszt w powstałym otworze 3 5 Odpowiednio ustaw lampę i przytwierdź jej podstawę do masztu 4 TRYB PRACY Ta oprawa posiada zaprogramowany automatyczny tryb pracy tak aby aktywowała się po zmierzchu i dezaktywowała w trakcie...

Page 4: ...ny czas świecenia oprawy LED będzie się różnić w zależności od czasu absorbcji oraz intensywności promieni słonecznych 4 Oprawa automatycznie włącza się po zmierzchu o ile nie zostanie wyłączony zdalnie za pomocą odpowiedniego przycisku przez użytkownika 5 Zalecana wysokość montażu oprawy powinna być większa o 3 5m od danego punktu odniesienia np 3m nad gruntem 6 Oprawa wyposażona jest w wewnętrzn...

Page 5: ...ę Zużyty akumulator należy wyjąć uprzednio odłączając go pewnym ruchem od wtyczki zasilającej Montaż nowej baterii przeprowadza się w analogiczny odwrotny do demontażu sposób UTYLIZACJA Zgodnie z Dyrektywą Europejską 2012 19 UE dotyczącą urządzeń elektrycznych i elektronicznych oznakowanie WEEE wskazuje na konieczność selektywnego zbierania zużytego sprzętu elektrycznego i elektronicznego Wyrobów ...

Page 6: ...roduct name Solar LED STREET 15W Dimensions 413x232x58mm LED Layout 40 SMD2835 Color temperature 4000K Battery replaceable Li ion 7 4V 5400mAh Photovoltaic power 9 5Wp Power consumption 15W Luminous flux 1600LM Lighting angle 140x70 Durability of lighting time 35 000h Tightness class IP65 Installation height 3 5m Motion sensor detection area 3 8m Detection angle of motion sensor 120 Warranty 24 mo...

Page 7: ...NSTALLATION A ON WALL 1 Prepare the lamp and tools needed for assembly 2 Drill two holes of 8mm with depth of 60mm on the wall dimension between holes 105mm 1 3 Fix the expansion screws into holes 2 4 Then use wrench to fix the lamp on the wall with expansion screws 3 INSTALLATION B ON CURVED POLE 1 Prepare the lamp and tools needed for assembly 2 Open and remove the housing socket cover 1 ...

Page 8: ... to fix the lamp on the pole 2 4 Loosen the screws at both ends of the bracket and adjust the angle of the lamp as needed which is 20 adjustable in clockwise direction and 10 adjustable in couterclockwise direction then tighten the screws 3 4 OPERATING MODE This luminaire has a programmed automatic mode of operation so that it activates after dusk and deactivates during the dawn However you should...

Page 9: ...e note that the maximum lighting time of the LED luminaire will vary depending on the time of absorption and the intensity of sunlight 4 The luminaire automatically switches on at dusk unless it is turned off remotely with Off button by the user 5 The recommended installation height should be 3 5 m higher than the given reference point eg 3 m above the ground 6 The luminaire is equipped with an in...

Page 10: ...over Disconnect old battery from the power plug with confident movement and remove it The assembly of the new battery is carried out in an analogous manner which is opposite to disassembly UTILIZATION In accordance to European Directive 2012 19 EU regarding electrical and electronic equipment the WEEE label indicates the need of separate collection of used out electrical and electronic equipment P...

Page 11: ...PEZIFIKATION Produktname Solar LED STREET 15W Maße 413x232x58mm LED Layout 40 SMD2835 Farbtemperatur 4000K Batterie austauschbar Li ion 7 4V 5400mAh Photovoltaik Power 9 5Wp Energieverbrauch 15W Lichtstrom 1600LM Beleuchtungswinkel 140x70 Haltbarkeit der Belichtungszeit 35 000h Dichtheitsklasse IP65 Installationshöhe 3 5m Bewegungssensor Erkennungsbereich 3 8m Erfassungswinkel des Bewegungssensors...

Page 12: ...1 ein 3 Sichern Sie die Befestigungsklammer 2 mit dem entsprechenden Schraubenschlüssel und den Schrauben 4 Bohren Sie in der entsprechenden Montagehöhe 2 Löcher mit einem Durchmesser von mindestens 8 mm und einer Tiefe von mindestens 60 mm Befestigen Sie dann die Bracket Basis an der Wand anstelle der Löcher mit Schrauben INSTALLATION B AUF RUNDE STANGE 1 Bereiten Sie die Lampe und die für die Mo...

Page 13: ...lterung am Mast 2 4 Lösen Sie die Schrauben an beiden Enden der Halterung und stellen Sie den Winkel der Lampe nach Bedarf ein Dieser ist um 20 im Uhrzeigersinn und um 10 im Gegenuhrzeigersinn einstellbar Ziehen Sie dann die Schrauben an 3 4 BETRIEBSART Diese Leuchte hat eine programmierte automatische Betriebsart so dass sie nach der Dämmerung aktiviert wird und während der Morgendämmerung deakti...

Page 14: ...haltet sie auf schwaches Licht Nach 5 Stunden Beleuchtung oder wenn die Batteriekapazität unter 30 ist Nach Bewegungserkennung bis zu 8 Meter leuchtet die Leuchte automatisch auf volle Leistung 1600LM nach 20 Sekunden ohne Bewegungserkennung schaltet sie auf schwaches Licht Nach insgesamt 5 Minuten schaltet es sich vollständig aus bis eine andere Bewegung erkannt wird ...

Page 15: ...die Solarmodulschale regelmäßig zu reinigen Eine schmutzige Zelle kann die photovoltaische Effizienz verringern 4 Verwenden Sie in beiden Fällen keine starken Reinigungsmittel z B auf Alkoholbasis um Verfärbungen am Gehäuse zu vermeiden BATTERIEERSATZ Bevor Sie die Batterie austauschen schalten Sie das Leuchte aus indem Sie die Ein Aus Taste drücken die in die Aus Position gestellt werden sollte N...

Reviews: