Kohler K-3900X, Homeowner'S Manual
The Kohler K-3900X Homeowner's Manual is essential for anyone who values a hassle-free plumbing experience. Download this comprehensive manual for free from 88.208.23.73:8080, providing detailed instructions and valuable tips for maximizing the performance and longevity of your Kohler K-3900X. Get yours now and enjoy a worry-free plumbing experience.
Share
Download


Reviews:
No comments
Related manuals for K-3900X

SLPN 07CB
Brand: Sanela Pages: 6

C971 Series
Brand: Toto Pages: 5

SW3044
Brand: Toto Pages: 38

CST604 Series
Brand: Toto Pages: 28

CST436
Brand: Toto Pages: 32

K-5401KR
Brand: Kohler Pages: 31

Prevista Pure 8367
Brand: Viega Pages: 12

Microphor LF-210
Brand: Wabtec Pages: 17

4942
Brand: Enders Pages: 12

707437
Brand: WaterRidge Pages: 13

AquaClean 4000
Brand: Geberit Pages: 28

OVE K-19950W
Brand: Kohler Pages: 5

ATS-800
Brand: Lotus Pages: 12
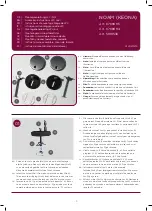
NOAM
Brand: Jungborn Pages: 4

Ticco 2G
Brand: Drive Pages: 4

Dupont TALIS
Brand: Drive Pages: 8


