background image


1

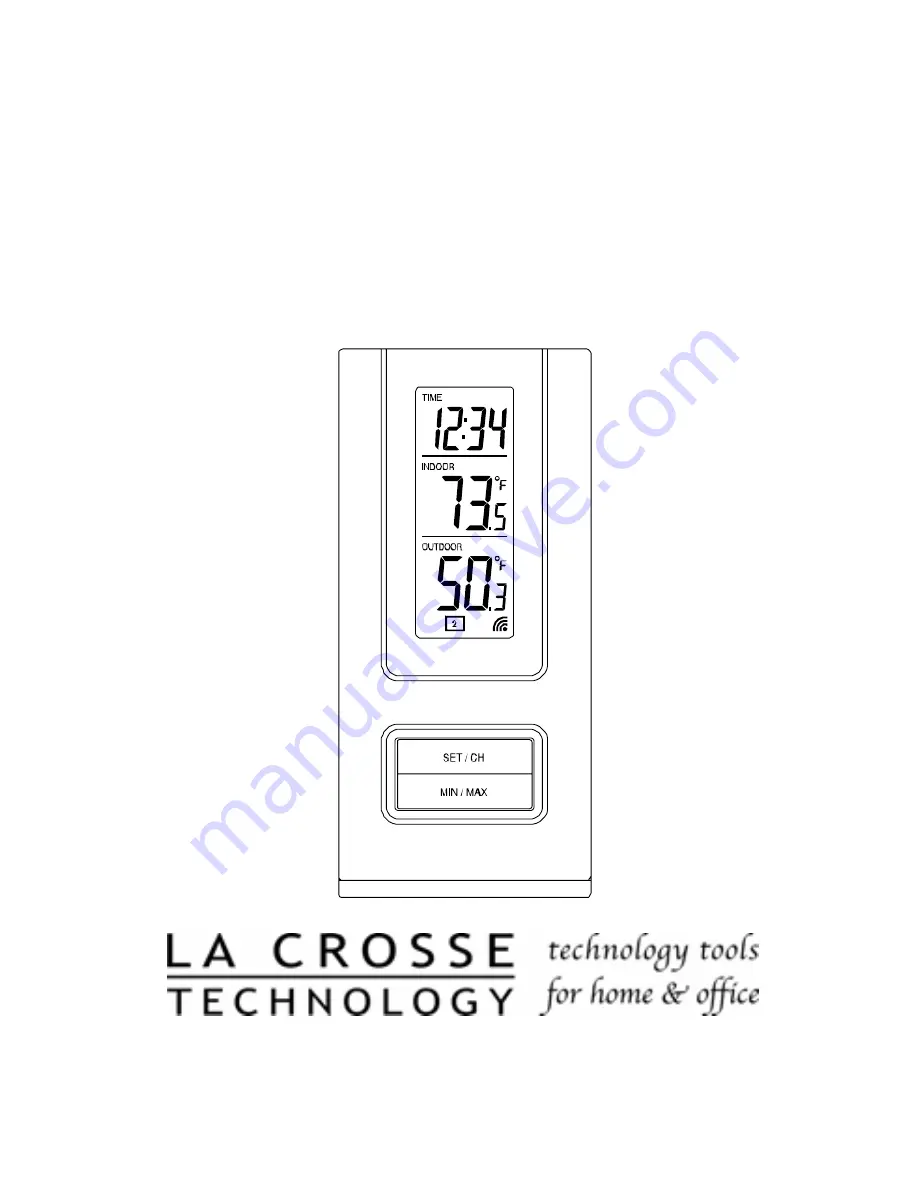
WS-9117U 

Wireless 433 MHz 

Temperature Station


Instruction Manual 


Summary of Contents for WS-9117U

Page 1: ...1 WS 9117U Wireless 433 MHz Temperature Station Instruction Manual...

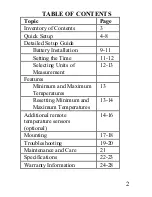
Page 2: ...Setting the Time 11 12 Selecting Units of Measurement 12 13 Features Minimum and Maximum Temperatures 13 Resetting Minimum and Maximum Temperatures 13 14 Additional remote temperature sensors optiona...

Page 3: ...ure sensor TX6U and mounting bracket Figure 2 3 3 each 1 2 Philips screws 4 One strip of double sided adhesive tape 5 Instruction Manual and Warranty Card ADDITIONAL EQUIPMENT not included 1 1 Philips...

Page 4: ...remote temperature sensor 3 to 5 feet apart 2 Batteries should be out of both units for 10 minutes 3 Place the batteries into the remote temperature sensor first then into the indoor temperature stati...

Page 5: ...ase retry the set up as stated above After both indoor and outdoor temperatures are displayed for 15 minutes you can place your remote temperature sensor outdoors and set your time The remote temperat...

Page 6: ...direct rain must be avoided To complete the set up of your indoor temperature station after the 15 minutes have passed please follow the steps below 1 Press and hold the SET CH button for 5 seconds No...

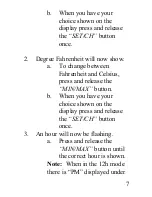
Page 7: ...a To change between Fahrenheit and Celsius press and release the MIN MAX button b When you have your choice shown on the display press and release the SET CH button once 3 An hour will now be flashing...

Page 8: ...ea will be blank b When the correct hour is shown press and release the SET CH button once 4 A minute will now be flashing a Press and release the MIN MAX button until the correct minutes are displaye...

Page 9: ...Y INSTALLATION A REMOTE TEMPERATURE SENSOR 1 Remove the mounting bracket 2 Remove battery cover 3 Observing the correct polarity install 2 AA batteries make sure they do not spring free or start up pr...

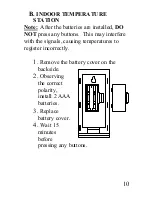
Page 10: ...NOT press any buttons This may interfere with the signals causing temperatures to register incorrectly 1 Remove the battery cover on the backside 2 Observing the correct polarity install 2 AAA batter...

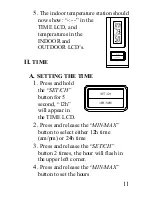
Page 11: ...SETTING THE TIME 1 Press and hold the SET CH button for 5 second 12h will appear in the TIME LCD 2 Press and release the MIN MAX button to select either 12h time am pm or 24h time 3 Press and release...

Page 12: ...lock Note When in 12h mode there is only a PM display which appears under TIME If there is no display here it is AM Make sure you set the time accordingly III UNITS OF TEMPERATURE MEASURE A SELECTING...

Page 13: ...he MIN MAX button MIN appears in the temperature LCD s and the recorded minimum temperatures are displayed 2 Press and release the MIN MAX button to toggle to the maximum temperatures The time of occu...

Page 14: ...These extra sensors can be purchased through the same dealer as this unit or by contacting La Crosse Technology directly A TX6 will monitor temperature only a TX3U will monitor temperature and display...

Page 15: ...the batteries from all units currently in operation 3 Remove the battery covers to all remote temperature sensor units 4 Place all remote temperature sensor units in a numeric sequential order 5 In se...

Page 16: ...xt should be observed in the OUTDOOR LCD 2 To view the Minimum Maximum temperature first select from which remote temperature sensor to read data indicated by the boxed number Pressing and releasing t...

Page 17: ...metal objects will reduce the range Place both units in their desired location before permanently mounting A REMOTE TEMPERATURE SENSOR 1 Remove the mounting bracket from the remote temperature sensor...

Page 18: ...move the table stand To do this pull down on the stand from the rear and rotate forward a Fix a screw not included into the desired wall and place the indoor temperature station onto the screw using t...

Page 19: ...door temperature is displayed Solution 1 Remove all batteries reinsert into remote temperature sensor first and then into the indoor temperature station 2 Place remote temperature sensor closer to the...

Page 20: ...sensor is less responsive to ambient air currents because of the shielding effect of the display s case In addition the case can act as a heat sink to absorb and store heat from external sources i e...

Page 21: ...nd units with a soft damp cloth Do not use solvents or scouring agents they may mark the displays and casings Do not submerge in water Do not subject the units to unnecessary heat or cold by placing t...

Page 22: ...C resolution Indoor Temperature Station Outdoor 21 8 F to 156 2 F with 0 2 F resolution 29 9 C to 69 0 C with 0 1 C resolution Temp accuracy 1 F 5 C Transmitting range Maximum 80 feet 25m open space...

Page 23: ...anufacturing defects in materials and workmanship This limited warranty begins on the original date of purchase is valid only on products purchased and used in North America and only to the original p...

Page 24: ...all expenses for labor and materials for all repairs covered by this warranty If necessary repairs are not covered by this warranty or if a product is examined which is not in need or repair you will...

Page 25: ...vers only actual defects within the product itself and does not cover the cost of installation or removal from a fixed installation normal set up or adjustments claims based on misrepresentation by th...

Page 26: ...Fax 608 796 1020 e mail support lacrossetechnology com warranty work sales lacrossetechnology com information on other products web www lacrossetechnology com FCC DISCLAIMER This device complies with...

Page 27: ...iver OMO 01TX sensor THIS DEVICE COMPLIES WITH PART 15 OF THE FCC RULES OPERATION IS SUBJECT TO THE FOLLOWING TWO CONDITIONS 1 THIS DEVICE MAY NOT CAUSE HARMFUL INTERFERENCE AND 2 THIS DEVICE MUST ACC...

Reviews: