


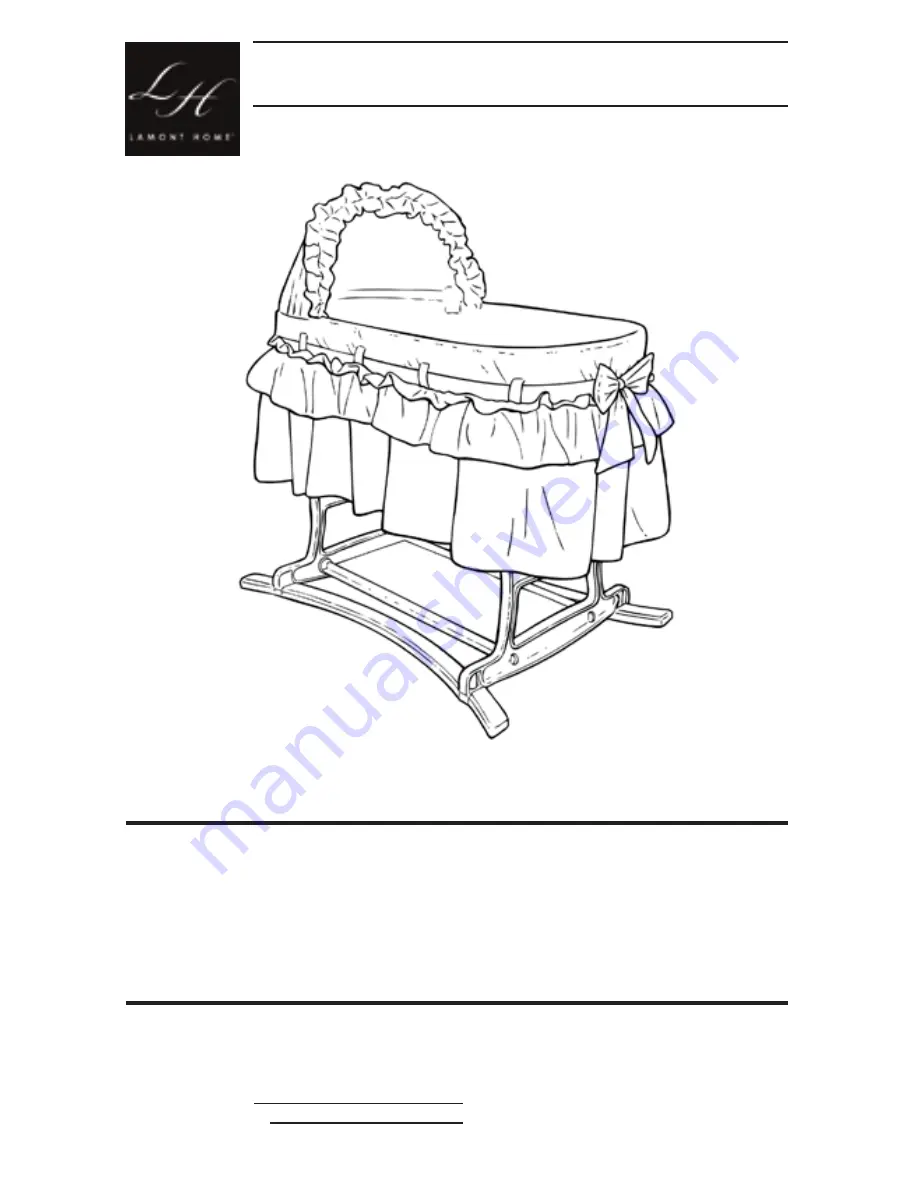
Style #906
Lot or Model #:
Date of Purchase:
(to be completed by consumer)
REV. #1 (2012)
THIS INSTRUCTION BOOKLET CONTAINS IMPORTANT SAFETY
INFORMATION. PLEASE READ AND KEEP FOR FUTURE REFERENCE.
ADULT ASSEMBLY IS REQUIRED.
• TOOLS NEEDED ←
A FLAT OR PHILLIPS HEAD SCREWDRIVER AND AN
ADJUSTABLE WRENCH, 7/16 INCH WRENCH OR A PAIR OF PLIERS.
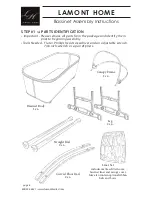
LAMONT HOME
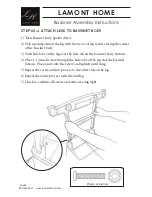
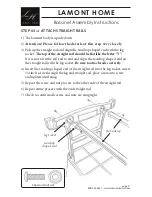
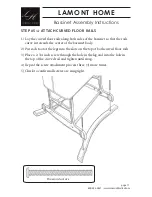
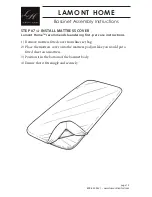
Bassinet Assembly Instructions
Lamont Home Customer Service Department
800-553-5621 (8:00 am — 4:30 pm CST, M-F)
Bassinet Made in the USA
Liners and Pad Made in China