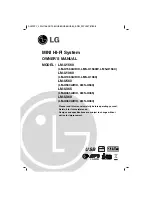
LG OM7560, Owner'S Manual
The LG OM7560 is a powerful and immersive audio system that delivers exceptional sound quality and versatile features. With its Simple Manual, users can easily navigate through the various functions and settings. You can conveniently download the user manual for free from our website, 88.208.23.73:8080, to maximize your enjoyment of this incredible audio system.
Share
Download


Reviews:
No comments
Related manuals for OM7560
CM9750
Brand: LG Pages: 81
CM4350
Brand: LG Pages: 38
CM4360
Brand: LG Pages: 37
FWD14
Brand: Philips Pages: 32
FWD14
Brand: Philips Pages: 3
FWM185/12
Brand: Philips Pages: 21
FWM185/12
Brand: Philips Pages: 3
FWP3100D/05
Brand: Philips Pages: 21
FWP3100D/05
Brand: Philips Pages: 2
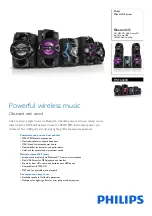
FWT6600X/78
Brand: Philips Pages: 3
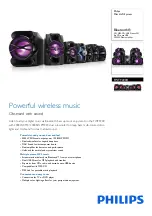
FWT9200X/77
Brand: Philips Pages: 3
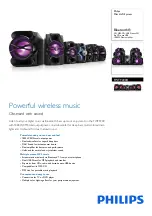
FWT9200X/78
Brand: Philips Pages: 3
LM-U360
Brand: LG Pages: 20
LM-U360
Brand: LG Pages: 65
CM4560
Brand: LG Pages: 39
CM9750
Brand: LG Pages: 41

OM7560
Brand: LG Pages: 76
FWM197/12
Brand: Philips Pages: 24


