background image

Summary of Contents for 831.296570

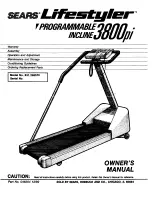
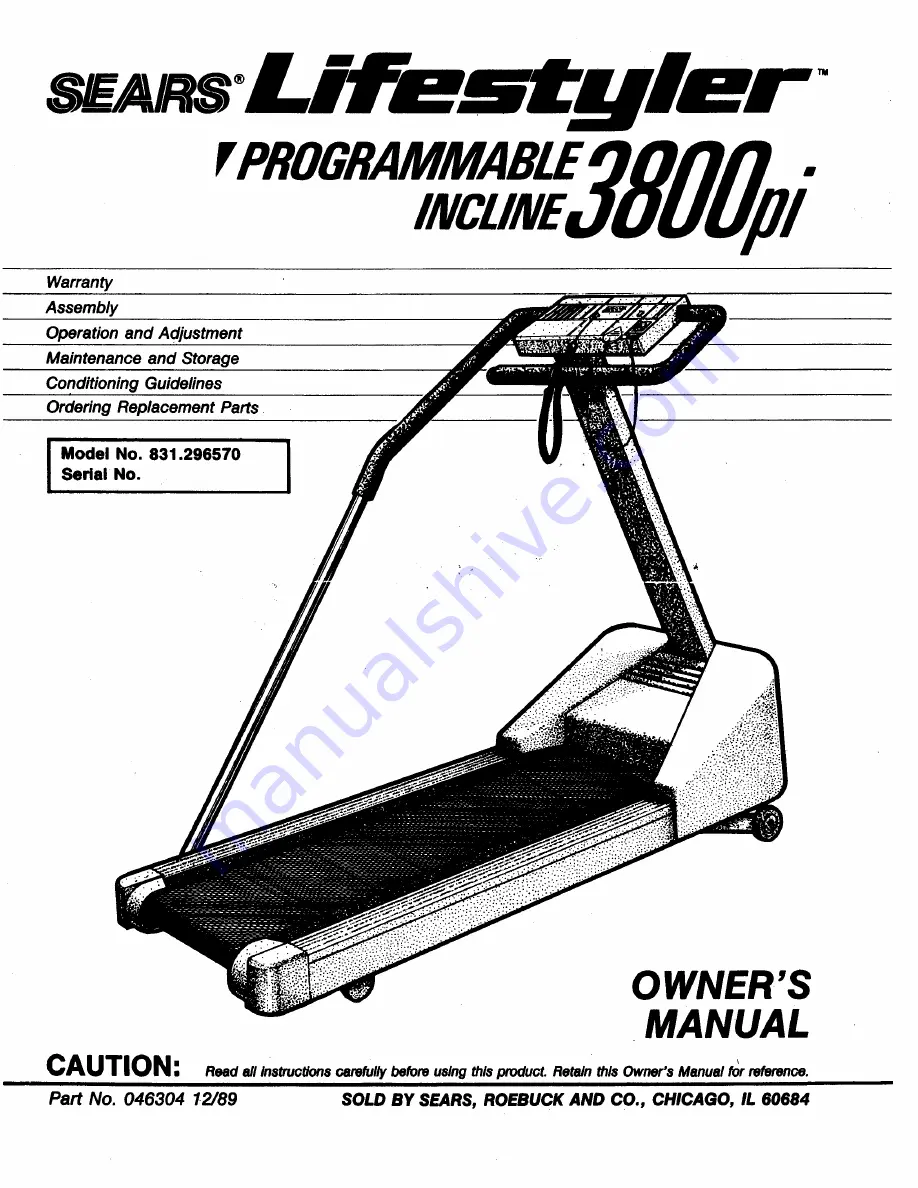
Page 1: ...and Storage Conditioning Guidelines Ordering Replacement Parts i I odel No 831 296570 i Serial No OWNER S MANUAL CAUTION Read all instruotions P_refullybeforeusingthisproduct Retain thisOwner s Manual...

Page 2: ...nsult your physician This is sspeclally Important for individuals over the age of 35 or persons with pre existing health problems Reed all Instructions before using Sears assumes no responsibility for...

Page 3: ...in the Owner s Manual are followed Sears will free of charge repair or replace and install a replacement part for any defective part when the Programmable Incline Treadmill is used in a normal manner...

Page 4: ...working properly 4 Never start the treadmill while you are standing on the walking belt Always hold the handrail when walking or running on the treadmill 5 Keep small children away from the treadmill...

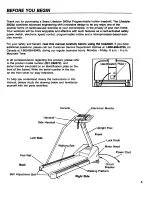
Page 5: ...you have additional questions please call our Customer Service Department toll free at 1 800 999 3756 in Canada at 1 800 824 8949 during our regular business hours Monday Friday 6 a m 6 p m Mountain...

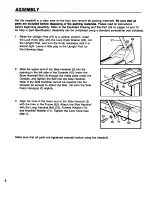
Page 6: ...kwise until it is almost tight Leave a little play in the Upright Post for the following steps Slide the upper end of the Side Handrail 2 into the opening in the left side of the Console 10 Insert the...

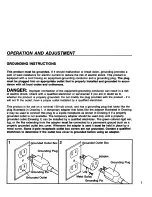
Page 7: ...per outlet installed by a qualified electrician This product is for use on a nominal 120 volt circuit and has a grounding plug that looks like the plug illustrated in Drawing 1 A temporary adapter tha...

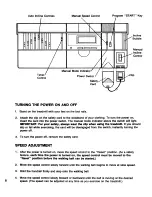
Page 8: ...or fall while exercising the card will be disengaged from the switch instantly turning the power off 3 To turn the power off remove the safety card 8 SPEED ADJUSTMENT 1 3 4 After the power is turned o...

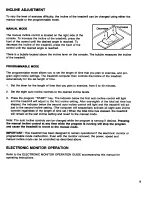
Page 9: ...ne levels Press the program START key The indicator below the first auto incline control will light and the treadmill will adjust to the first incline setting After one eighth of the total set time ha...

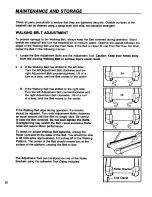
Page 10: ...t counterclockwise 118 of a turn at a time until the Belt moves to the center B If the Walking Belt has shifted to the right side Turn the left Adjustment Bolt counterclockwise and the right Adjustmen...

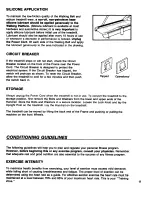
Page 11: ...STORAGE A0 o o h _ Power Cord h h _ 4 nct in use Tc convert the tr6admill to th6 o_u_ Mjr _ I l l_ _ p Ltev wu0e_ ooo e 0l_ L _ t _4III e0 e_ storage position first remove the Bolts and Washers from t...

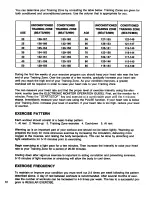
Page 12: ...ercise ut a c umfuriubiu pucu urdi tile 4 minutu _ elapse Immediately measure your heart rate using the PULSE function If your heart rate is below your Training Zone increase your level of exertion If...

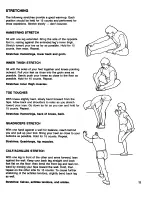
Page 13: ...uscles TOE TOUCHES With knees slightly bent slowly bend forward from the hips Allow back and shoulders to relax as you stretch toward your toes Go down as far as you can and hold for 15 counts Repeat...

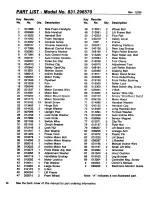
Page 14: ...1 4 Flat Washer 44 013494 6 Large Screw 45 012173 2 U Nut 46 004224 1 Lift Frame 47 052014 2 Front Wheel Reorder No Qty Description 48 013501 2 Wheel Bolt 49 013561 2 Lift Frame Bolt 50 010203 2 Foot...

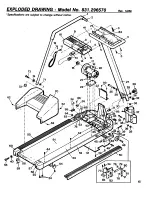
Page 15: ...No 831 296570 Specifications are subject to change without notice Rev 12 89 56 73 12 71 70 10 62 24 I I I i I i I 5O i 61 44 24 6O 59 57 56 55 54 9 53 14 66 63 52 15 18 51 5 2O 83 5 25 26 40 39 47 78...

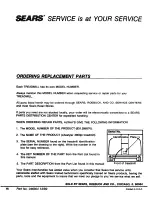
Page 16: ...RODUCT 831 296570 2 The NAME OF THE PRODUCT Lifestyler 3800pi treadmill The SERIAL NUMBER found on the treadmill identification plate see the drawing to the right Write the number in the box for easy...

Reviews: