background image

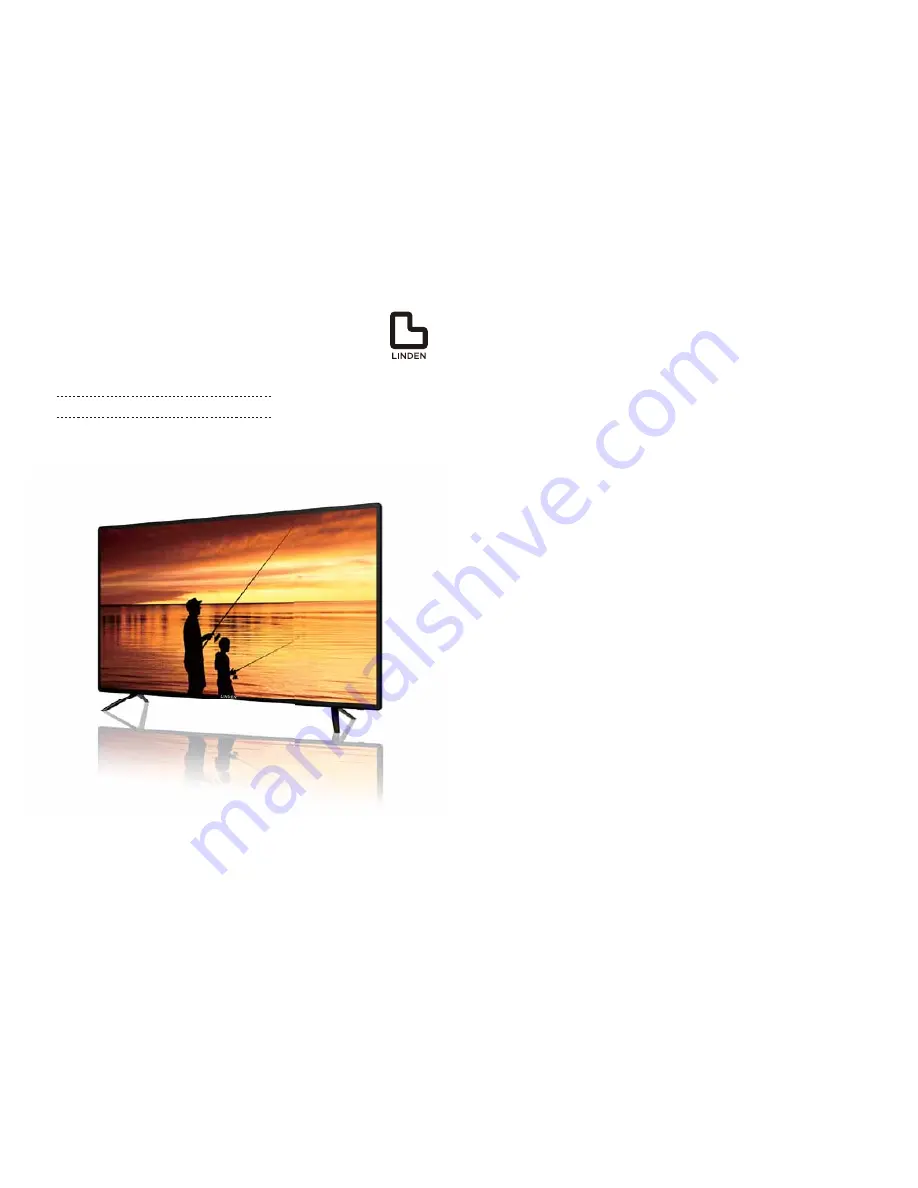
55” (139cm) UHD LED LCD TV

Instruction Manual
L55UTV17b
24 Month Manufacturer’s Warranty

Table of Contents

Television 

Overview 

       2

Remote 

Control 

       4

Important 

Safety 

Instructions 

      6

Contents 

in 

the 

Box 

       9

Basic 

Setup 

Guide 

       10

Caring 

for 

the 

Environment 

      12

Connection 

Overview       13

Input 

Source 

       16

Channel 

Menu 

       17 


Picture 

Menu 

       21

Sound 

Menu 

       23

Time 

Menu        26

Option 

Menu 

       29

Lock 

Menu        35

Hotel 

Mode        38

Media 

Operation 

       40

Photo 

Menu        45

Music 

Menu 

       46

Movie 

Menu 

       47

Text 

Menu 

        47

EPG 


48

USB 

Record 

Function 

       51 


USB 

Multimedia 

Playback 

Format      54

Resolution 

        55

Troubleshooting 

       56

Technical 

Specifications 

      57

Summary of Contents for L55UTV17b

Page 1: ...ox 9 Basic Setup Guide 10 Caring for the Environment 12 Connection Overview 13 Input Source 16 Channel Menu 17 Picture Menu 21 Sound Menu 23 Time Menu 26 Option Menu 29 Lock Menu 35 Hotel Mode 38 Media Operation 40 Photo Menu 45 Music Menu 46 Movie Menu 47 Text Menu 47 EPG 48 USB Record Function 51 USB Multimedia Playback Format 54 Resolution 55 Troubleshooting 56 Technical Specifications 57 ...

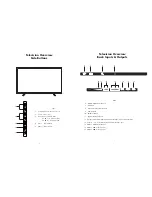
Page 2: ...ion Overview Back Inputs Outputs Back 6 7 HDMI 4 HDMI connection port 6 7 8 9 12 13 14 15 16 10 11 8 ANT 75 Antenna RF connection 9 USB USB 2 0 Optical Optical cable out 11 10 Earphone Output 12 AV Input External AV signal input and relevant right left sound channel inputs 13 Video Y Pb Pr Component input and relevant video input VGA Input 14 HDMI 1 HDMI connection port 15 HDMI 2 HDMI connection p...

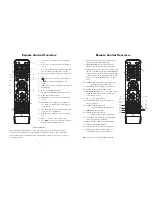
Page 3: ... CYAN SUB PG DTV ATV MTS 1 2 8 4 6 9 10 12 13 3 5 7 11 14 5 Remote Control Overview 17 EPG a Launches the Electronic Programme Guide b Rewind in PVR or Media Player mode 18 TIMESHIFT a DTV channel Timeshift Function b Play pause during PVR or media playback 19 CANCEL When a page is selected in text mode it may take some time before it becomes available CANCEL button will return to TV mode When the...

Page 4: ...arts of the television 7 WARNING Do not use this television near water or in an area exposed to water splashes or dripping To avoid the risk of fire or electric shock do not expose this televi sion to rain and or moisture 8 WARNING Do not place objects filled with liquid such as vases on or above the television 9 DO NOT immerse in any liquid whilst in use or whilst cleaning Clean only with a damp cl...

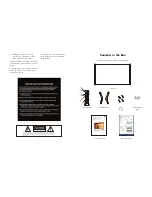
Page 5: ... sunshine fire or the like 26 The mains plus is used as the disconnect device the disconnect device shall remain readily operable 9 Contents in the Box Television Check that you have been provided with the following Screws 4 qty AAA Batteries 2 qty Remote Control MENU SOURCE ENTER EXIT SLEEP P MODE S MODE DISPLAY INDEX REVEAL SIZE TIMESHIFT RECLIST TEXT EPG ASPECT CANCEL FREEZE HOLD TV RADIO SUBTIT...

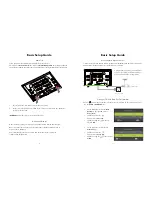
Page 6: ...evision is free from obstructions in order to keep the ventilation from being blocked 11 Basic Setup Guide Turning your Television On First Time Installation Press the power button on the remote control to turn your television on The television screen will show the First Time Installation Menu Use the buttons to select the OSD Language to be used for On Screen Display OSD Scroll down and use the b...

Page 7: ...d of incorrectly could be potentially hazardous on the environment and human health Observe any local regulations regarding the disposal of electrical consumer goods and dispose of it appropriately for recycling Contact your local authorities for advice on recycling facilities in your area The plug must be rendered useless and the cable cut off directly behind the television to prevent misuse Basi...

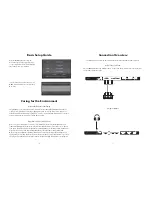
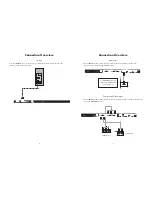
Page 8: ...CE button on either the remote control or the button located on the side of the television set and select the appropriate HDMI option For HDMI1 ARC Function please refer to HDMI CEC Section on Page 33 Component Video Input Press the SOURCE button on either the remote control or the button located on the side of the television set and select COMPONENT source Connection Overview YPbPr Output Audio O...

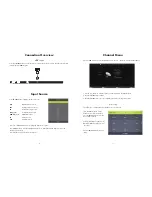
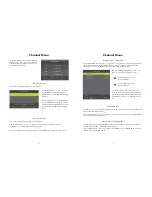
Page 9: ...ource Check the selected Input Source has an active device attached Press EXIT button to quit the Input Source menu USB2 USB1 17 Channel Menu Press the MENU button to enter the Main Menu Use the buttons to select the Channel Menu 1 Use the buttons to select the option you want to adjust in the Channel Menu 2 Press the ENTER button to adjust 3 Press the ENTER button to save your adjustment and retu...

Page 10: ...lete the selected channel Press the BLUE button to skip the selected channel Press the FAV button to add or remove the channel to your favourite list Removing a channel will make your television skip the channel automatically when using the CH buttons to scroll through the chan nels Programme Edit Channel Edit The Programme Edit sub menu allows you to delete move or skip television channels which ...

Page 11: ...adjustments and return back to the previous menu Picture Mode From the Picture Menu use the buttons to select Picture Mode then press the ENTER button to enter the Picture Mode sub menu Alternatively press PMODE button on your remote to enter Picture Mode You can adjust the Picture Mode to Standard Dynamic Mild User You can adjust Contrast Brightness Colour Sharpness from User Mode Use the buttons...

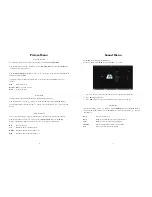
Page 12: ...ENTER button to enter the Colour Temp sub menu From the Color Temperature sub menu use the use the buttons to choose between Cold Normal and Warm and press ENTER To adjust the value of Cold Normal and Warm use the buttons then press MENU to save your changes Cold Increases blue tones Normal Balances blue and red tones Warm Increases red tones Picture Menu 23 Sound Menu Press MENU button to display...

Page 13: ...s to select SPDIF Mode then press the ENTER button to enter the SPDIF Mode sub menu Use the buttons to select between PCM AUTO Sound Menu 25 Audio Description AD Switch Certain broadcast programmes have Audio Descriptions available The AD Audio Description describes the sounds of the scenes which are being played on the television eg explosion people walking jazz music playing etc From the Sound M...

Page 14: ...Auto Standby This allows you to set a timer to automatically set your television to standby From the Time Menu use the buttons to select Auto Standby then press the ENTER button to enter the Auto Standby sub menu and select from the timer options Auto Standby and Sleep Timer Differences If you set your television to Auto Standby and use the remote control the timer starts again If you do not use y...

Page 15: ...Option then press ENTER or to enter 1 Press buttons to select the option that you want to adjust in the Option Menu 2 Press ENTER button to adjust 3 Press MENU button to save your adjustments and return to the previous menu On Screen Display OSD Language This allows you set the language displayed in your On Screen Display OSD From the Option Menu use the buttons to select OSD Language then press t...

Page 16: ...he Option Menu use the buttons to select ECO Mode then use the buttons to select between Low Middle High OSD Time On Screen Display Menu This allows you to set how long your On Screen Display Menu OSD is active before it switches off and returns to the programme you re currently watching From the Option Menu use the buttons to select OSD Timer then press the ENTER button to enter the OSD Timer sub...

Page 17: ...HDMI ARC1 port with your television remote control Please note that this function is only available with devices that have HDMI CEC capability From the Option Menu use the buttons to select HDMI CEC then press the ENTER button to enter the HDMI CEC sub menu Restore Factory Default This allows you to reset all the settings in the Option Menu back to factory default From the Option Menu use the butt...

Page 18: ...u Use the buttons select Lock then press ENTER or to enter 1 Press buttons to select the option that you want to adjust in the Lock Menu 2 Press ENTER and or buttons to adjust 3 Press MENU button to save your adjustments and return to the previous menu Lock System This allows you to lock unlock from making changes in the Lock Menu From the Lock Menu use the buttons to select System Lock then press...

Page 19: ...lows you to lock unlock access to channels on your television From the Lock Menu use the buttons to select Channel Lock then press the ENTER button to enter the Channel Lock sub menu Use the buttons to select the channel you want to lock Press the button on your remote to lock the channel 37 Lock Menu Key Lock This allows you to lock unlock the buttons on the back of your television From the Lock ...

Page 20: ...he default source DTV Type Set to DTV digital television Default Prog This allows you to set which television channel will appear when the television is switched on From the Lock Menu use the buttons to select Hotel Mode then press the ENTER button to enter the Hotel Mode sub menu Use the buttons to scroll down and select Default Prog then use the buttons to scroll through the channels to select t...

Page 21: ... and press the ENTER button Use the buttons to select C drive and press ENTER 41 Use the buttons to select the file you want to work with and press ENTER to select a preview of the file will appear in the centre of the screen and a red tick mark will appear if the file has been selected correctly Press the button to enter the Sub Menu Media Operation The Sub Menu options will appear on the bottom of ...

Page 22: ...le has been copied the Sub Menu options will now show a Paste option select Paste and press ENTER 43 Media Operation Ready to paste will appear on the bottom of the screen Press the button to paste the copied file Delete To delete a file select the Delete option in the Sub Menu by using the buttons and press ENTER A confirmation pop up Determine delete files will appear Select Yes to delete the file ...

Page 23: ...nu This allows you to view image files from your USB device on your television From the Media Menu use the buttons to select Photo then press the ENTER button to enter the Photo sub menu Use the buttons to select the image file in the Photo sub menu you want to view then press ENTER to select the image A preview of the image will be shown in the centre off the screen Press the button to make the ima...

Page 24: ... television From the Media Menu use the buttons to select Movie then press the ENTER button to enter the Movie sub menu Use the buttons to select the file in the Movie sub menu you want to view then press ENTER to select the music file A preview of the movie file will be shown in the centre off the screen Press the button to make the movie full screen Press the button and a range of functions such as...

Page 25: ...tions 49 Press the EPG button and press the button and use the to set the channel start time and date and end time and date Electronic Programme Guide EPG Press the EPG button to display the Electronic Programme Guide EPG Recording a Programme Scheduled To set a programme to be recorded in the future connect a USB hard drive to the USB port at the back of your television ...

Page 26: ...on the back of your television Press the REC button on your remote control The programme will start recording and on screen functions will appear on the bottom of the screen Use the buttons to switch between Play and Stop While you are recording a programme only Play and Stop will be available A red circle with a white triangle in the middle will appear on the top left corner indicating that the p...

Page 27: ...e a USB hard drive inserted in the USB port in your television as your television will essentially start recording the live broadcast pro gramme from where you paused the programme Pause a Television Program Press the TIMESHIFT button on your remote control to pause the television program A white pause sym bol will appear on the top left hand side of the screen to indicate that the programme has b...

Page 28: ... 128K 442Kbps Channel Mono Stereo Photo jpg jpeg Progressive JPEG Max Resolution 1024 x 768 Baseline JPEG Max Resolution 15360 x 8640 bmp Max Resolution 9600 x 6400 png Non Interlaced Max Resolution 9600 x 6400 Interlaced Max Resolution 1280 x 800 Text txt ANSI UNICODEGB UTF8 File Size Max 1MB File System Hi SpeedFS FAT32 FAT16 NTFS NTFS compressed files are not supported 55 Resolution VGA Resoluti...

Page 29: ...at the batteries polarity are installed correctly Try using a new set of batteries The television will return to Standby mode if there has been no response from the remote No video in PC Mode Please check if the display cable connected to the VGA is inserted cor rectly and check that the cable is free from bends and not damaged Lost password Master Password 4711 Use the master password to unlock t...

Page 30: ...reference only Specifications are subject to change without notice Distributed by M E W Australia Pty Ltd 15 Vaughan St Essendon Fields VIC 3041 ACN 152 719 036 Customer care Aus 1300 530 800 customercare lindenproducts com au lindenproducts com au While every effort has been made in the preparation of this instruction manual the publishers cannot be held responsible for the accuracy of the informa...

Reviews: