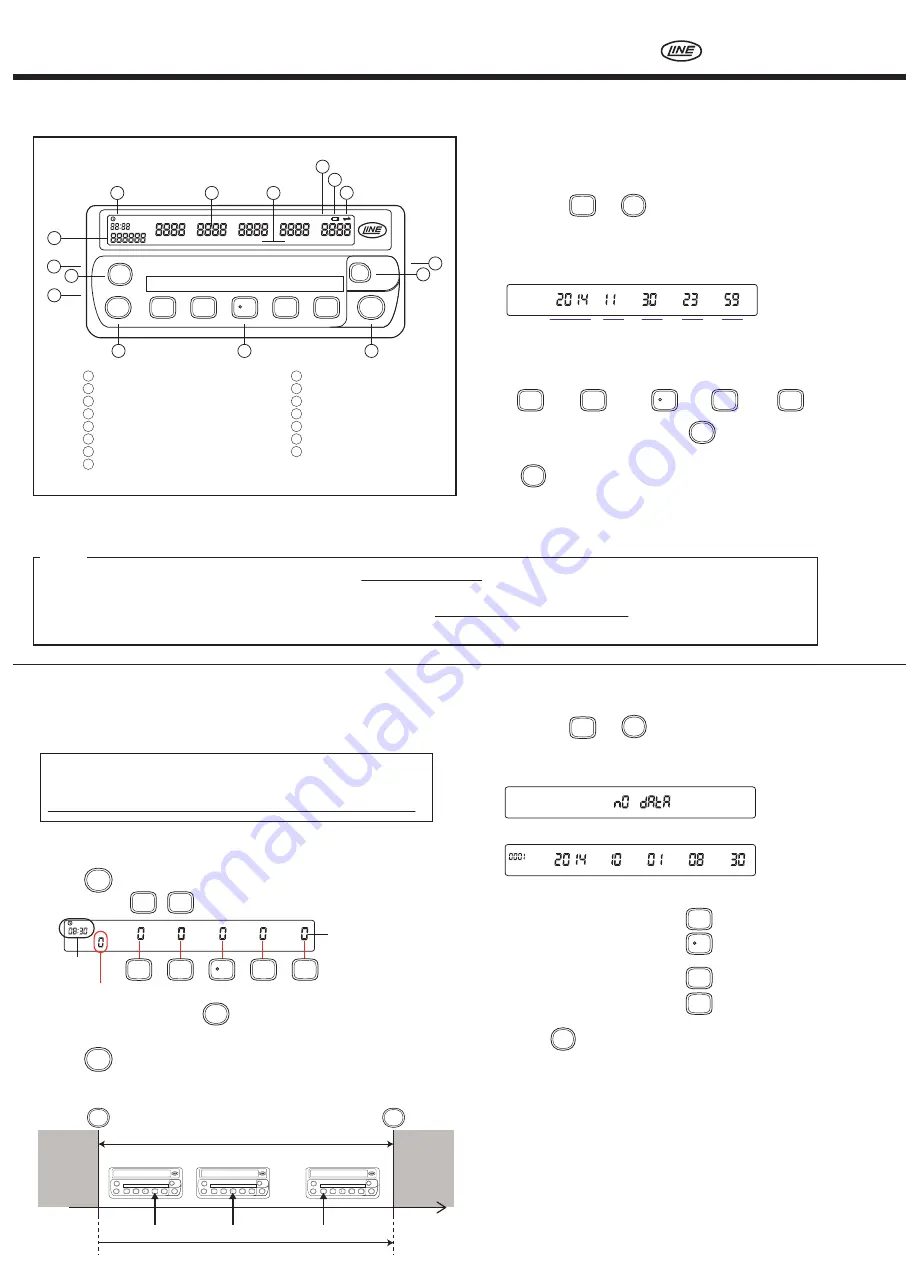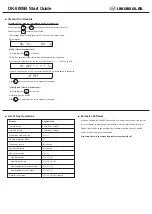
The device can save up to 250 records as long as each record has less than or
equal to 192 data.
Definition:
•
record
is a collection of data saved in the device from Start Time to End Time.
•
data
is timestamped data containing 5 input values and total input value.
1 data = (each input value) + (total value of 5 input values) + (Date & Time)
#
#
#
■ View Saved Record
●Push Input Key with Key pressed.
●The device shows the final value in a record which you saved last time.
[If no record is saved in the device]
[If any records are saved in the device]
Timestamp of the final value in a record which you saved last time is displayed.
►View input values
: Push Key
►View Date and Time
: Push Key
►View the previous record
: Push Key
►View the next record
: Push Key
●By pushing Key , the device is in a standby mode again.
F
F
3
MEM
YYYY
MM
DD
hh
mm
1
2
3
4
DK-5005B Start Guide
LINE SEIKI CO., LTD.
■ Name of Each Part of DK-5005B
7
1
SUB
DK-5000 Series
F
2
3
4
5
#
POWER
YYYY MM DD hh mm
TIMEM
SUB
8
1
2
3
4
5
6
9
10
15
14
11
12
13
Clock / Memory No.Display
Input Value Display
Date/Time Icon
Subtract Icon
Low Battery Icon
Software Link Icon
5.5 mm DC Jack
Power Key
[#] Key
Input Key
Subtract Key
Strap Hole
Function Key
USB 2.0 Port
Total Count Display
1
2
3
4
5
6
7
8
9
10
11
12
13
14
15
■ Before Start Counting
[Setting Date and Time]
YYYY
MM
DD
hh
mm
●Press Power Key for 1 second to turn up the device.
When turned up, the device is in a standby mode. "stnd by" is displayed on LCD.
●Push Input Key with Key pressed.
Now you can start setting date and time.
●Date and Time will be displayed on LCD as shown below in the manner of
"YYYY MM DD hh mm."
●Every time you push each Input Key, each corresponding figure of
year, month, day, hour or minute will be increased.
When you push each Input Key with Key pressed,each corresponding
figure will be decreased.
●Push Key after you input date and time. Now the setting for date and time
is finished. The device will be in a standby mode again.
●If you start counting, refer to the next section "■Save Record."
If you want to turn off the device, press Power Key for 3 seconds.
F
F
1
YYYY MM DD hh mm
1
=year
2
=month
3
=day
4
=hour
5
=minute
SUB
*NOTE
If the power supply is shut off, the built-in clock stops. This requires
resetting of Date & Time
when you use the device next time.
To avoid stopping the clock, please install batteries into the device. As long as the electricity is supplied to the device through AC/DC adapter or USB charging cable,
power is not supplied nor drained from batteries. Therefore, it is recommended that batteries be always installed in the device even if the electricity is supplied to the
device through AC/DC adapter or USB charging cable.
■ Save Record
●Press Power Key for 1 second to turn up the device.
When turned up, the device is in a standby mode. "stnd by" is displayed on LCD.
●Press
Key for 1 second to enter "Record Mode" and start saving data.
●Push Input Key - to increase each value.
By pushing each Input Key with Key pressed, each value decreases.
●Every time you push Input Key, a new data is saved in the device automatically.
●Press Key for 1 second to finish saving data. 1 "record" will be created and
saved in the device. Now the device is in a standby mode again.
Total of 5 input values
Time
1
5
SUB
TIME
1
2
3
4
5
1
SUB
DK-5000 Series
F
2
3
4
5
#
POWER
1
SUB
DK-5000 Series
F
2
3
4
5
#
POWER
1
SUB
DK-5000 Series
F
2
3
4
5
#
POWER
Record Mode
Standby
Mode
Standby
Mode
Start Time
End Time
#
Push
Push
1st data
2nd data
3rd data
1 Record
Input value of each counter


