background image

D     B E D I E N U N G S A N L E I T U N G  

∙  

G B     U S E R   G U I D E 

F     M O D E   D ´ E M P L O I  

  E S     M A N U A L   D E   I N S T R U C C I O N E S

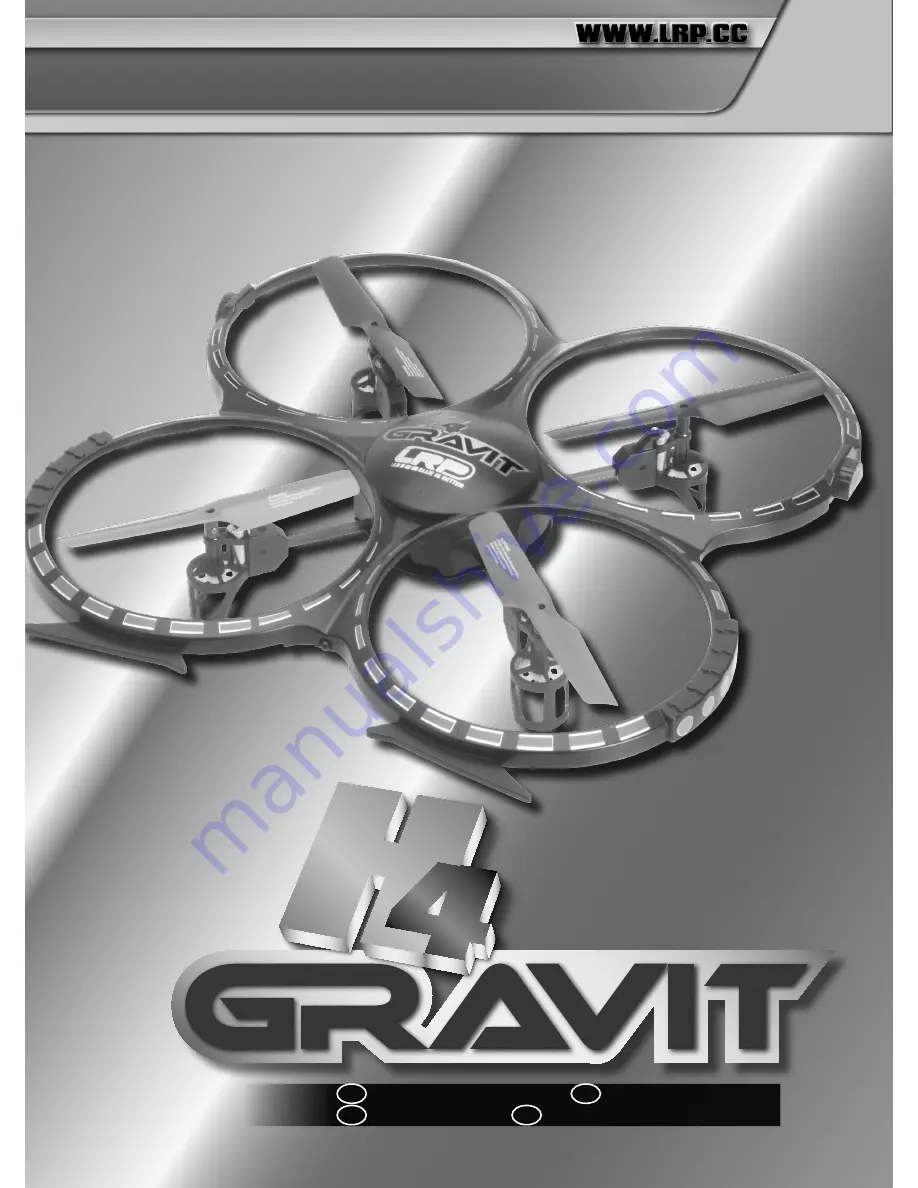
Summary of Contents for Gravit H4

Page 1: ...D B EDIENUNGSANLEITUNG GB USER GUIDE F MODE D EMPLOI ES MANUAL DE INSTRUCCIO N ES ...

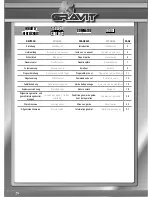
Page 2: ...eitung Preparations before flight Préparatifs pré vol Preparativos antes de volar 11 Flugsteuerung Flight control Commandes de vol Control en vuelo 13 Fehlerbehebung Troubleshooting guide Guide de dépannage Guia solucion de problemas 18 Explosionszeichnung Exploded view Dessin éclaté Despiece 19 Allgemeine garantie und gewährleistungsbestim mungen Repair procedures limited warranty Condition génér...

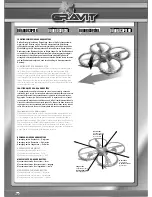
Page 3: ...ight characteristics The Gravit is ready to fly ex factory and the rotors are protected by a durable plastic body Model quadrocopters in general are harder to control than coaxial helicopters Therefore be sure to read the user guide and the warning notes completely before flying your quadrocopter the first time Cher client merci d avoir choisi ce LRP H4 Gravit Le LRP H4 Gravit est un quadricoptère...

Page 4: ... Vorwärts Rückwärts Rechts Links LCD Anzeige Sendestatus LED 360 Taster 360 ADVANCED Taster Mode Taster LED Taster Video Photo Taster nutzbar mit optionaler Kamera TECHNICAL SPECIFICATIONS 6 Axes Gyro for automatic stabilizing Rigid plastic protection body Exchangeable LiPo battery Position lights on the motors bases Shiftable LED lighting at the lower surface of the Gravit Diameter 400mm Height 6...

Page 5: ...b danach schalten Sie die Fernsteuerung aus Wollen Sie erneut fliegen laden Sie Ihren Flugakku und starten gemäß der obigen Anleitung neu Viel Spaß beim Fliegen Before launching you Gravit please check your model defect or loose parts You should never fly with a defect aircraft as this may result into damage to persons or property Please look out for an area as open and wide as possible for your f...

Page 6: ...e modèle cesse de fonctionner Veuillez retirer l accu de votre Gravit tout d abord puis éteignez votre émetteur Si vous voulez voler à nouveau rechargez l accu de vol et recommencer à nouveau selon le manuel ci dessus Ayez du plaisir de voler votre Gravit Antes de poner en funcionamiento su Gravit compruebe si está en per fecto estado o si faltan piezas Nunca pilote un quadricóptero defectuoso pue...

Page 7: ...hlight Projecteur LED Foco LED Vorne Front Avant Parte delantera Schutz aus Kunststoff Plastic guard Garde dure Cuerpo protector dura Akkuhalter Battery tray Compartement accu Alojamiento de la batería Akku Verbindungsstecker Battery connector Connecteur accu Conector de la batería EINSETZEN DER AKKUS INSERTION OF BATTERIES INSERTION DES PILES COLOCACION DE LAS BATERIAS FERNSTEUERUNG REMOTE CONTRO...

Page 8: ...ick de profundidad alabeo Nick Trimmung Elevator trim Compensateur profondeur Trim de profundidad Schub Gier Knüppel Throttle Yaw stick Throttle stick Manette de gaz contrôle de lacet Stick de aceleración dirección 360 Advanced 360 Advanced 360 Advanced 360º Advanced Suchlicht an aus Searchlight on off Bouton projecteur LED Foco frontal On Off 360 Button 360 Button Bouton 360 Botón 360º Mode Umsch...

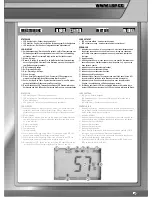
Page 9: ...ding a movie By pressing the LED button you can switch the LED search light on the front and the 4 LEDs on the lower surface of the Gravit on and off LED DE STATUT LED n est pas allumé émetteur est désactivé LED s allume en rouge émetteur est allumé et opérationnel ÉCRAN LCD Indicateur de connexion ici vous pouvez voir si votre émetteur pourrait établir une connexion avec votre Gravit ou non Lorsq...

Page 10: ...i vous émettez au H4 le signal à voler vers l avant en poussant le manche de contrôle en avant le Gavit uniformément réduit la vitesse de rotation de ses deux rotors avants Ce faisant les deux rotors arriè re génèrent une force ascendante plus forte que le devant deux autres et donc votre H4 s incline vers l avant et s envole dans la direction correspondante Funcionamiento de un Quadrocóptero El q...

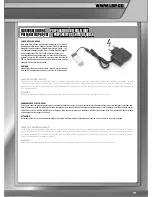
Page 11: ...ed to main power when not in use CHARGEMENT DE L ACCU DE VOL S il vous plaît lisez les notes d avertissement et de sécurité avant de charger l accu pour la première fois Veuillez enficher d abord le chargeur fourni dans une prise Maintenant la LED de l affichage d état du chargeur est vert Ensuite vous pouvez brancher la batterie de vol sur le chargeur Le processus de la charge s affiche en rouge ...

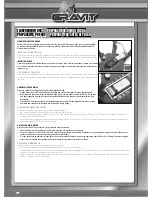
Page 12: ...re you fly your Gravit please keep in mind the following things Only fly in a suffciently big room where no uninvolved persons are present Before connecting the battery to the Gravit put it on an even horizontal surface Only by doing so the gyro of the Gravit can calibrate correctly and thus ensure a controllable flight session Please avoid fast jerky travel of the two control sticks when learning...

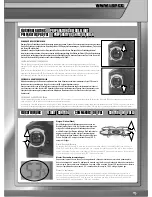
Page 13: ...wegen Sie den Schubknüppel einmal komplett nach oben und dann wieder ganz nach unten in die Ausgangsstellung Das Blinken der Status LED an der Fernsteuerung wechselt in ein durchgängiges Leuchten und nach wenigen Sekunden hören Sie eine kurze Sequenz von Piep Tönen Nun ist die Gravit mit Ihrer Fernsteurung verbunden und Sie können losfliegen Viel Spaß PREPARING THE GRAVIT FOR TAKE OFF Slide the th...

Page 14: ...an LCD Giro Izquierda derecha dirección Moviendo el Stick izquierdo a derecha e izquierda el quadricóptero gira alrededor de su eje vertical lo que significa que se mantiene en el aire pudiendo girar a derecha o izquierda El Gravit podría rotar a derecha o izquierda sin tener que mover el Stick izquierdo esto se puede corregir con el trim de dirección Si el H4 rota en sentido de las agujas del rel...

Page 15: ...ationnaire gauche droite Si vous voulez exécuter un mouvement vers gauche ou droite sans faire pivoter la Gravit c est à dire en vol stationnaire déplacez la manche de contrôle à gauche ou à droite Plus loin le bâton est positionné plus vite la Gravit se déplace en vol stationnaire Si le Gravit vole vers le coté sans que le bâton est déplacé vous pouvez corriger ça à l aide de la compensation aile...

Page 16: ...n not only the one predefined with the other To do so please press the button once You will thereafter hear a sequence of tones Next move the right control stick towards any direction and the Gravit performs a 360 looping towards the corresponding direction After the looping is performed the sequence of tones stops and you can go on flying normally Should you change your mind after having pressed ...

Page 17: ... encenderá brevemente el símbolo de Foto en la pantalla de su emisora Para más información sobre la cámara consulte el manual de instrucciones de la cámara Video Button Sofern Sie die optional erhältliche Videokamera LRP 222723 an Ihrer Gravit montiert haben können Sie durch kurzes Drücken der Video Taste die Aufnahme eines Videos starten Sobald die Kamera Ihrer Gravit ein Video aufzeichnet wird d...

Page 18: ...he Gravit and wait for the connection to establish Attendez un moment Si aucune connexion ne doit être établie débranchez l accu et coupez l émetteur Ensuite ré allumez l émetteur à nouveau connectez l accu de vol à la Gravit et attendez que la connexion est établis Espere unos segundos No debe haber conexión alguna quite la batería y apague la emisora A continuación encienda la emisora conecte la...

Page 19: ...estänge Halterung und LED rot rot 1 Motor counter clockwise incl connection rods motor mount and LED red red 1 moteur tournant à gauche avec tringlerie support et LED rouge rouge 1 Motor giro a izquierda incl soporte tirantes y LED rojo rojo 7 222717 Quadrocopter Gestell mit Lipo Halterung Quadrocopter frame with Lipo tray Châssis de quadricoptère avec support Lipo Chasis Quadricóptero con soporte...

Page 20: ...duziert wird und wir dieses nicht reparieren können so erhalten Sie statt dessen ein mindestens gleichwer tiges Produkt aus einer der Nachfolgeserien Die von LRP angegebenen Werte über Gewicht Größe oder Sonstiges sind als Richtwert zu verstehen LRP übernimmt keine formelle Verpflichtung für derartige spezifische Angaben da sich durch technische Veränderungen die im Interesse des Produkts vorge no...

Page 21: ...oir www LRP cc Todos los productos de LRP electronic GmbH a continuación denominado LRP son fabricados bajo los más estrictos criterios de calidad Nuestra garantía contempla los defectos de material o de fabricación que presente el producto a la fecha de entrega No asumimos ningún tipo de responsabilidad por los típicos signos de desgaste por uso Esta garantía no contempla los daños ocasionados po...

Page 22: ...tle or no expe rience with radio controlled models seek the help and advise from an experienced hobbyist or from your hobby shop Always turn off the model and the transmitter while they are not in use Always perform an operating range check prior to your flight französisch Ce produit n est pas un jouet Ne convient pas pour les enfants de moins de 14 ans Ranger le produit hors de porté des enfants ...

Page 23: ...άσετε τον έλεγχο του μοντέλου Ο κατασκευαστής δε φέρει ευθύνη για ζημιές που προκαλούνται λόγω παράβλεψης των υποδείξεων ασφαλείας και των προειδοποιήσεων Χρησιμοποιείτε μόνο γνήσια ανταλλακτικά ungarisch Nem játék Nem alkalmas 14 évnél fiatalabb gyermekek számára Tárolja a terméket úgy hogy kisgyermek ne férhessen hozzá Kötelezően tartsa be a következő utasításokat másképp a termék károsul és ez ...

Page 24: ...n kan fånga in störsignaler fullgasa och skada din modell När du kopplar från ge akt på att följa den omvända ordningsföljden Koppla först från mottagaren och hastighetsreglaget koppla sedan från sändaren Undvik att överbelasta motorn genom felaktiga eller för långa utväxlingar Blockera aldrig produktens fläkt eller kylslitsar Sörj för att luften kan cirkulera ordentligt runtom produkten Anslut om...

Page 25: ...vfall til dertil bestemte samlesteder eller avleveres som spesialavfall Aldri åpne en akkumulator et batteri eller enkelte celler Batteriet må lades opp under oppsikt Under oppladning må batteriet befinne seg på et ikke brennbart varmebe standig underlag Dessuten må det ikke befinne seg brennbare eller lett antennelige gjenstander i nærheten av batteriet Den maksimale ladnings utladningsstrømmen s...

Page 26: ...dukt hhv adskil produktet fra strøm kilden hvis produktet ikke anvendes Kontrollér regelmæssigt produktet for skader I tilfælde af beskadigelse må produktet ikke mere anvendes før der er foretaget en komplet reparation Oplad altid den akkumulator der er nødvendig til driften af dette produkt uden for maskinen Skulle akkumulatoren have en defekt kan dette føre til en beskadigelse af produktet Brugt...

Page 27: ... be handed over to a designated collection point e g on an authorised one for one basis when you buy a new similar product or to an authorised collection site for recycling waste electrical and electronic equipment EEE Improper handling of this type of waste could have a possible negative impact on the environment and human health due to potentially hazardous substances that are generally associat...

Page 28: ...f Deutschland Technik Service Hotline für D 0900 577 4624 0900 LRP GMBH 0 49eur Minute aus dem deutschen Festnetz Mobilfunkpreise können abweichen Technik Service Hotline für A 0900 270 313 0 73eur Minute aus dem österreichischen Festnetz Mobilfunkpreise können abweichen info LRP cc www LRP cc ...

Reviews: