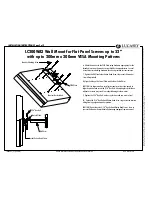
LC200WA2 Wall Mount for Flat Panel Screens up to 32"
with up to 200mm x 200mm VESA Mounting Patterns
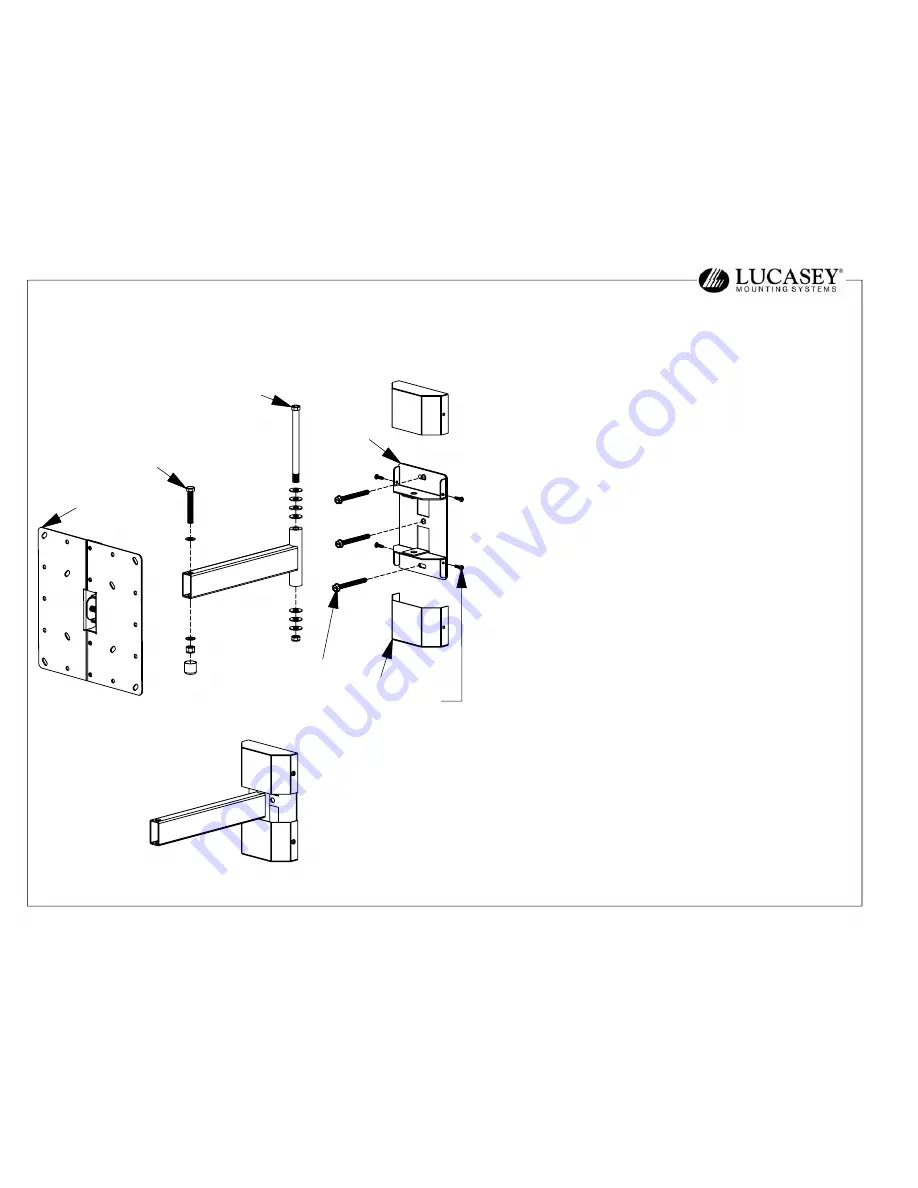
1. Remove the 5/16" Hex Bolt from the Wall Arm. Set aside the VESA Plate
and hardware for Step 9.
2. Remove the Covers and the 3/8" Hex Bolt from the Wall Plate. Set aside
the Covers and hardware for Step 5.
3. Use the Wall Plate as a template to mark and drill 1/8" pilot holes for each
of the Lag Screw locations. Check to make sure the Wall Plate is level before
marking and drilling the pilot holes. Drill the top and bottom holes first. Then,
drill the middle pilot hole with the Wall Plate level. ( If installing in metal studs
a hardware kit can be purchased separately, WMATB3.)
4. Use the provided Lag Screws to securely fasten the Wall Plate to the wall.
Tighten the top and bottom screws before tightening the middle screw to
allow for some adjustment to make the Wall Plate level.
5. Replace the 3/8" Hex Bolt and Covers. Test the Wall Arm to make sure
the Wall Plate is holding securely.
(2pcs.) Covers
Wall Plate
(3pcs.) Lag Screws
(4 pcs.) Cover Screws
3/8" Hex Bolt
5/16" Hex Bolt
VESA Plate
#14 x 2-1/2" HWH Lag Screws ............................3
3/8-16 x 4-1/2" Hex Bolt ..................................... 1
3/8" Flat Washers ............................................... 7
3/8-16 Nylock Jam Nut ........................................ 1
1/2" Caps ............................................................ 3
5/16-18 x 2-1/4" Hex Bolt .................................. 1
5/16" Flat Washers ............................................ 2
5/16-18 Nylock Nut ............................................. 2
5/16-18 x 1-1/2" Socket Button Head Screw ...... 1
5/16" Belleville Washer ..................................... 2
1/4-20 x 1-1/2" Socket Button Head Screw ........ 1
1/4" Belleville Washer ....................................... 4
1/4-20 Nylock Nut ............................................... 1
#8-32 x 1/2" Phillips Self Tapping Screws ........ 4
Hardware List
4mm x 25mm Set Screws ... 6 4mm Hex Nuts ... 12
5mm x 30mm Set Screws ... 6 5mm Hex Nuts ... 12
6mm x 30mm Set Screws ... 6 6mm Hex Nuts ... 12
4mm x 12mm Phillips Screws ... 6 5mm Flat Washers ... 36
5mm x 12mm Phillips Screws ... 6 1/4" Flat Washers ... 18
6mm x 12mm Phillips Screws ... 6
P
rot
ec
ted u
nder
one o
r mor
e
of
t
hes
e
U.
S
. P
a
te
nt
nu
mbers
: 3,
2
91,
43
2 3,
559,
9
42 3
,724,
798
DE
S
.2
70,
68
9 4,
613,
1
09 4
,878,
645
4
,852
,842
DE
S
.309,
5
624,
9
73,
02
3 5,
169,
1
14 5
,255,
884
5,
310
,152
5,
522,
576 5,
621,
614 Re.
35,
677
D
E
S
.39
8,
834
5,
8
26,
38
4 5,
941,
4
92 5
,964,
068
6,
060
,661
6,
10
2,
398
6,
1
58,
70
4 6,
4
54,
11
6B
1 6
,761,
276B
2 6,
806,
425B
1
INSTALLATION INSTRUCTIONS (Page 1 of 2)
lc200wa2_ins (12/07) ©2007 Lucasey Manufacturing Corporation, Oakland, California www.lucasey.com