background image

LF1600-INS-LAB-RevE15 

© 2007 GF Health Products, Inc.

LF1600 Stand Assist user and attendant: Read this manual before 

operating the Stand Assist. Save this manual for future reference.

LF1600 Stand Assist

Assembly and Operation Manual

Summary of Contents for LF1600

Page 1: ...B RevE15 2007 GF Health Products Inc LF1600 Stand Assist user and attendant Read this manual before operating the Stand Assist Save this manual for future reference LF1600 Stand Assist Assembly and Operation Manual ...

Page 2: ...rst reading and understanding this manual If you do not understand the warnings cautions and instructions provided herein contact your professional medical advisors GF authorized distributor or technical representative before proceeding with the use of this product otherwise personal injury or damage to your Stand Assist could result GF Health Products Inc is not responsible for typographical erro...

Page 3: ... performs the transport For residents lacking the strength to assist themselves we recommend a battery powered sit to stand lift The Stand Assist is capable of the following transfers when used according to the instructions Bed to chair wheelchair Bed chair wheelchair to commode Room to room The safety precautions in this manual are general warnings intended to be used only as basic guidelines You...

Page 4: ...sure that you get the most from your product WARNINGS WARNING Only qualified caregivers trained in the proper use of the Stand Assist should use it to transport patients WARNING Do not use the Stand Assist to transport patients who are unable to pull themselves upright and support their own weight WARNING The LF1600 Stand Assist maximum weight capacity is 400 lb 180 kg EVENLY DISTRIBUTED Never use...

Page 5: ...arton or its contents If damage is evident notify the carrier or your GF authorized distributor 2 Remove all loose packing from the carton 3 Carefully remove all the components from the carton Info Unless the Stand Assist is to be used immediately retain boxes containers and packing material for use in storing until use of Stand Assist is required Inspection 1 Examine the exterior of the Stand Ass...

Page 6: ... and casters 1 Side support arm unit 2 Kneepad assembly 1 Seat pad and handle bar support unit with cross bar tube 2 FASTENERS AND TOOLS No Item Description Quantity A1 Carriage bolt 8 A2 Hex bolt 2 A3 Button socket head cap screw 4 A4 Flat washer 10 A5 Lock washer 10 A6 Acorn nut 8 A7 Plastic cap 2 T1 Wrench 1 T2 Hex key 1 ...

Page 7: ...plastic caps on the hex bolts The finished assembly is shown at right above carriage bolt kneepad assembly kneepad side support assembly side support arm flat washer lock washer acorn nut kneepad assembly side support arm 3 Attach the kneepad assembly to the two side support arms Face the square holes on the side support arms inward fit the square shoulder of each carriage bolt in the square hole ...

Page 8: ...the four button socket head cap screws through the support units into the cross bars Use the hex key to tighten The finished assembly is shown at right above base bracket kneepad side support assembly kneepads lockable casters 5 Insert the kneepad side support assembly into the base brackets as shown above The kneepads and arm curvature should be facing away from the lockable casters kneepad side ...

Page 9: ...two nuts securely using the provided wrench b Attach the seat and cross bar assembly to the kneepad side support assembly Fit the square shoulder of each carriage bolt in the square hole at inside of kneepad side support assembly installing each carriage bolt through the kneepad side support assembly and seat and cross bar assembly as shown above Install the flat washer lock washer and acorn nut o...

Page 10: ...t WARNING Do not leave a patient unattended during any part of the transport 1 Raise the two split seat units so that they are parallel to the side of the Stand Assist as shown at right 2 Have the patient positioned at the edge of the surface to be transferred from Move the Stand Assist in front of the patient Position the patient so that her feet are firmly on the platform and her knees and shins...

Page 11: ...right and move the Stand Assist to the new surface Ensure that the patient is secure and in proper position as described in Step 6 before and during transfer as shown at right 8 Position the Stand Assist against the new surface ensuring that the patient will be in a position to sit down firmly and safely on the transfer surface 9 Lock the casters 10 Have the patient pull herself back up to a full ...

Page 12: ...ance s NOTICE Improper maintenance can cause operating problems and may affect your warranty WARNING Unauthorized modification or the use of non Lumex replacement parts could change the structure of the Stand Assist void the warranty and create a hazardous condition resulting in serious personal injury CLEANING THE STAND ASSIST Wipe off the frame at least once a week with a soft cloth Dry the Stan...

Page 13: ... warranty shall expire on the earlier of warranty period or the expiration date OBTAINING WARRANTY SERVICE This limited warranty shall only apply to defects that are reported to the Distributor from whom the Customer purchased the product within the applicable warranty period If there is not a Distributor you must contact GF directly by calling 770 368 4700 sending a fax request to 770 368 2386 or...

Page 14: ...CONSEQUENTIAL DAMAGES INCLUDING BUT NOT LIMITED TO DAMAGES FOR LOSS OF PROFITS OR INCOME LOSS OF USE DOWNTIME COVER OR EMPLOYEE OR INDEPENDENT CONTRACTOR WAGES PAYMENTS AND BENEFITS The warranties contained herein contain all the representations and warranties with respect to the subject matter of this document and supersede all prior negotiations agreements and understandings with respect thereto...

Page 15: ...ce 4 Inspection 5 Intended use 3 Introduction 3 M Maintenance 12 N NOTICE statement significance 4 O Operation 10 S Safety precautions 4 Safety statements significance of 4 Shipping and transportation instructions 5 Significance of safety statements 4 Sit to Stand Buttock Strap optional 10 Storage 5 T Tools required for assembly list 7 Transport perform 10 U Unpacking 5 W Warnings 4 WARNING statem...

Page 16: ... Made in Taiwan ...
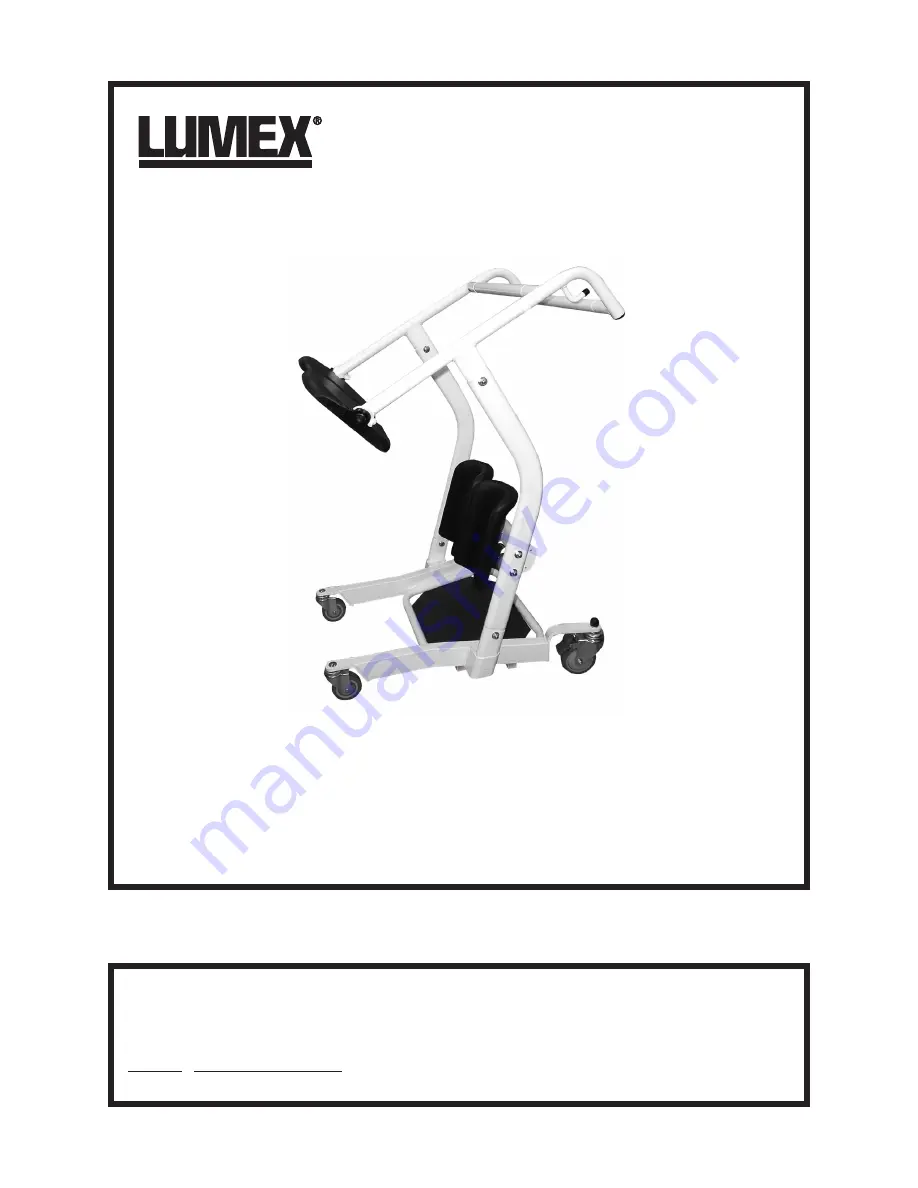
Reviews: