


Extruder Gear Replacement Guide for the M3D PRO
In this guide we will explain how to replace the extruder gear for your M3D PRO. You will need
a 2.0mm/1.5mm hex screwdriver for the disassembly and you’ll want to be in a antistatic
environment. Some electronics will be exposed during the disassembly and there is a chance
you could damage them. We recommend not working on a carpeted area and to discharge
before working. You can do this by touching something metal (Not the printer) for at least one
second. Wearing an antistatic wrist-wrap would be good. Link for a wrist-wrap here
Although, it is highly recommended to use an antistatic wrist-wrap, if you do not have access
to the antistatic wrist-wrap, you can do the repair process by having a metal contact to your
body throughout the repair.
Since the M3D PRO 3D printer is highly static device as there are various PCBs involved, if the
repair process is carried out without following the above recommendation and the customer
end up frying the electronics, they would need to send back their printers to M3D headquarters
for replacement.
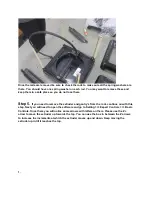
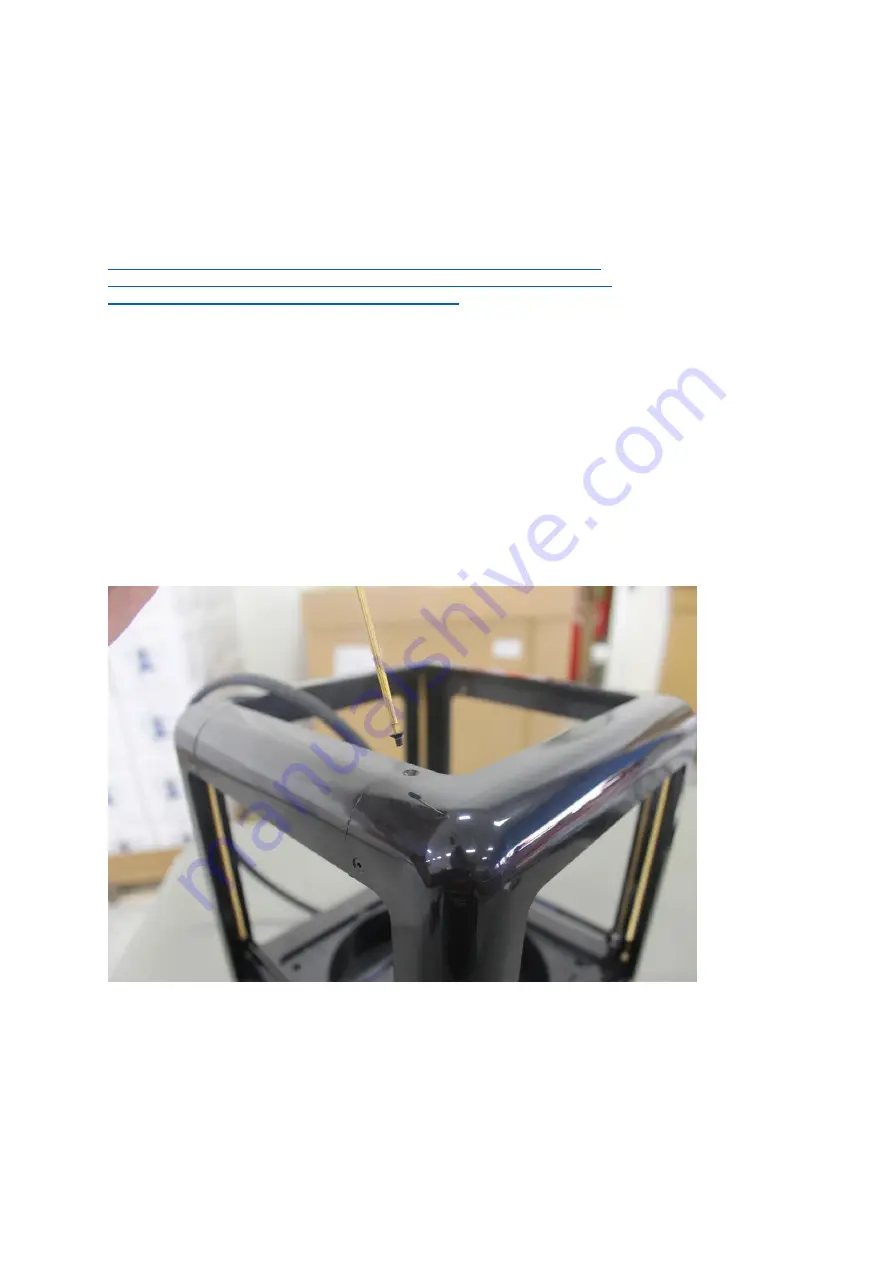
Step 1.
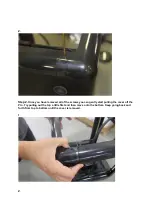
The first step will be to remove the front cover from the Pro. To do this you will need
to remove the hex screws from the cover. There are a total of 8 screws in each cover. Four
screws on the top and four screws on the bottom.
1.


