

INSTRUCTION MANUAL
Read and understand all of the instructions and safety information in
this manual before operating this product.
MAN-004 Rev G
02/2019
© 2019 MAC Medical, Inc.
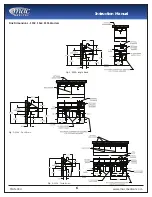
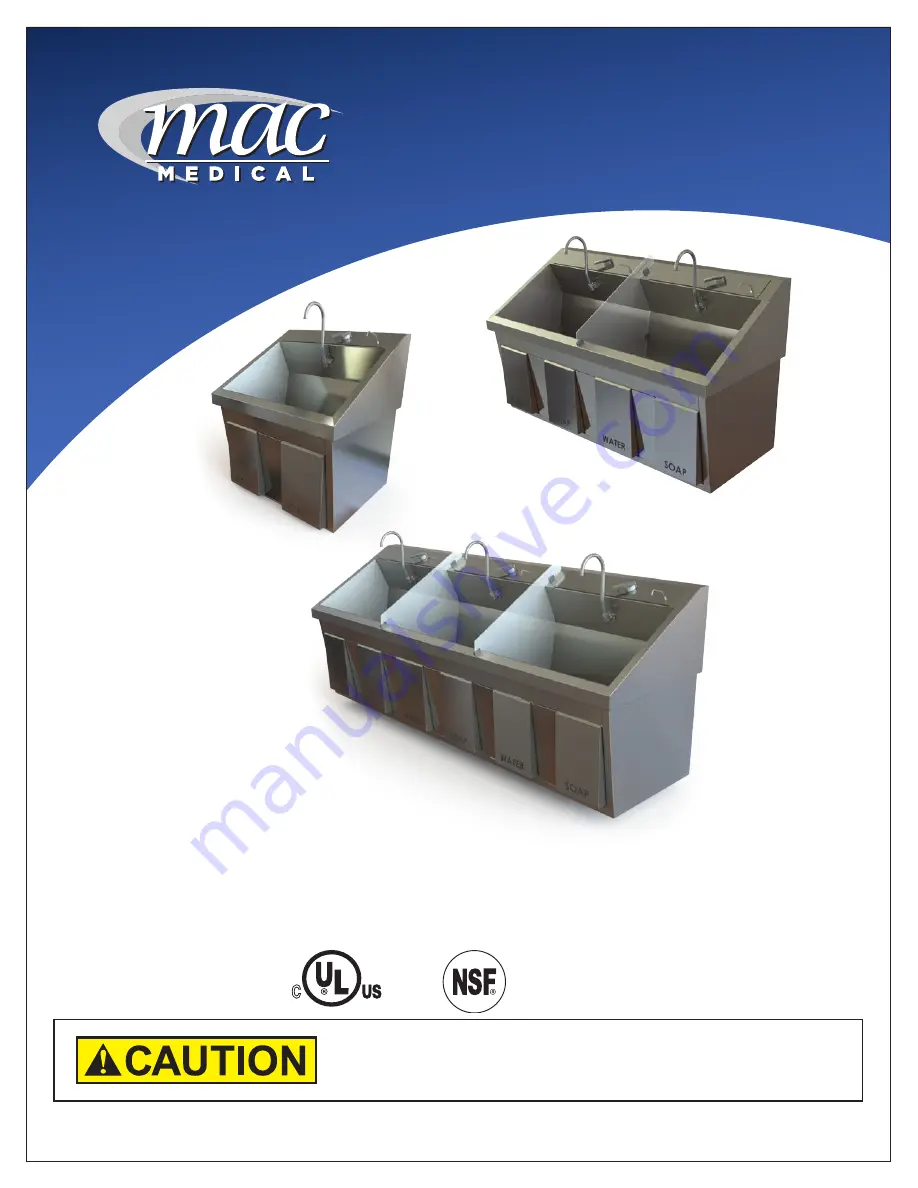
SS Series Surgical Scrub Sinks
Installation - Operation - Maintenance - Cleaning
OSHPD
Pre-Approved
SS32 Model
SS64 Model
SS96 Model
C


