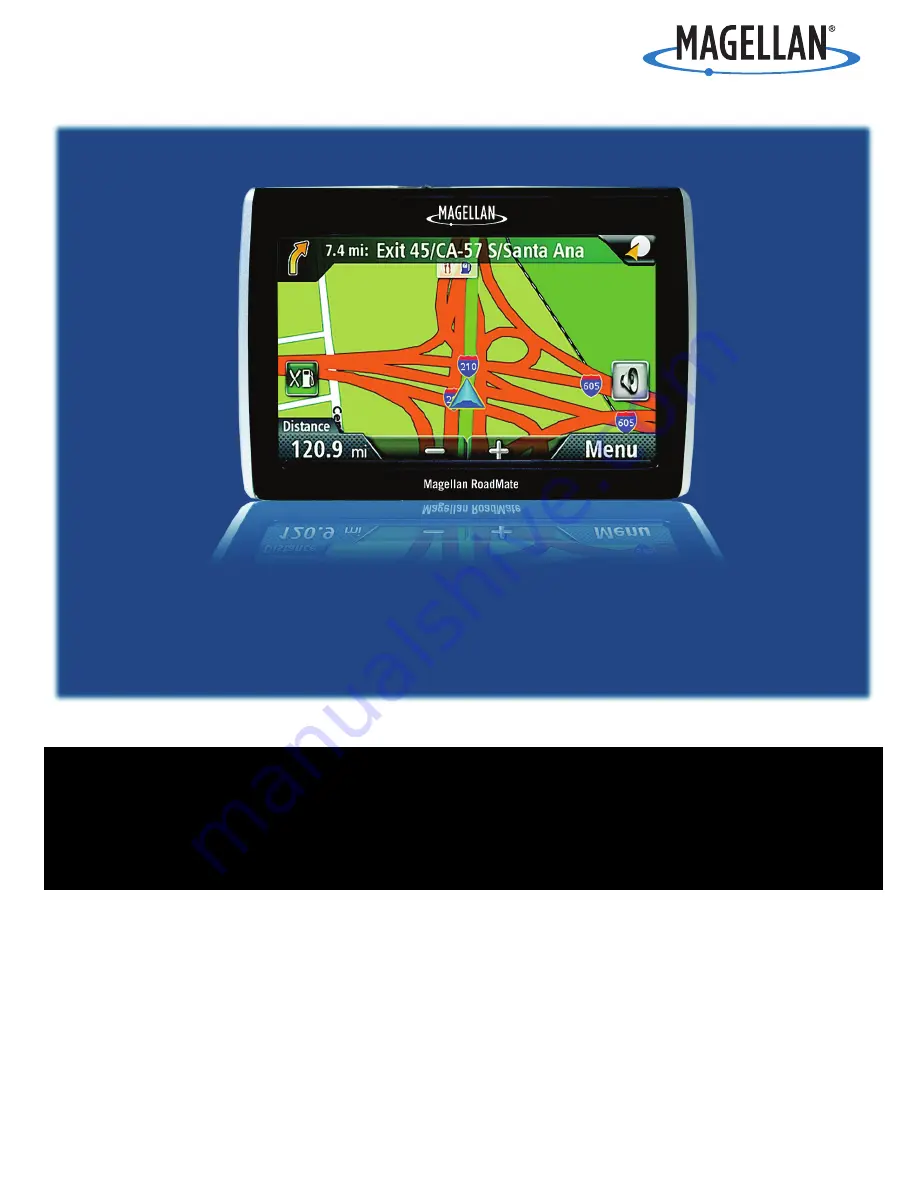
background image

960 Overland Court, San Dimas, CA  91773

Magellan

®


RoadMate

®

 147x Series

GPS Receiver

User Manual

Summary of Contents for RoadMate 147 Series

Page 1: ...960 Overland Court San Dimas CA 91773 Magellan RoadMate 147x Series GPS Receiver User Manual...

Page 2: ...riod of time Take care when mounting the Magellan RoadMate receiver in your vehicle whether using the windshield mount or other mounts that it does not obstruct the driver s view of the road interfere...

Page 3: ...to operate this equipment IMPORTANT NOTE FCC Radiation Exposure Statement This equipment complies with FCC radiation exposure limits set forth for an uncontrolled environment End users must follow the...

Page 4: ...rnational Corporation QuickSpell SmartDetour and OneTouch are trademarks of MiTAC International Corporation and are used under license by MiTAC International Corporation All rights reserved NAVTEQ is...

Page 5: ...necting Power 4 Routing the Cable 4 Checking Connection and Final Adjustments 4 Security 5 Fundamentals 7 Powering on the Magellan RoadMate receiver 7 Volume 7 Brightness 7 Main Menu 8 Keypad 9 Notes...

Page 6: ...g a New Entry in Your Address Book from a POI 18 OneTouch Menu 21 Saving an Address to a OneTouch Icon 21 Changing the Address or Search of a OneTouch Icon 21 Saving a POI Search Criteria to a OneTouc...

Page 7: ...of Measure 32 Map Options 32 Night Mode 32 Setting Auto Night Map Display 32 Setting Heading Up or North Up in 2D Mode 32 Assigning Visible POIs 32 Setting Auto Zoom on Turns 32 Setting Highway Lane A...

Page 8: ...Showing All Traffic Events or only Traffic Events along your route 35 Traffic 37 Coverage 37 Glossary 37 Traffic Incidents 38 Avoiding Traffic Incidents 38 Coupons and Offers 38 Coupons From POI Sear...

Page 9: ...e optional Traffic Link accessory the Magellan RoadMate receiver can receive traffic information so as to avoid delays in your travel The user interface for the Magellan RoadMate receiver is easy and...

Page 10: ...adMate A Power Switch B USB connector Power input from vehicle power adapter cable or AC power adapter 5 VDC 2A C Micro SD card slot A micro SD card is optional and is used for backing up and restorin...

Page 11: ...to be selected Do not attach the adhesive disk to the windshield nor airbag covers Using the Adhesive Disk If you plan on using the adhesive disk you will first need to attach it to the dashboard and...

Page 12: ...nected in the same manner If you have the standard 12V DC power cable and have purchased the optional Traffic Link cable replace the standard cable with the new cable When using the Traffic Link cable...

Page 13: ...is not left in plain view while unattended for reasons of theft Please note that the Magellan RoadMate receiver is a receiver only and does not transmit GPS location signals Neither the receiver nor...

Page 14: ...6...

Page 15: ...ontrols appear 2 Tap the Mute button to mute the volume or tap the or buttons to raise or lower the volume 3 Tap Changing the Volume from Settings 1 Access the Main Menu 2 Tap the Settings icon 3 Tap...

Page 16: ...on the Main Menu Screen Button Name Description Go To Displays the Destination menu You can enter addresses search for POIs intersections specify latitude longitude or choose from the list of previou...

Page 17: ...d characters Button Name Description Data Field Top of the display where the characters entered are shown Characters you enter are displayed in black characters that are filled in by the Magellan Road...

Page 18: ...In this example PA has been entered again but this time the receiver is in Atlanta GA The city displayed now is Palmetto GA so location has changed the predicted city to one closer to your location Q...

Page 19: ...eld to change C Zoom Out D Zoom In E Access Main Menu F Access to volume controls G Access OneTouch Menu OneTouch Menu gives you instant access to your saved search criteria and favorite destinations...

Page 20: ...el buttons at the bottom of the display to set the desired zoom level Panning on the Map 1 While viewing the Map screen slide your finger or a stylus across the map 2 The map screen changes to Pan mod...

Page 21: ...the address book entry optional Tap Assign to correct the location or to add text information to the address book entry 6 When the details for this address are acceptable tap Note entering a Name is c...

Page 22: ...he volume can be adjusted or muted from the Map screen The volume can also be adjusted from Settings Sound Changing the Volume from the Map Screen 1 Tap the speaker icon Additional controls appear 2 T...

Page 23: ...with the characters you entered To enter a ZIP code if needed tap the Zip Code button to switch to the numeric keypad Enter the ZIP code Tap to bring up a list of cities with the zip code entered Tap...

Page 24: ...se the keypad to enter the street name It is not necessary to enter accented characters for ease of use you need to use only the basic keyboard Enter the first few characters of any significant word i...

Page 25: ...dress of the selected location the estimated time of arrival ETA the distance to travel and the routing method e g Fastest 5 optional Tap Options if you want to change the routing method 6 Tap the lar...

Page 26: ...right to return to the Map screen and start navigating Creating a New Entry in Your Address Book by Entering an Address 1 From the Main Menu tap the Go To icon 2 Tap the Address icon and enter an addr...

Page 27: ...een optional Tap Enter Phone Number to specify a phone number for the address book entry optional Tap Assign to correct the location or to add text information to the address book entry 7 When the det...

Page 28: ...20...

Page 29: ...eTouch button 1 Tap the button in the top right corner The OneTouch menu appears 2 Tap the Edit button 3 Tap on the OneTouch button you want to edit 4 Tap on the Re assign button 5 Tap Yes to confirm...

Page 30: ...22...

Page 31: ...ppears with the address of the selected location the estimated time of arrival ETA the distance to travel and the routing method e g Fast 10 optional Tap Options if you want to change the routing meth...

Page 32: ...t POI The Highway Exit POIs function provides a way of accessing commonly used POIs that are near an exit you are approaching while travelling on a highway Highway Exit POIs include restaurants gas st...

Page 33: ...appears 2 Tap the Home button 3 Tap Yes 4 Using the keypad enter the desired address city street and number 5 The OneTouch Menu returns Changing the Home Address These instructions only apply if a ho...

Page 34: ...26...

Page 35: ...eated the Magellan RoadMate needs to know how the route is to be calculated Routes can be calculated by the following methods Fastest Time Fast the fastest possible route provided the vehicle is able...

Page 36: ...touring off a Route 1 From the Map screen tap Menu 2 Tap the Trip Options icon 3 Tap Detour 4 Different detours are calculated using the same routing method that was used to create the route The list...

Page 37: ...n List is displayed 6 Tap on one of the addresses to move it up or down in the list 7 Tap Optimize to optimize the route 8 Tap Add to put another destination in the route 9 When done tap 10 A screen a...

Page 38: ...the address book 1 From the Map screen tap Menu 2 Tap Trip Options 3 Tap Edit Trip 4 The Multiple Destination List is displayed 5 Make changes as needed 6 Tap 7 Tap Save 8 Tap Yes to save the route t...

Page 39: ...duration of time that the Magellan RoadMate receiver remains idle before turning off automatically 1 Access the System Settings menu above 2 Tap Auto Power 3 Tap on the desired duration 4 Tap the bac...

Page 40: ...Mode 1 From the Main Menu screen tap the Settings icon 2 Tap Map Options 3 Tap 2D Heading Up or 2D North Up to toggle between settings Assigning Visible POIs To avoid cluttering of the map the POI ico...

Page 41: ...ap Navigation Preferences 3 Use the drop down menu to select the default sound you want played when alerting you to a turn Enabling U Turn Guidance 1 From the Main Menu screen tap the Settings icon 2...

Page 42: ...enu screen tap the Settings icon 2 Tap GPS Options 3 Tap Set GPS Position 4 Use the same search methods address POI Coordinate Previous etc as you were selecting a destination Viewing the GPS Status 1...

Page 43: ...fic allows the receiver to display received traffic information Showing All Traffic Events or only Traffic Events along your route This option is used to set whether you see all traffic events or only...

Page 44: ...36...

Page 45: ...e able to get traffic information in major US cities indicated on this map as well as in Toronto Canada Additional cities may be added at any time Glossary RDS Radio Data System Infrastructure that br...

Page 46: ...Tapping on the maneuver icon to the right of each line will display the Maneuver List for each route Tapping on the Map icon at the bottom of the display shows a graphical representation of the curre...

Page 47: ...39...

Page 48: ...40...

Reviews: