
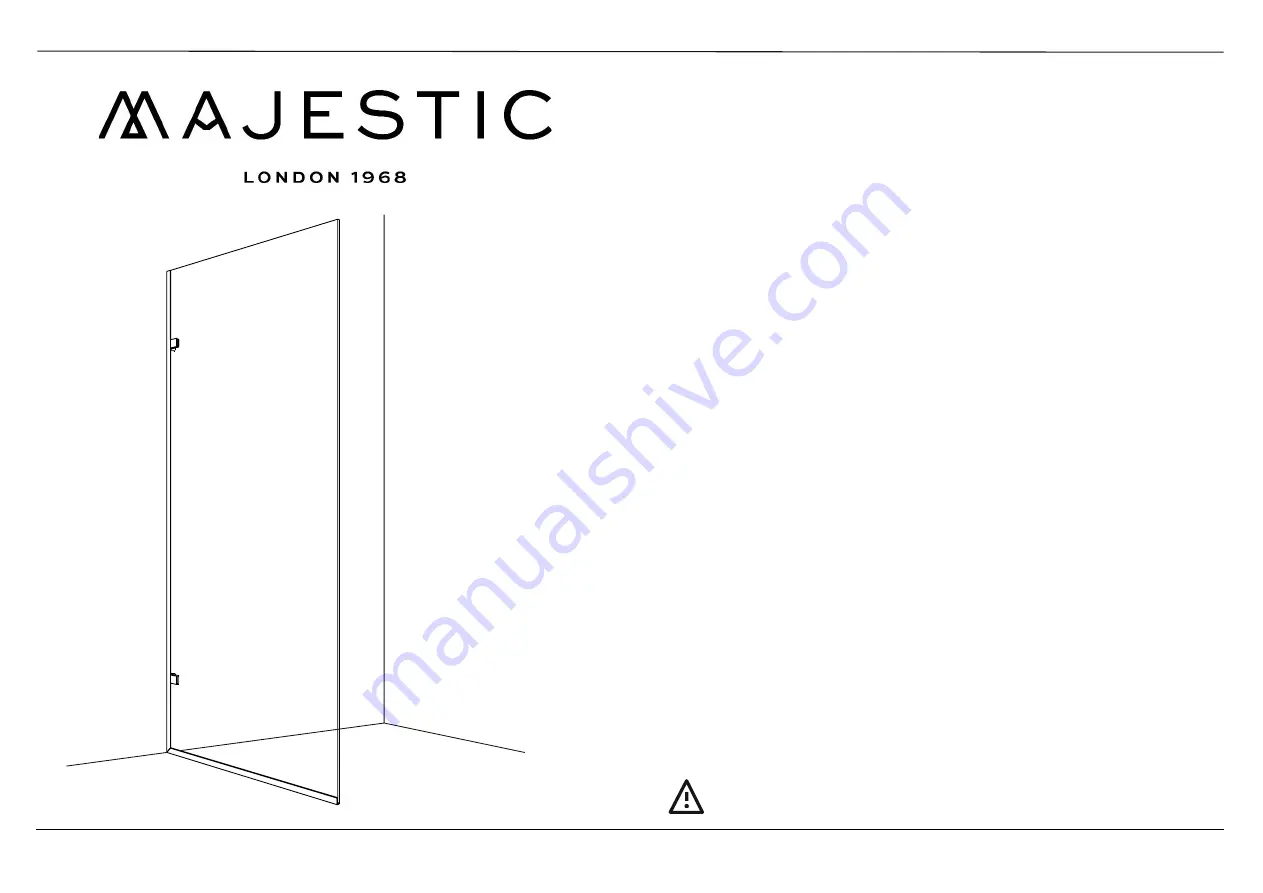
Monaco Installation Guide - Surface Profiles
1
The Majestic Shower Company Limited
Unit 17, Flitch Industrial Estate, Chelmsford Road, Dunmow, CM6 1XJ
Tel44 (0) 8448 001 500
Fac44 (0) 1279 635 074 info@majesticshowers.com www.majesticshowers.com
Thank you for purchasing this Monaco shower screen. Please study these instructions
carefully before assembly
and installation.
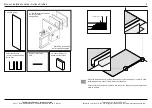
Checking of Parts
Parts are listed at the beginning of this guide. Please check all supplied parts immediately
upon receipt and contact the Majestic Shower Company in the event of any missing or
damaged parts.
These instructions are for left and right handed units. All parts are reversible.
Handling of Parts
When handling glass, use suction glass lifters and take care to ensure that corners or edges
are not knocked. Do not place glass on hard surfaces - place cushioning material under-
neath to prevent the glass from shattering.
Unwrap all metal parts carefully to prevent damaging the plated surfaces.
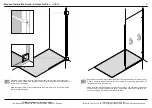
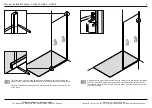
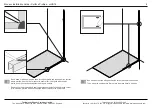
Pre Installation Checks
Prior to undertaking installation, check the accuracy of the following against specifications
for the particular installation location:
- Verticality and flatness of walls. Where wall profiles are used, some lean in or lean out of
the wall relative to the floor or tray can be accommodated (+/- 9mm if 24mm profile is used,
+/- 6mm if 17mm profile is used).
- Levelness and flatness of the floor or tray. Where a profile or underframe is used under-
neath a glass panel, any minor hollows in the mounting surface must be solidly packed to
prevent deflection under the weight of the glass as this may over stress the glass.
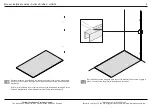
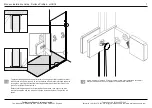
Installation Tips
The general principle of assembly is to assemble parts in the steps shown - first a dry
assembly to check fits or mark cutting or drilling positions and then a final assembly with
silicone.
When cutting aluminium extrusion, wrap the profile with masking tape first and cut through
the taped area - this will help protect the surrounding surface. Use a fine file to smooth cut
edges
.
If anti-calcium glass has been specified, the treated side of the glass will be indicated and
should always face inwards towards the wet side of the shower area.
DO NOT ASSEMBLE WITHOUT FULLY READING THESE INSTRUCTIONS


