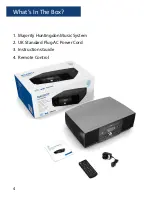
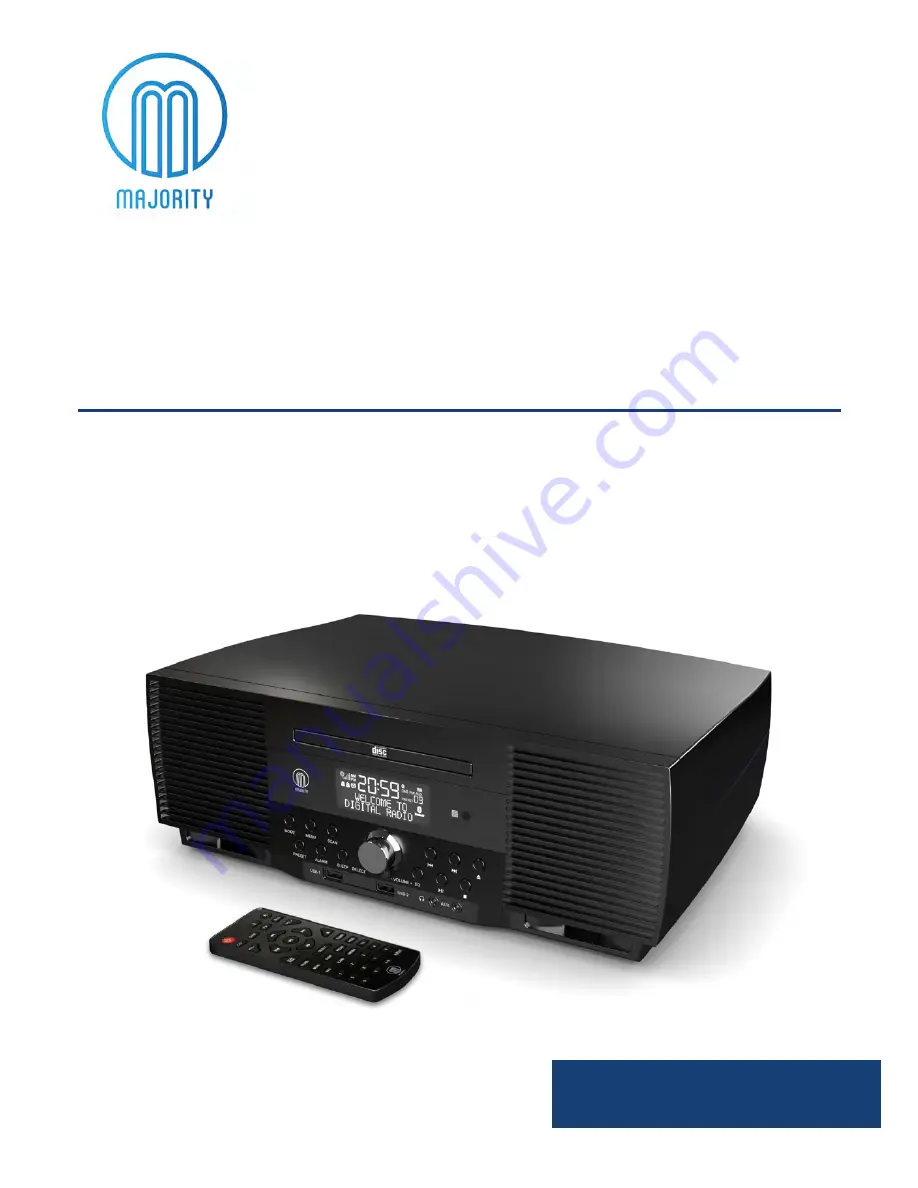
background image

HNT-CDAB-BLK

Majority 

Huntingdon

Music System

User Guide

Summary of Contents for HNT-CDAB-BLK

Page 1: ...HNT CDAB BLK Majority Huntingdon Music System User Guide...

Page 2: ...h Phone Connection Aux In USB 16 Station Information for DAB Radio 18 Station Information for FM Radio 19 Date Time Settings 20 Alarm Timer Settings 21 Technical Specifications 26 Warranty 26 Troubles...

Page 3: ...View 1 Disc Port 2 Display Screen 3 Remote Sensor 4 Mode 5 Menu 6 Scan 7 Previous 8 Next 9 Eject 10 Preset 11 Alarm 12 Sleep 13 Select Volume 14 Equaliser 15 Play Pause 16 Stop 17 USB Port 1 18 USB Po...

Page 4: ...2 Top View 21 9V DC 22 On Off 23 Antenna Controls And Functions...

Page 5: ...16 Stop 17 Previous Directory 18 Select 19 Next Directory 20 Menu 21 Sleep Press to set the sleep timer 22 Preset 23 Prog Press to programme in CD USB DAB FM 24 Info 25 Alarm 26 Random Press to play t...

Page 6: ...4 What s In The Box 1 Majority Huntingdon Music System 2 UK Standard Plug AC Power Cord 3 Instructions Guide 4 Remote Control...

Page 7: ...ss the Mode button to turn on the unit Ref 4 To change the mode press the Mode button Ref 4 on the unit to switch between the options You can also select your option on the remote Ref 2 4 5 6 or 7 Whe...

Page 8: ...save all the stations with a strong signal up to 240 MHz After searching has finished it will automatically play the first station stored To listen to all stations that have been stored use the Next...

Page 9: ...chose Yes Dynamic Range Compression DRC This function enables you to reduce the difference between the maximum and minimum audio volume being broadcast This makes quiet sounds comparatively louder and...

Page 10: ...ile auto tuning Press and hold the Stop button Ref 16 on the remote and use the Next Ref 13 and Previous Ref 11 buttons to scroll through options Select Manual Tune and press the Select Ref 18 button...

Page 11: ...n Ref 11 or Next Ref 13 to change the 1 to the number you want to store the station as Then press the Select button Ref 18 on the remote to save The display will then show Preset 1 stored Play a prese...

Page 12: ...lease the Scan Pair button Ref 15 on the remote This will then start scanning up the frequency band and automatically store the first 20 stations it finds with good signal Follow the Play a preset FM...

Page 13: ...Stations press the Select button Ref 18 to confirm your choice Audio Settings Mono or Stereo All stereo stations are reproduced in stereo For weak stations this can result in poor audio quality The au...

Page 14: ...ress the Previous button Ref 11 or Next Ref 13 to change the 1 to the number you want to store the station as Then press the Select button Ref 18 on the remote to save The display will then show Prese...

Page 15: ...nd release the Previous Ref 11 or Next Ref 13 button to select previous or upcoming tracks Press and hold the Rewind or Fast Forward Ref 10 14 buttons to rewind or fast forward Press and release the S...

Page 16: ...the number keys on the remote Ref 28 Press the Prog button Ref 23 on the remote to move to preset 2 P02 to select your next track select using the number keys on the remote Ref 28 Press the Prog butto...

Page 17: ...k point B REP_AB will then show on the display The track section will repeatedly playback between these points To cancel the playback and to continue listening to the track press the A B button Ref 29...

Page 18: ...choose the album or playlist from your phone but once selected you can then use the Previous Ref 11 or Next Ref 13 button to select previous or next tracks The operational range between the unit and a...

Page 19: ...ess the Mode button Ref 4 on the unit Scroll through your choices which will be displayed on the front screen Ref 2 press the Mode button Ref 4 on the unit until you are on your required option Aux Mo...

Page 20: ...mission channel number and frequency Bit Rate The data rate which the signal is being transmitted Bit Error Rate BER Provide details of the signal error rate Time and Date Displays the time and date i...

Page 21: ...information supplied by the broadcaster Frequency Displays the station s transmission frequency Audio Type Displays the audio type of the station you are listening to It will either be stereo or mono...

Page 22: ...tings using the Previous Ref 11 or Next Ref 13 buttons To confirm your choice press the Select Volume dial Ref 13 Choose from Auto Update Set Time Date Set 12 24 Hour Set Date Format Auto update will...

Page 23: ...t button Ref 18 to confirm Use the previous next buttons Ref 11 13 to choose which sound you would like DAB Radio FM Radio or Buzzer and press the Select button Ref 18 to confirm Use the previous next...

Page 24: ...low the alarm set up instructions and select Alarm Off To turn off Alarm when sounding To Snooze press the Select Volume Ref 13 dial on the unit This will snooze for 9 minutes To turn the alarm off wh...

Page 25: ...timer will start automatically To turn the sleep timer off follow the above instructions and choose Off from the choices To view how long is remaining on the timer once it has been set press the Slee...

Page 26: ...hoice use the Vol button Ref 8 or Vol button Ref 9 to adjust the levels up or down Software Version Display Press the Menu button Ref 20 on the remote control Use the Previous or Next buttons Ref 11 1...

Page 27: ...g On Level Bright Setting Dim Level and press the Select button Ref 18 on the remote control Then select the required level Off Low Medium or High To change when the display screen times out after use...

Page 28: ...anty to be valid Once on the web page use the menu to find register your product You will also be given the chance to extend your warranty for an additional 24 months free of charge Power Supply AC 10...

Page 29: ...lume control Desired station not found Weak signal Use the manual tune function Display shows No Service There is no DAB coverage in your area or poor reception Adjust the position of the aerial or mo...

Page 30: ...aced on the apparatus 14 Dispose of used electrical products and batteries safely according to your local authority and regulations ADDITIONAL WARNINGS The apparatus shall not be exposed to dripping o...

Page 31: ......

Page 32: ...www majorityradios co uk...

Reviews: