Marcum Technologies LX-9, User Manual
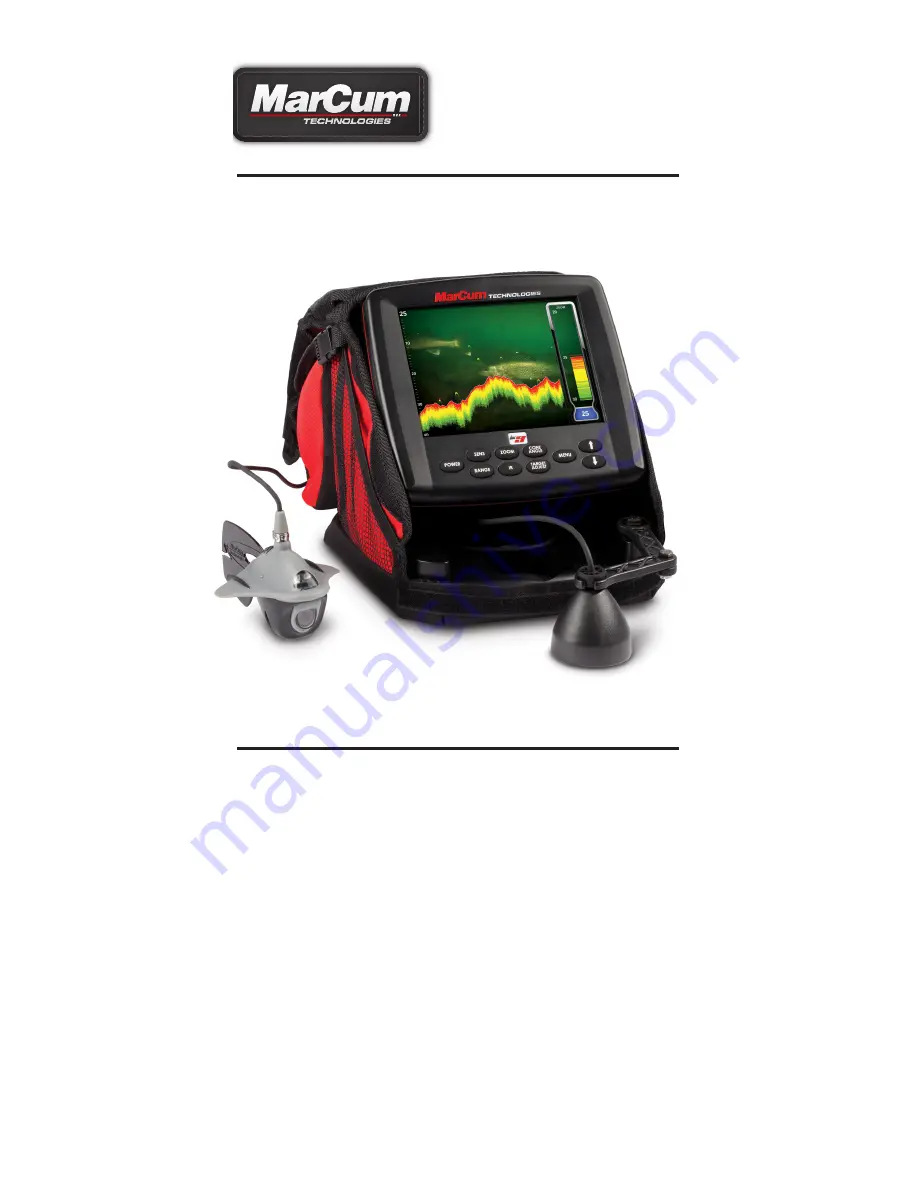
The Marcum Technologies LX-9 is a cutting-edge fishing sonar system designed for avid anglers. With its advanced features and intuitive interface, this user-friendly device guarantees an unparalleled fishing experience. To get the most out of your LX-9, ensure you have the comprehensive User Manual – available for free download at 88.208.23.73:8080.
Share
Download


Reviews:
No comments


