installation instructions
MiniVent 1000
installation instructions
marinco.com
Installing the
MiniVent 1000
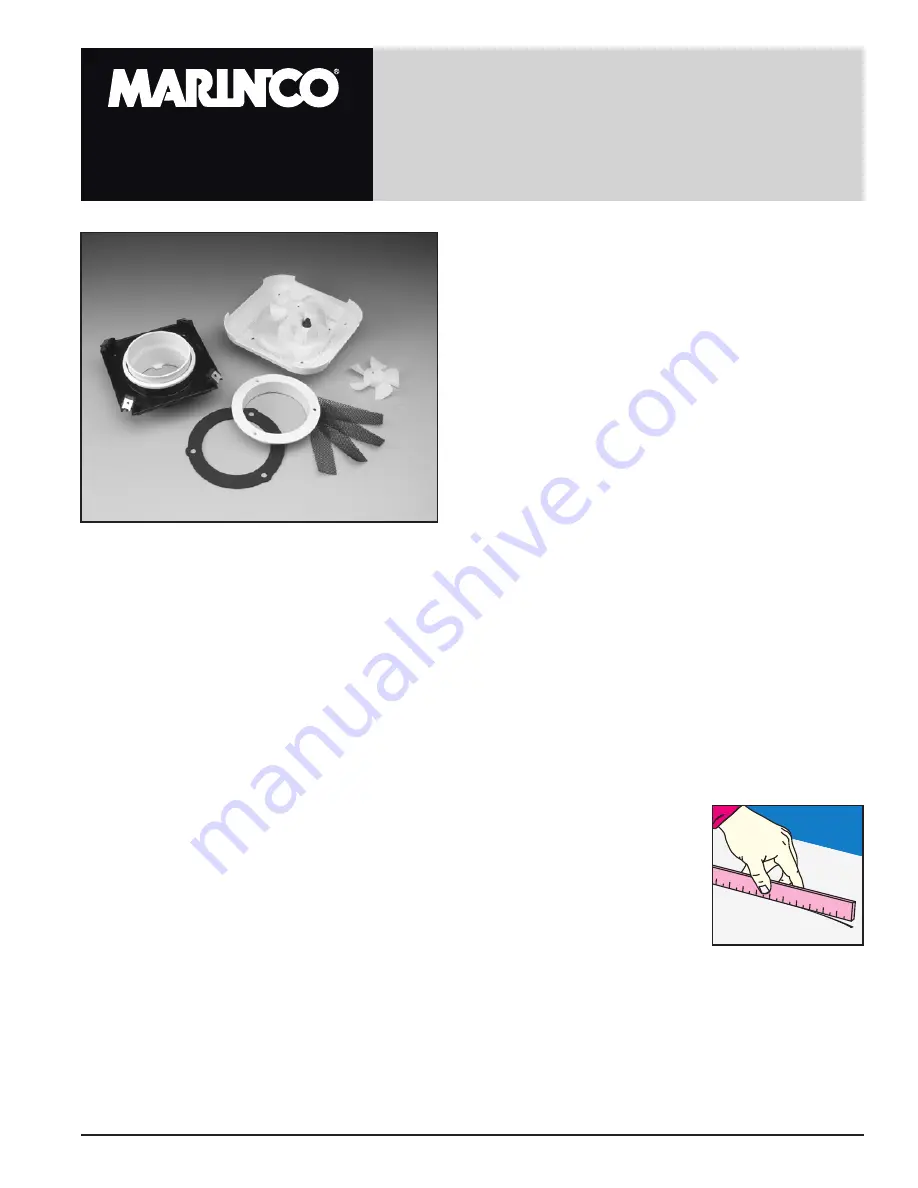
MiniVent 1000 Components:
• MiniVent 1000 Solar Vent with Shut-Off Damper
• Interior Trim Ring
• Insect Screen
• 3 #10x3/4" Flat Head Screws
• 3 #6 Pan Head Self-Tapping Screws
To ensure that you successfully complete your MiniVent
1000 installation, carefully follow these instructions.
Make sure to review the following Precautions and
Problem Areas to Avoid before you begin.
PRECAUTIONS
The MiniVent 1000 installs directly to the deck or hatch surface of your boat with self-tapping screws. The installation
hole must be at least 3-3/4" (95mm) in diameter and the vent can be retrofitted to an existing hole of up to 6"
(152mm) in diameter. There are three (3) important factors that must be properly addressed to insure a good vent
installation:
1. Make sure the base of the vent is properly caulked when fastening it to the deck or hatch. We recommend using
1/4" to 1/2" (7mm–12mm) wide bead of silicone sealant.
2. The installation hole must be cut to 3-3/4" (95mm) in diameter so that the surface around the vent base is not
distorted and the interior trim ring will fit. Measure carefully to cut the 3-3/4" (95mm) hole.
3. When installing the vent on a cambered surface, make sure you do not tighten the fasteners too much; this will
distort the base of the vent and may cause the vent to leak.
VERY CRITICAL: DECK CAMBER (or deck curvature)
When installing the MiniVent 1000 on a cambered, or curved, surface, it is critical to
check to make sure there is no more than 1/2" (12mm) of camber over a 12" (300mm)
length of deck surface. Too much camber will distort the base of the unit, causing the
cover to be raised off the deck. This creates the potential for water to get under the cover
and may also prevent the damper from closing properly.
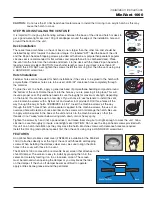
To check for camber, place a 12" (300mm) straight edge on the deck location for the
vent and try to rock it. Then rotate it 90 degrees and repeat.
PROBLEM AREAS TO AVOID
Cut the hole for your MiniVent 1000 only after carefully considering the location and the correct sizing of the hole. We
recommend that you
MEASURE TWICE AND CUT ONCE!
DO NOT install the MiniVent 1000 in an area with more than 1/2" of camber over a 12" length of deck surface.
Be careful that the location you select for the through-deck hole does not go through any electrical wiring, plumbing
or other obstructions. Be sure power tools are properly grounded.
Take the time to bed the vent base and fasteners properly with sealant.


