
S
AVE
T
HESE
I
NSTRUCTIONS
MX-1408 Manual - PN 350060 - Printed in USA 05/17/05
P
AGE
1
S
AFETY
,
O
PERATION
A
ND
M
AINTENANCE
M
ANUAL
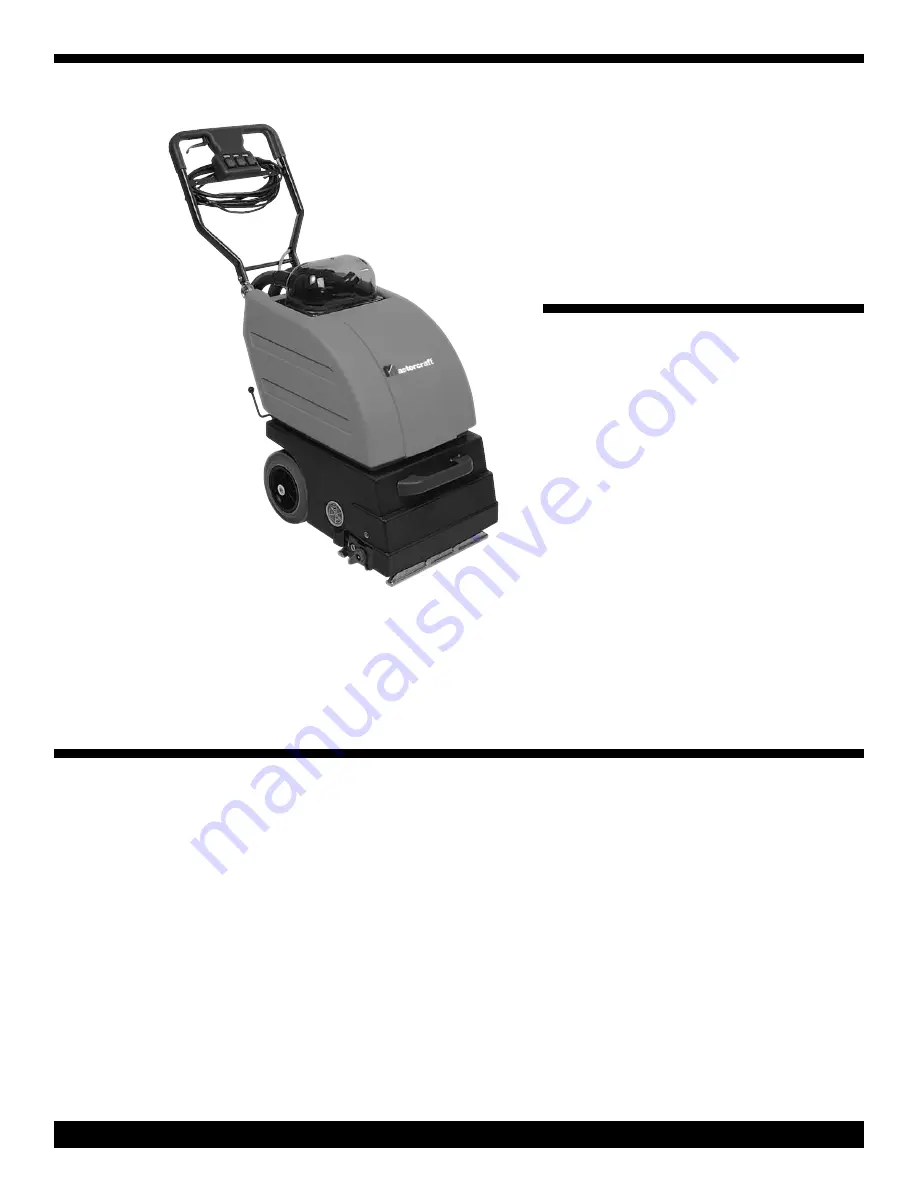
MX-1408
S
ELF
-C
ONTAINED
E
XTRACTOR
This unit is intended for commercial use.
R
EAD
A
LL
I
NSTRUCTION
B
EFORE
O
PERATING
This self-contained extractor will afford
you many years of trouble-free operating
satisfaction, provided it is given proper
care. All parts have passed rigid quality
control standards prior to their being
assembled to produce the finished prod-
uct. Prior to packaging, the extractor
was again inspected for assurance of
flawless assembly.
This extractor is protectively packed to
prevent damage in shipment. We rec-
ommend that upon delivery, unpack the
unit and inspect it for any possible
damage. Only a visual examination will
reveal damage that may have occurred.
If damage is discovered, immediately
notify the transportation company that
delivered your extractor. As the shipper,
we cannot file a claim for any damage.
You must originate any claim within 5
days.
The manufacturer takes no responsibility
for damages caused to property or
persons due to improper use of the
extractor. Operating instructions must
always be available for the operator.
This extractor may only be operated by
persons who have been fully trained and
authorized to use this machine.
R
EAD
& F
OLLOW
A
LL
I
NSTRUCTIONS
,
W
ARNINGS
& C
AUTIONS
B
EFORE
U
SING
T
HIS
E
XTRACTOR


