mawa Saim SCT Series, Quick Start Manual
The mawa Saim SCT Series offers a high-performance lighting solution for commercial spaces. With our Quick Start Manual, you can easily set up and maximize the potential of your lighting system. The informative manual is available for download on our website for free, guaranteeing a hassle-free installation process. Visit 88.208.23.73:8080 and access your manual today!
Share
Download


Reviews:
No comments
Related manuals for Saim SCT Series
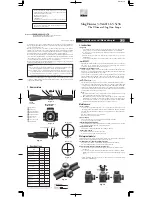
CF 500 Reticle
Brand: Bushnell Pages: 14
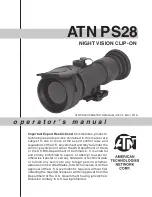
ATN PS28
Brand: ATN Pages: 48

MARS6-3A
Brand: ATN Pages: 1
NVD-NORS210
Brand: KOFLAR Night Systems Pages: 10
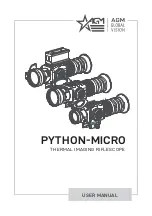
PYTHON-MICRO
Brand: AGM Pages: 28
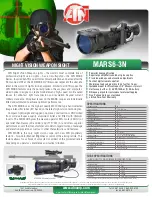
MARS6-3N
Brand: ATN Pages: 1
nIGHT aRROW 6
Brand: ATN Pages: 8
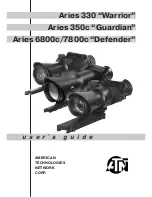
Aries 6800C Defender
Brand: ATN Pages: 8
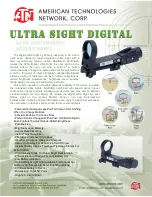
Ultra Sight Digital
Brand: ATN Pages: 1
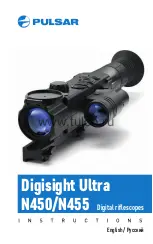
Digisight Ultra N450
Brand: Pulsar Pages: 57
FX-3
Brand: Leupold Pages: 62
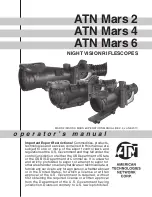
Mars 2
Brand: ATN Pages: 56
nIGHT aRROW 4
Brand: ATN Pages: 8
26011
Brand: Yukon Pages: 5

STRIKE EAGLE
Brand: Vortex Pages: 11
10x44 SF
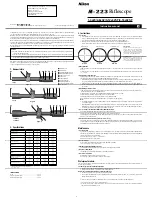
Brand: Nikon Pages: 6
4-16x42SF - Monarch Riflescope
Brand: Nikon Pages: 1
1.65-5x36
Brand: Nikon Pages: 1


