


MEC FRONTENAC
This booklet tells you how to prepare, assemble, and maintain your
new tent; please keep it for future reference. Set up your tent at
home before your first trip; this will allow you to inspect it for any
manufacturing defects, check that all parts are present, and learn the
assembly procedure with minimal stress on the tent and on you.
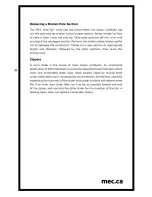
Your Frontenac
tent package includes:
Tent body
Tent fly
One pole system on a centre hub
Three separate shorter poles
Aluminum pegs and nylon guylines
Aluminum pole repair sleeve
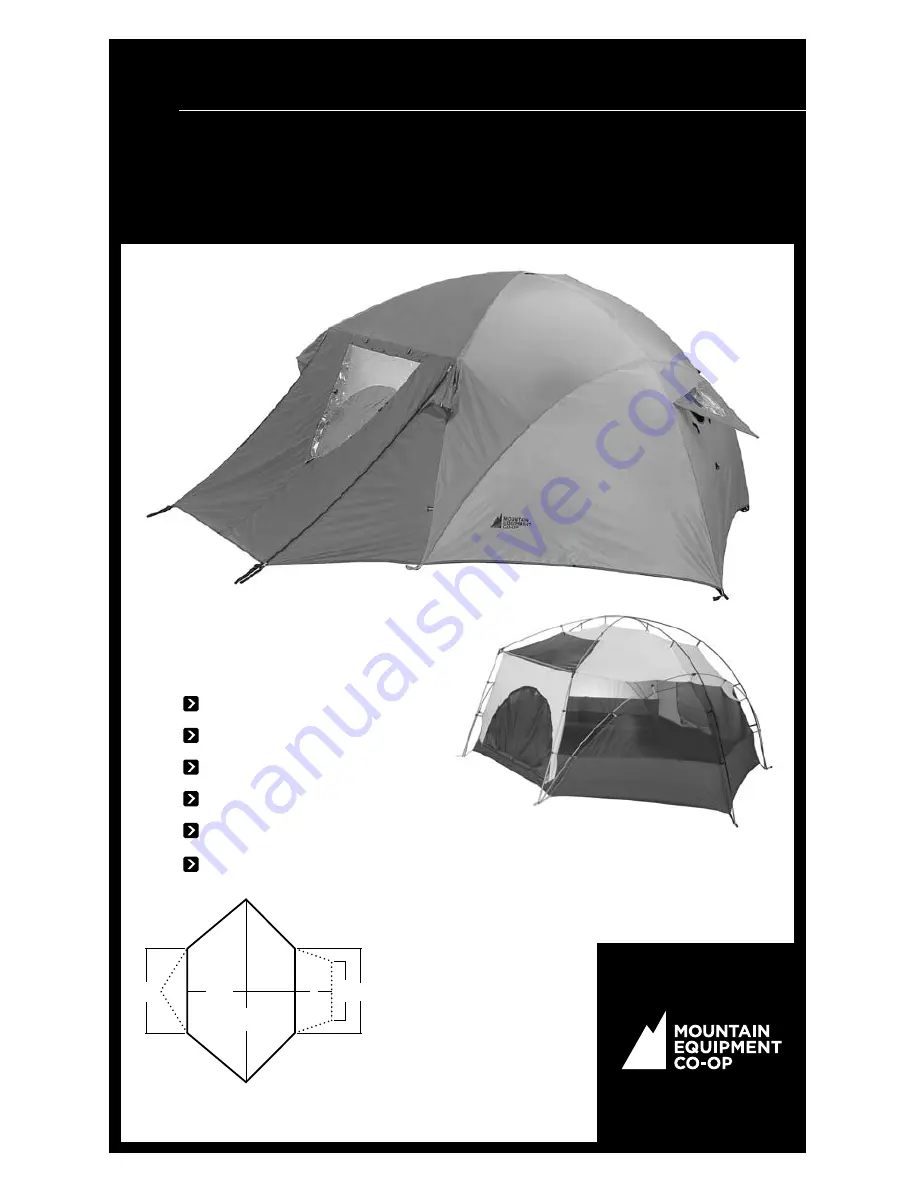
FRONTENAC
Height inside 1.40m
1.45m
2.0m
4.
5m
2.0m
0.65m
0.65m
0.
9m
2.65m
Summary of Contents for Frontenac
Page 10: ......


