background image

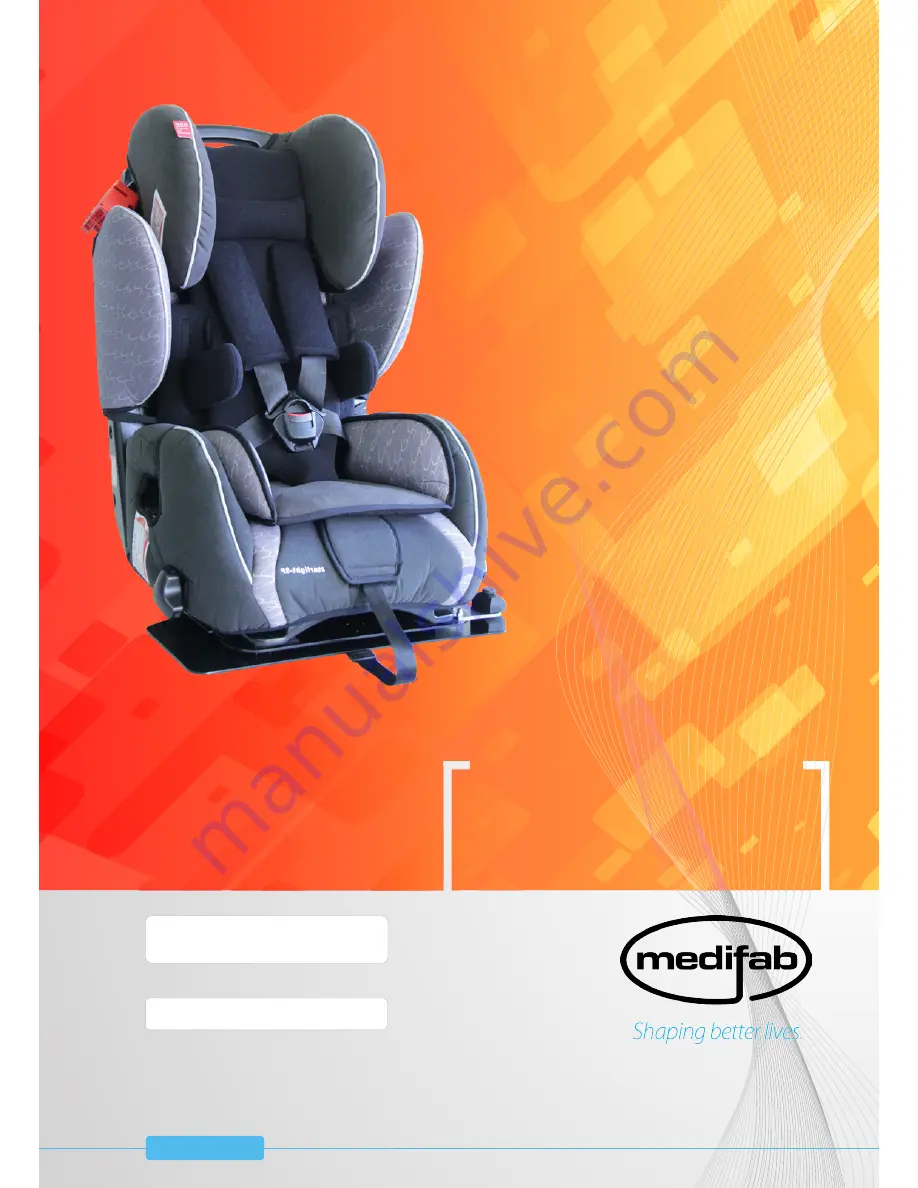
Starlight Car Seat

Installation & 

User manual

IMPORTANT CONSUMER INFORMATION NOTICE

: This manual 

contains important instructions that must be passed on to the 

user of this product. Please do not remove this manual before 

delivery to the end user. 

SUPPLIER

: This manual must be given to the user of this product.

USER

: Before using this product, read entire manual and save for 

future reference.

User Manual for all Starlight Car Seats (product code begins with “4140”)

Manual: Starlight20140613

User Name:

Serial Number:

www.medifab.com

Medifab Ltd  

solutions@medifab.com

New Zealand: Call 0800 543 343

7-9 Allens Road, Ashburton 7700

Australia: Call 1300 543 343

26 Pardoe Street, Devonport, TAS 7310

Summary of Contents for Starlight

Page 1: ...er SUPPLIER This manual must be given to the user of this product USER Before using this product read entire manual and save for future reference User Manual for all Starlight Car Seats product code begins with 4140 Manual Starlight20140613 User Name Serial Number www medifab com Medifab Ltd solutions medifab com New Zealand Call 0800 543 343 7 9 Allens Road Ashburton 7700 Australia Call 1300 543 ...

Page 2: ...ons carefully Should you have a question require any advice or help please contact our offices at Installation and Operating Instructions Before installation and use in a vehicle please read and adhere to the following instructions carefully User Guide Recaro Storchenmuehle manufacturer s instructions Please also make sure that the instructions remain with the product We reserve the right to make ...

Page 3: ...hat components such as these and other options are fitted and adjusted properly 4 It is necessary for the dealer to adjust and install your STARLIGHT Reha to suit the individual needs of the child achieving the optimal seating position for comfort and support 5 Do not modify or change this equipment in any way or change the use of any components or optional equipment do not add any non approved ac...

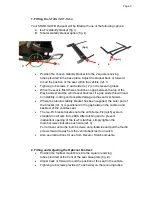
Page 4: ...ity bracket has been supplied the outer part of the bracket ref 3 is positioned in the gap between the cushion and backrest of the vehicles seat The Iso Fix bracket locates onto the vehicle Iso Fix latch system standard on all cars from 2006 After latching and to prevent inadvertent opening of the Iso Fix latches simply tighten the thumb screws clockwise each side ref 4 For removal undo the thumb ...

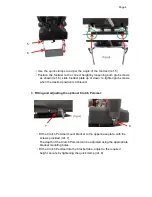
Page 5: ...s when the desired position is achieved 3 Fitting and adjusting the optional Crotch Pommel Fit the Crotch Pommel mount bracket to the upper base plate with the screws provided ref 7 The depth of the Crotch Pommel can be adjusted using the appropriate bracket mounting holes Fit the Crotch Pommel into the bracket tube adjust to the required height secure by tightening the quick clamp ref 8 5 6 fig i...

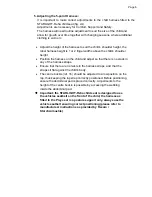
Page 6: ... option This option allows for increased tilt by making adjustments each side of the base plate as shown below fig vi Remove fixing screw and nut each side ref 11 Chose tilt position Refit and tighten fixing screw fig vi 11 ...

Page 7: ...just so that there is no slack in any of the harness straps Ensure that there are no twists in the harness straps and that the straps sit flat against the child s body The centre buckle ref 16 should be adjusted to a low position on the lap thus keeping the lap strap correctly positioned Before positioning ensure the abdominal pad is placed correctly Adjustments to the height of the centre buckle ...

Page 8: ...e 7 7 Using the Swivel Base STARLIGHT Reha is available with a Swivel Base option which allows easy access for positioning the child This option is available for passenger or driver side fig ix 18 fig x 19 ...

Page 9: ... Storchenmuehle Safety Before use ensure the components of the seat are in good working order and condition Please read and understand the fitting and operating instructions provided here and by Recaro Storchenmuehle The operating instructions must always be kept on the child car seat Your child is only safe when the seat is correctly installed and the child is correctly positioned within the seat...

Page 10: ... for disposal options Warranty Hernik seats are designed and manufactured in accordance with strict quality standards If in exceptional circumstances you have cause for complaint Hernik GmbH guarantee in accordance with the terms and conditions of delivery 24 months warranty on all solid parts from date of installation 12 months warranty on all moving parts from date of installation For parts that...

Page 11: ... use of the seat and all of its component parts Perform all functions including the following Adjustment of the harness support Adjustment of the head support and how to adjust the harness height Adjustment of the foot rest Adjustment of the recline mechanism How to fit the seat to and remove the seat from your vehicle How to use the swivel access base Important How to fit and use the vehicles sea...

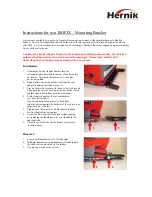
Page 12: ... Turn both Allen screws 1 each side but do not tighten 2 Extend slide the iso fix bracket out from the seat and pinch tighten the Allen screws 1 3 Line up the Iso fix latches with the car s Iso fix brackets Then push the car seat back on both sides until a clearly audible click is heard from both Iso fix latches 4 Set the required angle of the car seat backrest see User Instructions Now loosen bot...

Reviews: