background image

1


使


調


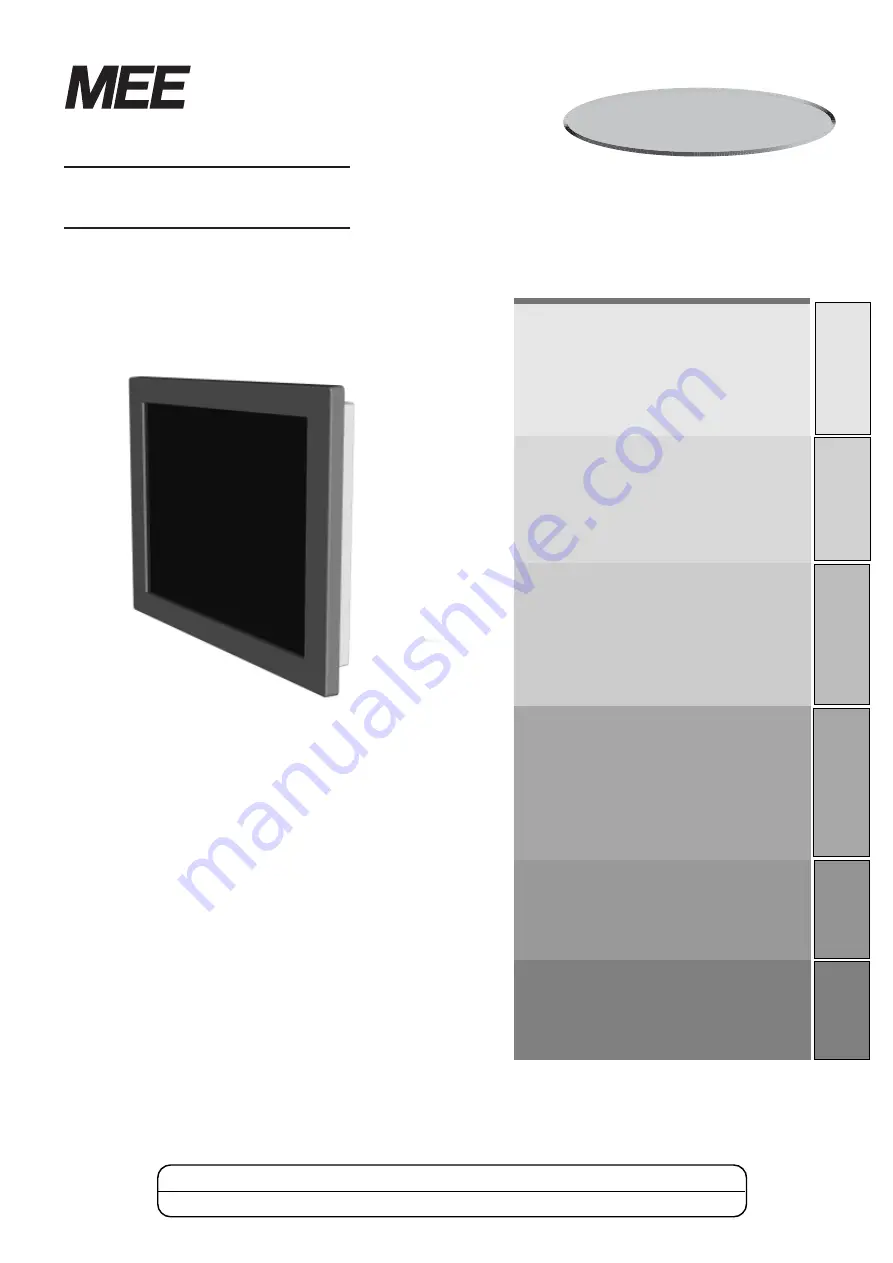
タッチセンサ付TFTカラー液晶モニタ

取扱説明書

TSD-AT1513-MN

■ この取扱説明書をよくお読みになり、正しくお使いください。特に「安全のために必ず守ること」は、タッチモニタをご使

この取扱説明書をよくお読みになり、正しくお使いください。特に「安全のために必ず守ること」は、タッチモニタをご使

この取扱説明書をよくお読みになり、正しくお使いください。特に「安全のために必ず守ること」は、タッチモニタをご使

この取扱説明書をよくお読みになり、正しくお使いください。特に「安全のために必ず守ること」は、タッチモニタをご使

この取扱説明書をよくお読みになり、正しくお使いください。特に「安全のために必ず守ること」は、タッチモニタをご使
用の前に必ず読んで正しくお使いください。

用の前に必ず読んで正しくお使いください。

用の前に必ず読んで正しくお使いください。

用の前に必ず読んで正しくお使いください。

用の前に必ず読んで正しくお使いください。

■ この取扱説明書に収録している保証書は必ず「お買上げ日・販売店名」などの記入を確かめて、販売店からお受け取りくだ

この取扱説明書に収録している保証書は必ず「お買上げ日・販売店名」などの記入を確かめて、販売店からお受け取りくだ

この取扱説明書に収録している保証書は必ず「お買上げ日・販売店名」などの記入を確かめて、販売店からお受け取りくだ

この取扱説明書に収録している保証書は必ず「お買上げ日・販売店名」などの記入を確かめて、販売店からお受け取りくだ

この取扱説明書に収録している保証書は必ず「お買上げ日・販売店名」などの記入を確かめて、販売店からお受け取りくだ
さ い 。

さ い 。

さ い 。

さ い 。

さ い 。

インターネットホームページ:http://www.mee.co.jp/sales/visual/touch-monitor/

製品情報などを提供しています。

  もくじ

  ページ

1. ご使用の前に ............................................ 2
2. 安全のために必ず守ること ...................... 3

3. 各部の名称 ............................................... 6
  ■ 本体背面 ............................................ 6

■ 付属品の確認 ..................................... 7

4. 接続 .......................................................... 8

■ 電源の接続 ........................................ 8
■ ケーブルの接続 ................................. 9
■ ケーブルの固定 ................................. 9
■ タッチセンサ用ドライバソフトのインストール .. 10

5. 画面調節 ................................................... 13

■ 画面の調節 ........................................ 13
■ タッチOSD機能 ................................ 14

6. 機能 .......................................................... 18

■ 自動画面表示 ..................................... 18
■ パワーマネージメント機能 ............... 18

7. 困ったとき ............................................... 19

■ 故障かな?と思ったら ...................... 19
■ 保証とアフターサービス ................... 21

8. 付録 .......................................................... 22

■ 仕様 ................................................... 22
■ さくいん ............................................ 23

アナログ抵抗膜方式

アナログ抵抗膜方式

Summary of Contents for TSD-AT1513-MN

Page 1: ...1 TFT TSD AT1513 MN http www mee co jp sales visual touch monitor 1 2 2 3 3 6 6 7 4 8 8 9 9 10 5 13 13 OSD 14 6 18 18 18 7 19 19 21 8 22 22 23...

Page 2: ...2 1 VCCI B P8 P6 VCCI Windows...

Page 3: ...3 2...

Page 4: ...4 1 1 During servicing disconnect the plug from the socket outlet...

Page 5: ...5 This Touch Monitor is designed for use in Japan and can not be used in any other countries 40 60cm...

Page 6: ...6 3 OSD On Screen Display 2 DC DVI D 5 OSD OSD 6 3 USB B 1 D SUB 9 4 D sub15 OSD DVI CAC DV2D...

Page 7: ...7 DC USB A B CD ROM D sub 15 D sub 15 2 D sub 9 D sub 9...

Page 8: ...8 4 DC AC100V AC100V AC TSD PS2 AC DC DC AC AC100V 1 0A DC AC 1 DC DC DC DC 12V DC DC 2 AC The plug of power supply cord inserted into the outlet should be easily accessible DC...

Page 9: ...9 USB USB TOUCH RS232C TOUCH USB D Sub 15 DVI D D Sub 9 DVI VGA 2 3 4 5 1 USB 2 3 1 DC 2 DVI D DVI D 3 D Sub15 D Sub15 4 USB 5 RS 232C 4 5 RS 232C USB VGA DVI USB USB AC TSD PS2 USB...

Page 10: ...OM Windows 2000 Windows XP CD ROM Windows Vista CD ROM SETUP EXE A Administrator CD ROM CD ROM SETUP EXE Windows 3 1 OS 2 Macintosh Windows 95 98 Me NT Touch Monitor Accessory CD ROM CD ROM Adobe Acro...

Page 11: ...11 OS TSD AT1513 MN OK...

Page 12: ...12 Controller USB USB Controller Serial Serial Serial Port COM USB PC...

Page 13: ...13 2 DOS 5 2 1 2 OSD P14 16 3 OSD Auto Adjust Image 30 0 61 0kHz 55 0 75 4Hz 1 1 2 OSD P14 16 OSD MENU Auto Image Display Width Phase H Position V Position Auto Adjust...

Page 14: ...14 OSD OSD 1 OSD 3 OSD OSD OSD OSD OSD OSD OSD P16 OSD OSD OSD...

Page 15: ...15 2 OSD OSD Exit OSD OSD 3 OSD OSD OSD 4 Menu Select Menu Select Menu Select OSD Exit OSD 1 OSD...

Page 16: ...16 4 OSD OSD 1 OSD B C D UPDD OSD A B C D 2 OSD OSD OSD OSD OSD 3 3 OSD OSD OSD...

Page 17: ...OSD OSD OSD OSD OSD Brightness Contrast Exit Auto Color Color Temperature Exit Auto Image Display Width Phase H Position V Position Exit Sharpness Change Input LCD Direction Reset Exit OSD Timer OSD H...

Page 18: ...640 480 800 600 800 600 800 600 1024 768 1024 768 1024 768 31 5kHz 31 5kHz 37 9kHz 37 5kHz 37 9kHz 48 1kHz 46 9kHz 48 4kHz 56 5kHz 60 0kHz 70Hz 60Hz 72Hz 75Hz 60Hz 72Hz 75Hz 60Hz 70Hz 75Hz TEXT VGA 60...

Page 19: ...19 1 1 1 DC DC 2 3 DC 4 OSD Contrast Brightness OSD P17 5 6 P18 7 8 7 1 1 1 2 3 4 5 6 7 8 1 2 3 4...

Page 20: ...20 1 1 1 DC 5 5 2 3 1 DC 5 5 2 3 CD ROM P10 5 6 7 8...

Page 21: ...21 TSD AT1513 MN...

Page 22: ...50 60 CR 10 1024 1024 RS232C USB 3H 0 7Vp p 75 RGB TTL 30 0kHz 61 0kHz 55 0Hz 75 4Hz 1677 200cd m2 450 1 304 1 228 1 V mm D Sub15 DVI D D Sub9 USB type B 0 40 10 80 RH DC12V 2 5A DC12V 1 5A UL c UL V...

Page 23: ...9 13 18 22 8 18 22 OSD 14 7 9 6 10 CD ROM 7 17 8 18 22 18 22 7 7 21 21 6 13 Bright Contrast 17 Color Control 17 Contrast 17 DC 7 8 DPMS TM 18 Exit 17 Image Control 17 Information 17 OSD 6 14 OSD Contr...

Page 24: ...L 03 3288 1108 FAX 03 3288 1575 450 0002 3 14 16 TEL 052 565 3435 FAX 052 541 2558 530 0003 2 2 2 TEL 06 6347 2969 FAX 06 6347 2983 730 0037 7 41 TEL 082 248 5390 FAX 082 248 5391 810 0001 4 1 7 3 TEL...

Page 25: ...Connectors arrangement 5 Accessories 6 4 Connections 7 Power supply cord connection 7 Video Signal Cable Connections 8 Fix the cables 8 Software installation for touch sensor 9 5 Image adjustment 12 I...

Page 26: ...al though we made assurance doubly sure In case your user s manual has any defect please contact your supplier to exchange it for the new one Windows is registered trademark of Microsoft Corporation A...

Page 27: ...electric shock Protect and correctly use the power supply cord Hold the plug when disconnecting As high pressure heating and excessive strain can cause damage and it may cause fire and or electric sho...

Page 28: ...controls to enhance readability Avoid displaying fixed patterns on the monitor for long periods of time to avoid image persistence afterimage effect Get regular eye checkups How to manage your eye fa...

Page 29: ...le DC Power Input Connector Touch sensor Communication Connector USB type B OSD Signal connector Please use this connector when you connect the SW for OSD DIGITAL Video Signal Input Connector DVI D 5...

Page 30: ...t your supplier Touch sensor Communication Connector USB TypeA TypeB DC cord Guarantee CD ROM including the software for the touch sensor Video signal cable with 2 ferrite core Connectors D sub 15 pin...

Page 31: ...pply cord to the AC adaptor and plug of the power supply cord to the AC 100V outlet When connecting to the power receptacle of the PC check to see that the power supply capacity is adequate The curren...

Page 32: ...Touch sensor communication 5 RS 232C cable for Touch sensor communication Touch sensor communication cable is connected to only 4 or 5 USB VGA Input DVI input Serial Port Computer USB Port TOUCH RS232...

Page 33: ...ROM Unacceptable operating software For example Windows 3 1 OS 2 Macintosh and so on Please contact your dealer if you use Windows 95 98 Me NT By clicking each item on this Menu screen you can start a...

Page 34: ...Step Step After clicking the button OK the menu as shown in Figure will appear Click the green button that selects the type of this product Analog Resistance Click button Step Install the software acc...

Page 35: ...the COM port you use Click the Install button Step At the USB connection Step Step Click the button to start installing the software Installation of the software will start After the installation of...

Page 36: ...it starts automatic screen adjustment of Display Width Phase H Position and V Position by detecting input signal The character of Auto Adjust is displayed while adjusting the screen automatically 5 I...

Page 37: ...dicated mark disappears when touching while the mark appears places other than bottom left corner of the screen Under such a condition even if four is executed OSD is not indicated Neither indication...

Page 38: ...touching following key area Menu Select Position Key Action Bottom Left Bottom Right Upper Right Upper Left Menu Select Move to Exit while OSD menu is indicated Or return to previous screen while OSD...

Page 39: ...ver then following window is indicated 2 Please change a sequence by touching the letter A B C D of the monitor in indicated figure 3 After that store a touch sequence to a touch monitor by pushing th...

Page 40: ...display position only for analog connection Adjusts the vertical display position only for analog connection End the adjustment of this group Adjusts the sharpness of the display Changes the signal i...

Page 41: ...0Hz SVGA 72Hz SVGA 75Hz XGA 60Hz XGA 70Hz XGA 75Hz Scanning frequency Synchronization signal polarity The sequence of factory preset timing signals is different from this table Signal timing Dots X li...

Page 42: ...ergized To check it use another machine 4 If OSD appears and Contrast and Brightness adjustment is available the monitor is normal Refer to P 16 5 Check to make sure that your PC and equipment should...

Page 43: ...al seconds Touch sensor does not respond 5 6 7 8 Troubleshooting The backlight located within your equipment may have ended its life If so con sult your supplier to have it replaced Some PCs cause the...

Page 44: ...Use a soft cloth when cleaning If the monitor is too soiled soak a cloth in mild detergent and give it a wring before cleaning Finish it with a dried soft cloth finally Avoid using any cleaning soluti...

Page 45: ...V mm Mini D sub 15 pins female DVI D female D sub 9 pins male USB Type B female 0 C to 40 C 10 to 80 RH Non condensing DC12V 2 5A power supply specification DC12V 1 5A body UL60950 1 c UL VCCI B CE VE...

Page 46: ...22 Appendix MEMO...

Page 47: ...23 Appendix MEMO...

Page 48: ...Nihonjisho 1st Building 1 13 5 Kudan kita Chiyoda ku Tokyo 102 0073 Japan Tel 81 3 3288 1108 Fax 81 3 3288 1575 40D871062A10...

Reviews: