


MCT-10DS/10DS-POE
User’s Manual
Content
Declaration
........................................................................................................................... 1
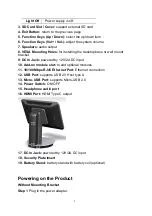
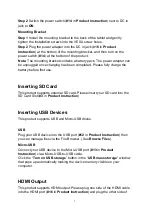
Product Instructions
............................................................................................................ 1
Powering on the Product
................................................................................................... 2
Without Mounting Bracket
............................................................................................ 2
With Mounting Bracket
................................................................................................ 3
Inserting the SD Card
........................................................................................................ 3
Inserting USB Devices
....................................................................................................... 3
HDMI Output
........................................................................................................................ 3
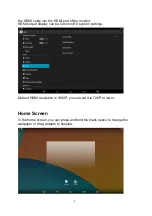
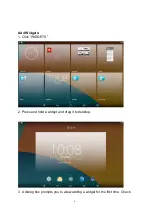
Home Screen
...................................................................................................................... 4
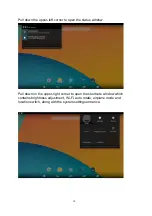
System Bar
.......................................................................................................................... 8
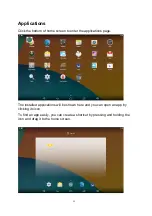
Applications
....................................................................................................................... 11
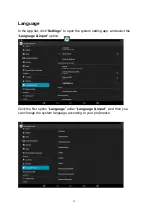
Language
........................................................................................................................... 12
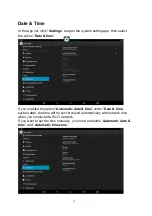
Date & Time
....................................................................................................................... 13
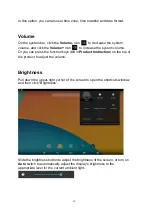
Volume
............................................................................................................................... 14
Brightness
.......................................................................................................................... 14
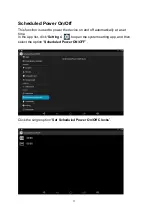
Scheduled Power On/Off
................................................................................................. 15
Wi-Fi
.................................................................................................................................... 19
Ethernet
.............................................................................................................................. 20
Bluetooth
............................................................................................................................ 21
Virtual Keyboard
............................................................................................................... 23
Switch Input Methods
....................................................................................................... 24
Take Photos & Shots
....................................................................................................... 26
Surf Online
......................................................................................................................... 29


