background image

37

39

40 41

42

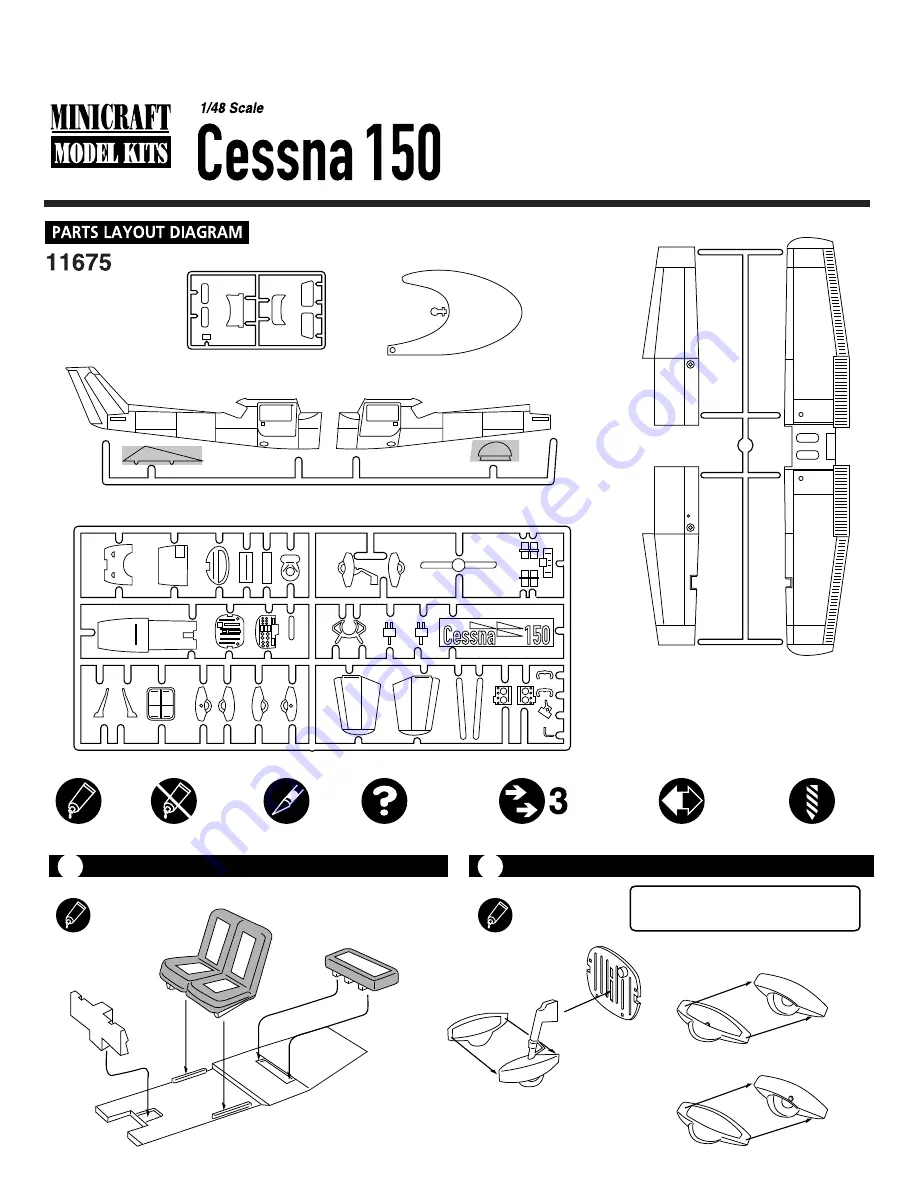
Right Lower Wing

Left  Lower Wing

Upper Wing

Stand Base

Support

38

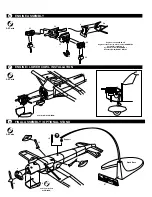
COCKPIT ASSEMBLY

1

LANDING GEAR ASSEMBLY

2

All Parts

All Parts

4

13

23

7

19

18

8

17

16

15

14

 Cockpit floor BLACK

Seats DARK  and LIGHT GRAY

Rudder pedals (23) ALUMINUM

 Firewall (8) BLACK

 Tires BLACK-GRAY

 Strut ALUMINUM

Cement
Coller
Kleben
Pegar
Incollare
Colar
Kleven

DO NOT Cement
Ne pas Coller
Nicht Kleben
No Pegar
Non Incollare
Nao Colar
Niet Kleven

Cut away
Couper
Scheiden
Cortar
Tagliere
Cortar
Snijden

Optional parts
Choix
Auswahlmoglichkeit
Eleccion
Scelta
Opaco
Keuze

Repeat operation
RŽpeeter l' opŽration
Vorgang wiederholen
Repitir la operacion
Ripetere
Repitir a opera•ao
Herhalen

Symmetrical assembly

Drill hole

Your MINICRAFT Cessna 150 is a highly detailed replica of one 
of the world's most popular civil aircraft.  Please review the 
assembly steps as well as the color and decal guide to become 
familiar with the parts before beginning assembly.

IMPORTANT NOTE!

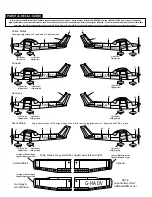
Paint all parts and apply decal stripes

to wheel fairings before continuing assembly.

Minicraft Models (US) LLC, 1501 Commerce Dr, Elgin IL 60123.    www.minicraftmodels.com 

Printed in China

1

2

3

4

5

6

18

19

20

21

22

23

27

25

26

24

10

9

8

7

11

12

13

14

15

16

17

28

29

30

31

34

35

36  

32

33

Right Fuselage Half

Ventral Fin

Fuselage plug

Left Fuselage Half

Shaded parts not used

Summary of Contents for Cessna 150

Page 1: ...at operation RŽpeeter l opŽration Vorgang wiederholen Repitir la operacion Ripetere Repitir a opera ao Herhalen Symmetrical assembly Drill hole Your MINICRAFT Cessna 150 is a highly detailed replica of one of the world s most popular civil aircraft Please review the assembly steps as well as the color and decal guide to become familiar with the parts before beginning assembly IMPORTANT NOTE Paint ...

Page 2: ... 5 DARK and LIGHT GRAY Interior LIGHT GRAY Instrument panel BLACK GRAY with SILVER and BLACK details Control wheels BLACK IMPORTANT NOTE Fuselage stripe decals must be applied before mounting stabilators 28 29 Refer to Paint Decal Guide IMPORTANT NOTE You may choose to assemble wing struts 30 31 after final paint and decals are applied Refer to Paint Decal Guide WINGS STRUTS AND WINDSHIELD MOUNTIN...

Page 3: ...32 33 26 6 24 Engine mount 24 BLACK Engine accessories 6 block 32 33 GUNMETAL Carburator 35 BLACK Cylinders 21 22 BLACK GRAY Exhousts 25 26 BURNT METAL Cowl interior ALUMINUM 1 FINAL ASSEMBLY OPTIONAL STAND 8 All Parts Support 10 12 3 2 20 11 27 Stand Base Cowl part interiors ALUMINUM ...

Page 4: ...ly attach removable upper cowl Part 2 to fuselage before applying decals Extra decals are provided for the advanced modeler to change registration numbers to personalize the model 1 6 Left side 7 Right side 8 Left side 9 Right side 8 Left side 9 Right side 12 Left side 13 Right side 14 Left side 15 Right side 14 Left side 15 Right side 5 11 10 18 18 17 26 26 16 21 Left side 22 Right side 23 Left s...

Page 5: ... lay on a paper towel After approximately 10 20 seconds the decal will slide freely from the backing paper Use a small brush to help slide the decal from the backing paper and into position on the model Carefully blot excess water from the decal using care not to move the decal or tear it If you choose to use a setting solution apply a thin coat over the decal following the manufacturer s instruct...

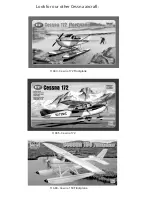
Page 6: ...Look for our other Cessna aircraft 11634 Cessna 172 Floatplane 11635 Cessna 172 11663 Cessna 150 Floatplane ...

Reviews: