background image

(ver.1.1 2017/7)

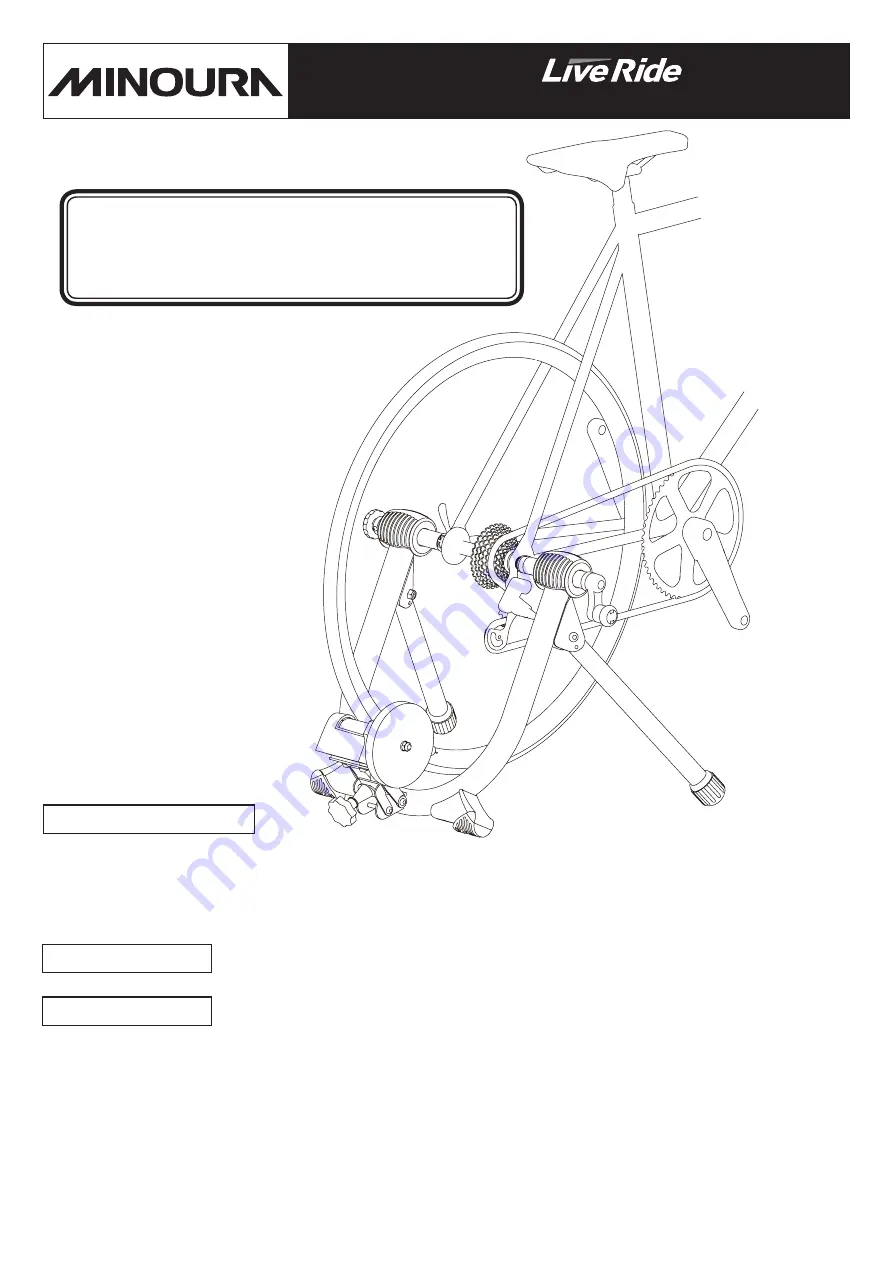
indoor bicycle trainer 


LR341

instructions manual

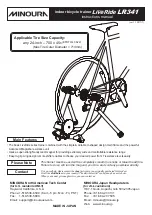
Applicable Tire Size Capacity:


any 24-inch – 700 x 45c


(ETRTO 47-622)


(Max Tire Outer Diameter = 714mm)

Contact

MINOURA North American Tech Center 


MINOURA Japan Headquraters

(for U.S. residents ONLY) 


(for ALL customers)

Hayward, California, U.S.A.   


1197-1 Godo, Anpachi, Gifu 503-2305 Japan

Phone: 1-510-538-8599  (8 am - 5 pm, Mon - Fri, PST) 

Phone: +81-584-27-3131

Fax: 

1-510-538-5899     Fax: 


+81-584-27-7505

Email: 


support@minourausa.com 

   Email: 


minoura@minoura.jp

        Web: 


www.minoura.jp

MADE IN JAPAN

If  you need help, please contact the shop first where you originally purchased this product 

or call the distributors in your country. The distributors list can be found on our web site.

When you cannot get enough service, you can contact us;

• The basic LiveRide series trainer combined with the simple & durable U-shaped design main frame and the powerful 

Advanced-Magturbo resistance unit

• Uses a super-strong Neodymium magnet for providing extremely wide and controllable resistance range

• Easy-to-grip wing design remote shifter enables to choose your desired power from 7 resistance levels easily

Main Features

Please Note

This trainer must be used with a completely smooth (no knobs or raised tread) tire. 

Failure to do so will ruin the mag unit, your tire, and void any possible warranty.

Summary of Contents for LiveRide LR341

Page 1: ...tact the shop first where you originally purchased this product or call the distributors in your country The distributors list can be found on our web site When you cannot get enough service you can c...

Page 2: ...and roller contact will eventually wear both your tire and the trainer roller Wipe the tire surface to remove any solid dust away before setting the bike on the trainer in order to maximize the drive...

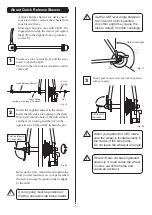
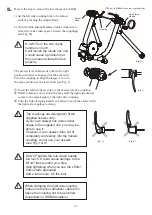
Page 3: ...spring and the nut on the opposite side Temporarily tighten the nut Acorn spring must be positioned that the narrower side faces inward Raise up the lever Adjust the nut tightening until you feel resi...

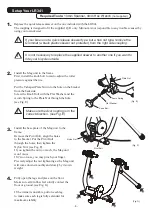
Page 4: ...ide Required Tools 10mm Spanner 4mm Hex Wrench not supplied Fig G Fig E 1 2 4 Install the Mag unit to the frame First install the knob bolt to micro adjust the roller pressure against the tire Put the...

Page 5: ...ing Add 2 turns more It s the limit Fig H Do NOT turn the hub clamp handle too much It will loosen the inside nut and it could cause a problem that the you cannot clamp the hub properly Coupling Wheel...

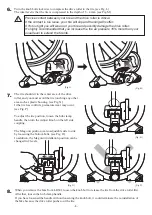
Page 6: ...L The ideal level is that the tire is compressed in the depth of 3 4mm see Fig M Fig N Fig P Fig O Fig L Fig M Precise contact between your tire and the drive roller is critical If the contact is too...

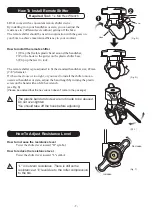
Page 7: ...o increase the resistance level Twist the shifter lever toward H symbol How to reduce the resistance level Twist the shifter lever toward L symbol L is not zero resistance There is still some resistan...

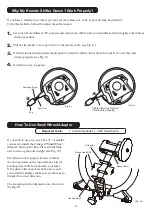
Page 8: ...Lock Nut to set the cable tension properly see Fig V 4 Install the cover cap again Adjusting Screw Cap Lock Nut If you wish to use a tire size 24x1 75 or smaller you need to install the Z shaped Small...

Reviews: