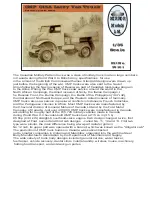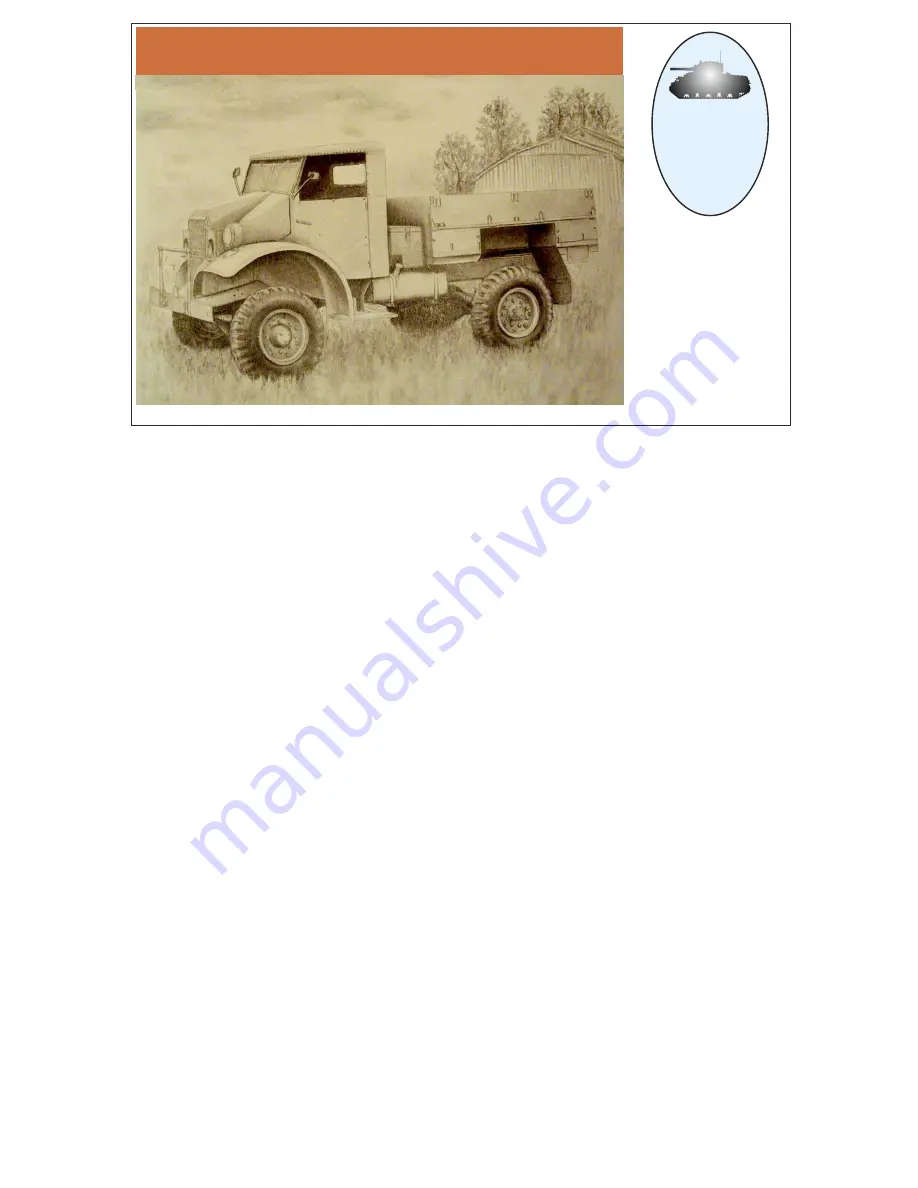
The Canadian Military Pattern truck was a class of military truck made in large numbers
in Canada during World War II to British Army specifications for use
in the armies of the British Commonwealth allies. Standard designs were drawn up
just before the beginning of the war. CMP trucks were also sent to the Soviet
Union following the Nazi invasion of Russia, as part of Canada's lend-lease program
to the Allies. During the War CMP trucks saw service around the world in the
North African Campaign, the Allied invasion of Sicily, the Italian Campaign, t
he Russian Front, the Burma Campaign, the Battle of the Philippines (1941-42),
the liberation of Northwest Europe, and the Western Allied invasion of Germany.
CMP trucks also saw service in post-war conflicts in Indonesia, French Indochina,
and the Portuguese colonies in Africa. Most CMP trucks were manufactured by
the Chevrolet division of General Motors of Canada Ltd and by the Ford Motor
Company of Canada. Just over 400,000 CMP trucks were manufactured in Canada,
accounting for roughly half of the 815,729 military vehicles made in Canada
during World War II. Chevrolet-built CMP trucks had a 215 cu in (3.5 L),
85 bhp (63.4 kW) straight-6 overhead-valve engine. Cab design changed twice, first
designed at Ford, second and third cab designs - called No. 11, 12 and 13. First two
type were similar, the main difference being a two-part radiator grille in
No.12 cab, its upper part was opened with a bonnet, which was known as the "Alligator cab".
The production of CMP truck bodies in Canada was subcontracted
out to smaller companies in Ontario and Manitoba, organized into the wartime Steel
Body Manufacturers Association by the Department of Munitions and Supply.
The wide variety of truck body designs included general service, water tanker,
fuel tanker, vehicle recovery, dental clinic, mobile laundry, wireless house, machinery,
folding boat transport, and anti-tank gun portee
MIRROR
Models
Ltd.
Precision plastic model
CMP C15A Lorry Van Truck
1/35
Scale
Kit No.
35101
Summary of Contents for C15A Lorry
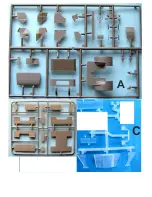
Page 2: ...A C...
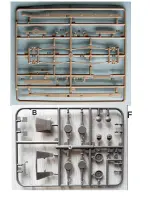
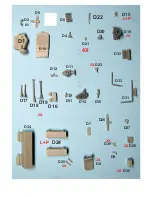
Page 3: ...E1 E2 E3 B4 E5 E6 E7 E8 E9 E10 E11 E10 E9 E12 E8 B F...
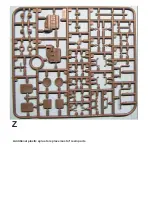
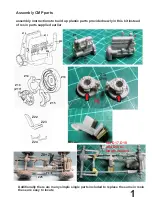
Page 4: ...Z Additional plastic sprue to replace most of resin parts...
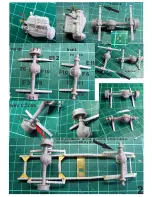
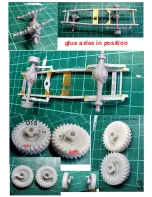
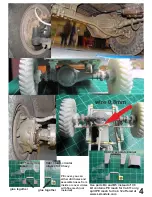
Page 9: ...glue axles in position D16 left right D15 D15 mind direction of tire pattern 3...
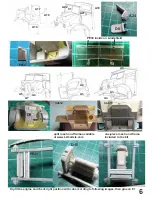
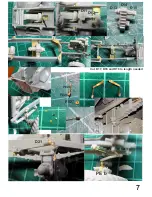
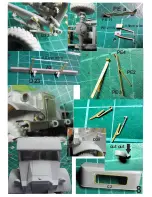
Page 14: ...D22 PE c PE2 PE3 PE4 PE a PE 11 PE12 13 0 6mm wire A2 0 8mm wire D23 C2 cut out D29 8...
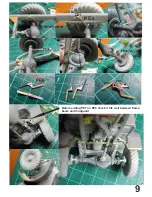
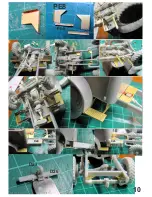
Page 16: ...PE8 PE9 PE8 PE9 D24 D25 PE18 D26 D27 D28 10...
Page 18: ......
Page 19: ......
Page 20: ......
Page 21: ...Vehicles often painted in olive drab in desert service in sand yellow with PE plate...
Page 22: ......
Page 23: ......

