MODERN
DISPLAY
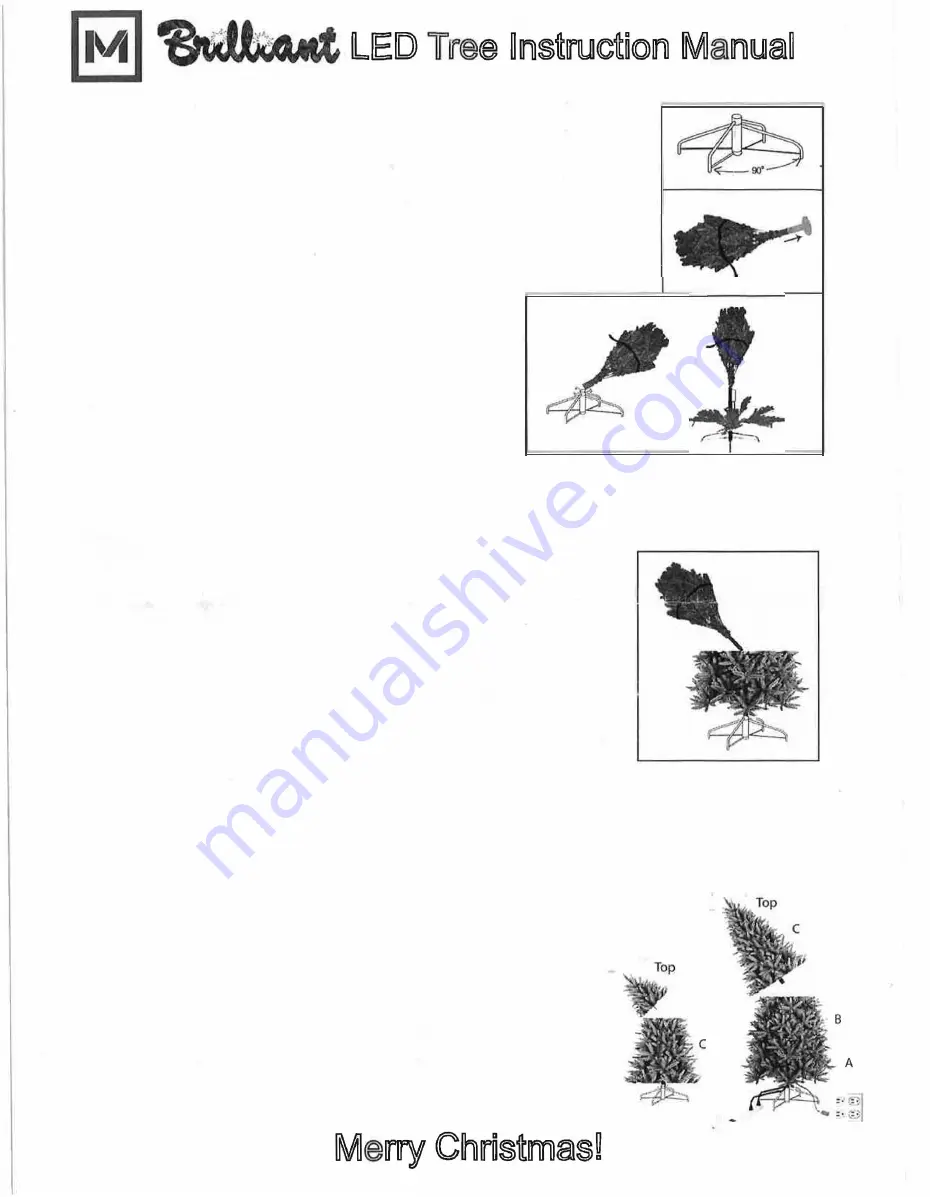
1. Remove the tree stand from the plastic bag and pull the legs open.
Insert the screws and place the stand in the location where you want
your tree to be displayed. (We recommend near a wall outlet)
2. Remove the green pole protectors from the end of each pole section
3. Place the bottom section (A) into the stand and hand
tighten the bolts provided.
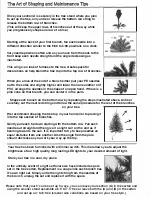
4. Release the bottom row of branches by untying the
string and proceed to shape one branch of that row at a
time utilizing the shaping tips on the back of these
instructions. When you are done with all of the branches
in the row, pull another string and continue.
TIP - You may want to use a little
WD-40
on the pole of each section before you slide it into the section
below it. This lubrication will make it easier to disassemble the tree at the end of the season.
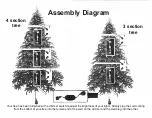
5. Place section (B) into (A). Find the extension cords from each of
the sections and plug them together per the Assembly Diagram
included. Pk: :1se nc!e that it is not necessary to unplug any of the
light sets on each individual branch.
6. Release the bottom row of branches on section (B) by untying
the string and proceed to shape one branch of that row at a time
utilizing the shaping tips on the back of these instructions. When
you are done with all of the branches in the row, pull another string
and continue.
If your tree came in 3 sections we recommend shaping the tree top in your
hand prior to placing it into the top section of branches. When your tree top
is ready place it into section (8), find the extension cords from each of the
sections and plug them together per the Assembly Diagram included.
Versa Tree instructions - If your tree is 9' tall we have included a
second stand in the carton. After you have completed sections (A)
and (B), place section (C) into the smaller stand. Follow the
instructions (4) above and then find the extension cords from each
of the sections, plug them together per the Assembly Diagram
included and follow the shaping tips. Finally, when you have
shaped, lit and perhaps even decorated section C simply pop it up
onto the tree.