

(800) 423-2594
All Rights Reserved © 2019 Multicom, Inc.
(407) 331-7779
1
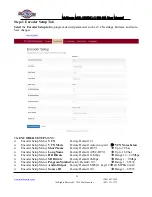
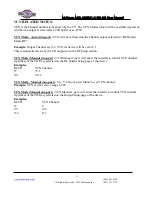
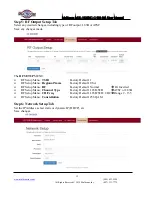
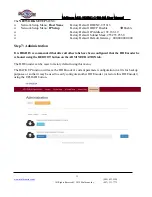
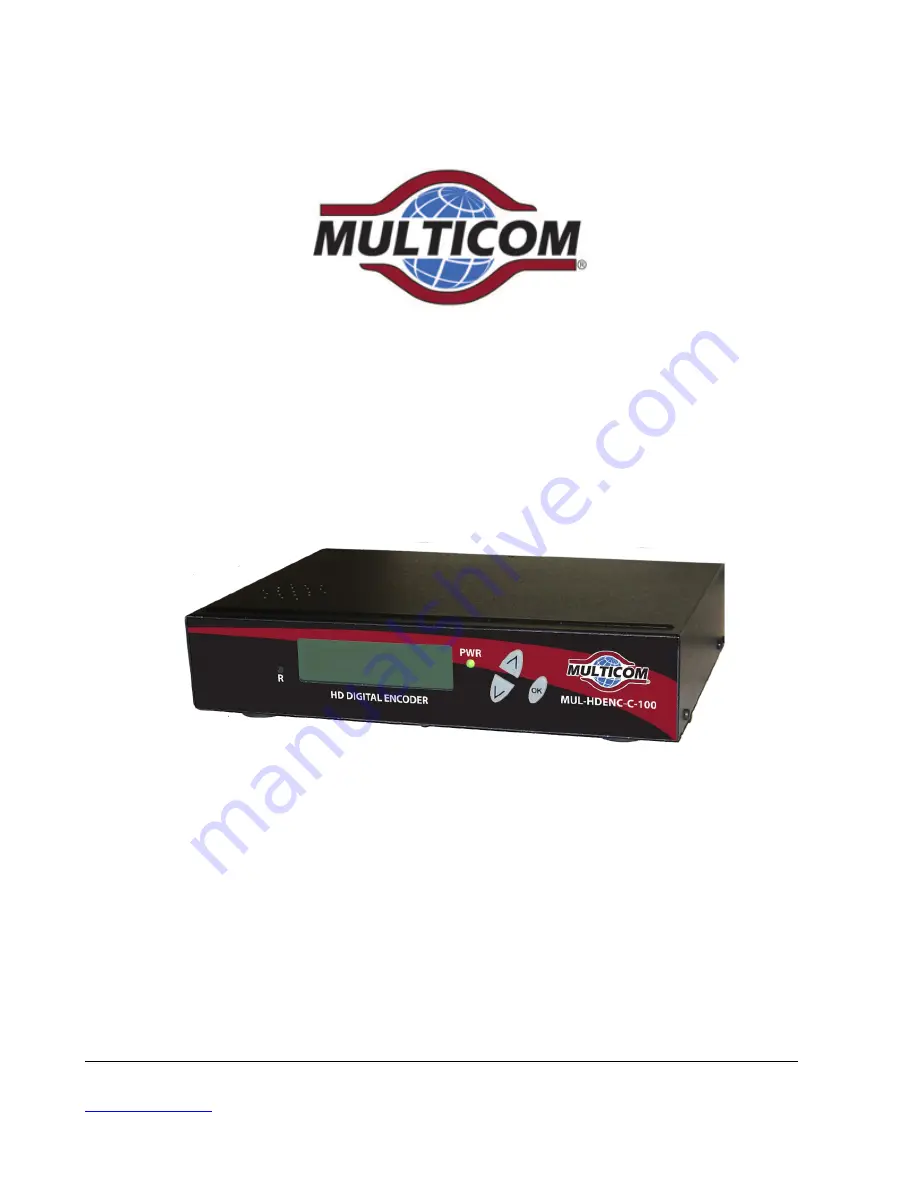
MUL-HDENC-C-100-NA
High Definition Digital Encoder
User Manual
Multicom, Inc.
1076 Florida Central Parkway, Longwood, FL 32750
www.multicominc.com
April 2019 (Version 1p)
This manual is intended solely for use by purchasers of Multicom, Inc. HD Digital Encoders and their qualified service
technicians. This document is the property of Multicom, Inc. and incorporates proprietary subject material and information. The
use of all design, manufacture, reproduction, and all other rights regarding these contents in whole or part without Multicom, Inc.
written consent is expressly prohibited.
Multicom® and the Multicom logo are registered trademarks of Multicom, Inc.


