
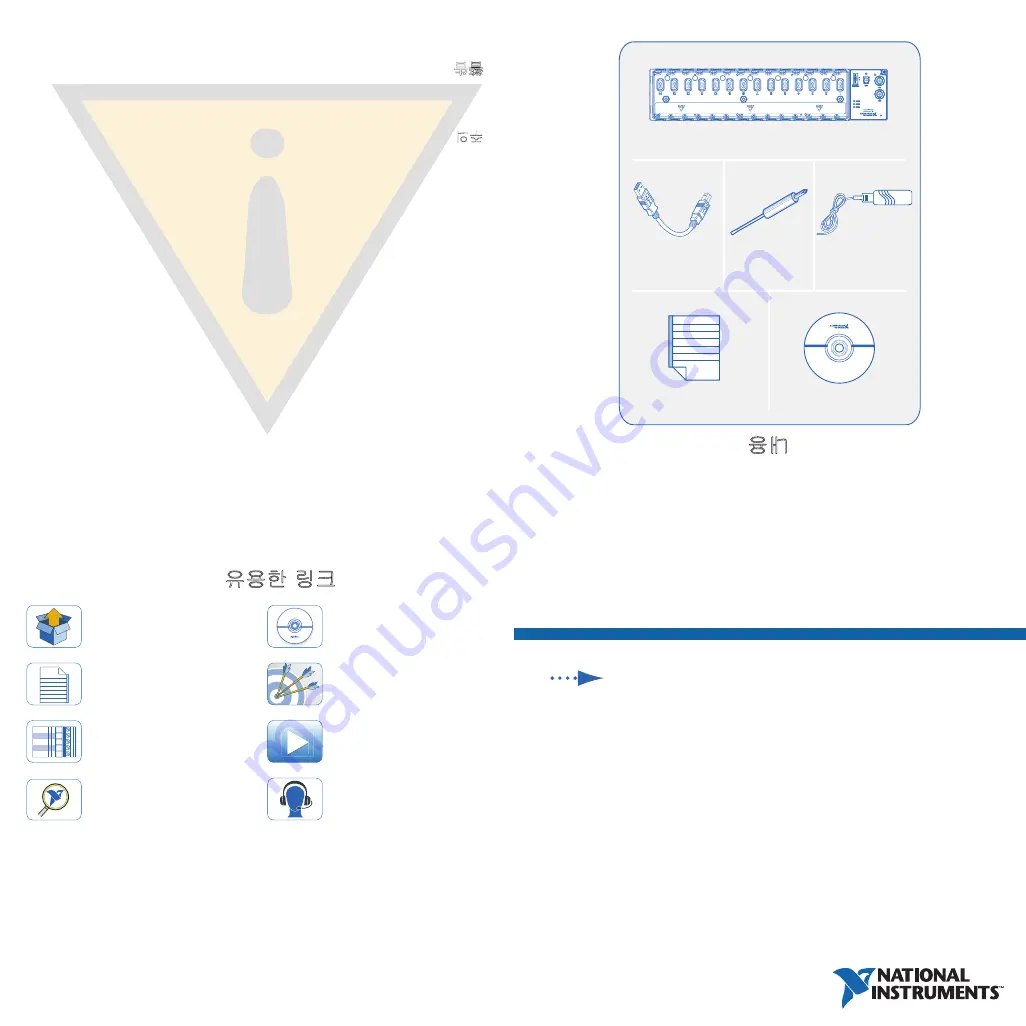
NI-DA
Qmx DV
D
Documentation
Power Supply
NI cDA
Q-9179
Screwdri
ver
USB 3.0 Cable
NI cDAQ
TM
-9179
Quick Start
Démarrage rapide
Erste Schritte
クイックスタート
시작하기
快速入门
NI CompactDAQ 14-Slot USB 3.0 Chassis
Useful Links I Liens utiles I Nützliche Links
役に立つリンク
I
유용한 링크
I
相关链接
Getting Started
ni.com/gettingstarted
Software
ni.com/downloads
Demonstrations
ni.com/daq/videos
▼▼
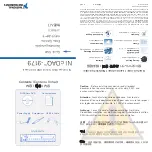
Pinouts
In MAX, right-click module name
AI1
AI2
AI3
AI4
AI5
1
2
3
4
5
Examples
ni.com/info
daqmxexp
Services and Support
ni.com/services
NI cDAQ-9179
Documentation
ni.com/manuals
9179
Accuracy and Mounting
ni.com/info
cdaqmounting
376391A-0 Aug15
©
2015
National Instruments
All rights reserved.
Refer to the
NI Trademarks and Logo Guidelines
at
ni.com/trademarks
for more information on National
Instruments trademarks. Other product and company names mentioned herein are trademarks or trade names of their
respective companies. For patents covering National Instruments products/technology, refer to the appropriate
location:
Help»Patents
in your software, the
patents.txt
file on your media, or the
National Instruments
Patents Notice
at
ni.com/patents
. You can find information about end-user license agreements (EULAs) and
third-party legal notices in the readme file for your NI product. Refer to the
Export Compliance Information
at
ni.com/
legal/export-compliance
for the National Instruments global trade compliance policy and how to obtain relevant
HTS codes, ECCNs, and other import/export data. NI MAKES NO EXPRESS OR IMPLIED WARRANTIES AS TO THE
ACCURACY OF THE INFORMATION CONTAINED HEREIN AND SHALL NOT BE LIABLE FOR ANY ERRORS. U.S.
Government Customers: The data contained in this manual was developed at private expense and is subject to the applicable
limited rights and restricted data rights as set forth in FAR 52.227-14, DFAR 252.227-7014, and DFAR 252.227-7015.
Caution
Bef
ore installing y
our device, read all product
documentation to ensure compliance with saf
ety, EMC, and
environment
al regulations.
Attention
A
vant d’inst
aller votre périphérique, lisez toute la
documentation se rapport
ant au produit pour vous assurer du respect
des règles concernant la sécurité, la CEM et l’environnement.
Achtung
Lesen Sie v
or der Inbetriebnahme des Geräts die
Produktdokument
ation, um die Einhaltung der Sic
herheitsvorsc
hriften,
EMV-V
orschrif
ten und Umweltric
htlinien sicher
zustellen.
注意
デバイスを取り付ける前に、すべての製品ドキュメントをお読みに
なり、安全、
EMC
、環境規制を遵守してください。
주의
디바이스를 설치하기 전에 모든 제품 관련 문서를 읽고 안전,
EMC
, 환경 규정을 준수하는지 확인하십시오.
警告 安装设备之前,请阅读所有产品文档,确保符合安全、
EMC
以
及环境法规。
Contents I Contenu I Inhalt
内容
I
내용
I
内容


