

RGB ELEKTRONIKA AGACIAK CIACIEK
SPÓŁKA JAWNA
Jana Dlugosza 2-6 Street
51-162 Wrocław
Poland
biuro@rgbelektronika.pl
+48 71 325 15 05
www.rgbautomatyka.pl
www.rgbelektronika.pl
DATASHEET
www.rgbautomatyka.pl
www.rgbelektronika.pl
OTHER SYMBOLS:
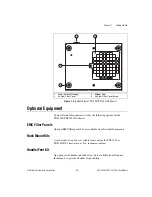
NI PXI-8175
NIPXI8175, NIPXI 8175, NIPXI-8175, NI PXI8175, NI PXI 8175, NI PXI-8175
NATIONAL INSTRUMENTS


