
Summary of Contents for NL-125O
Page 1: ...5 ...
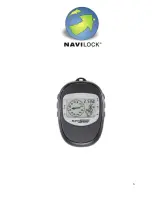
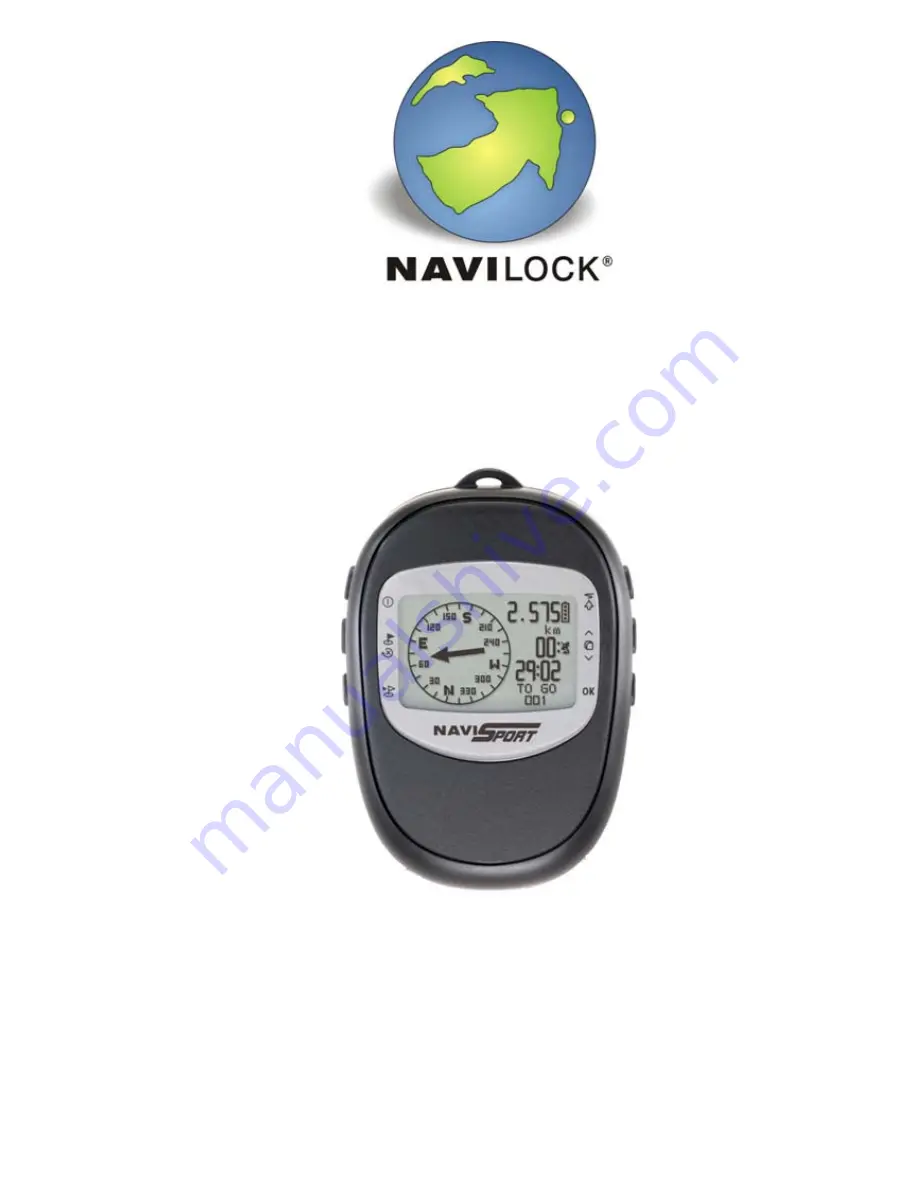
The Navilock NL-125O user manual is a comprehensive guide that provides clear instructions on how to effectively use and operate this exceptional product. Easily accessible through our website, users can effortlessly download this manual for free to enhance their experience with the Navilock NL-125O.
Page 1: ...5 ...