background image

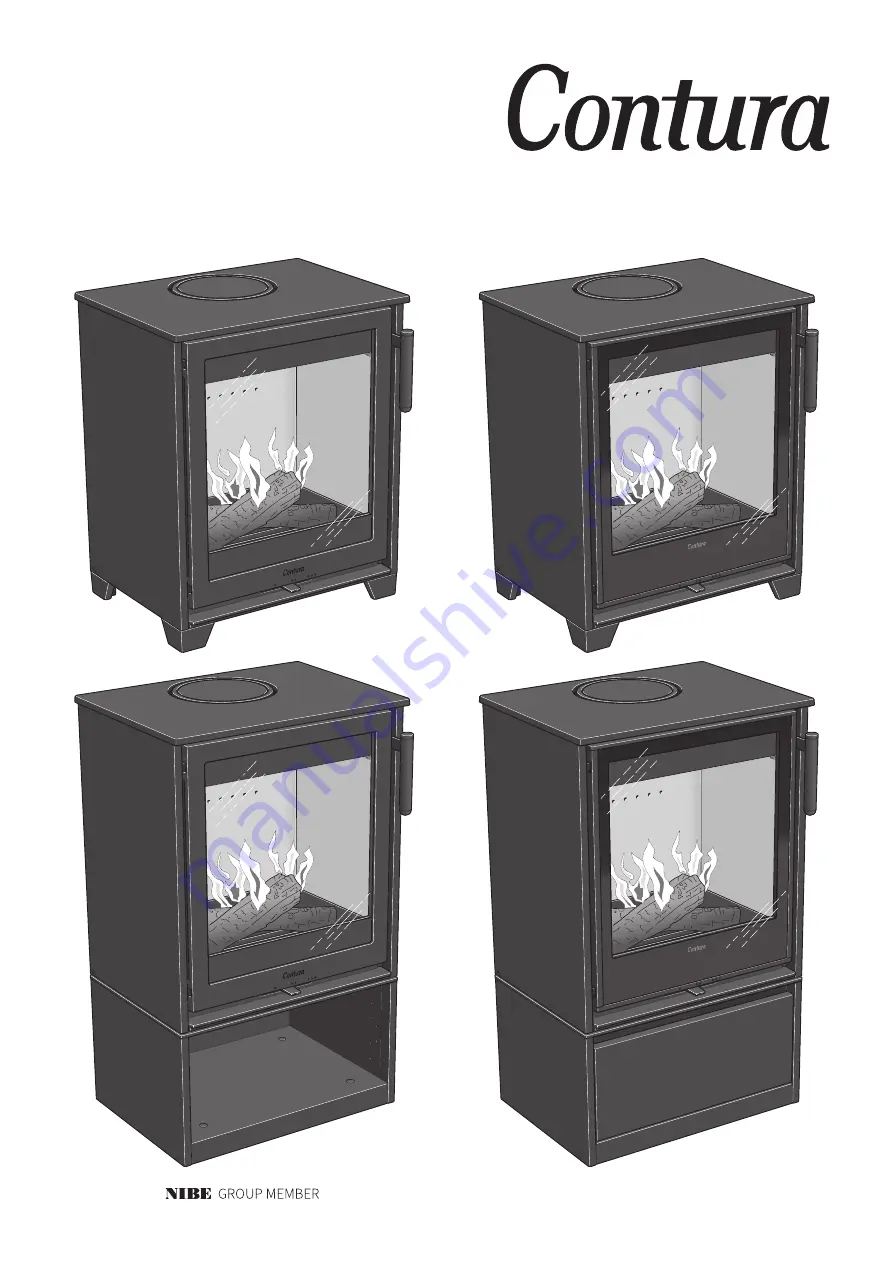
C210

C210G

contura.eu

Summary of Contents for Contura C210

Page 1: ...C210 C210G contura eu ...

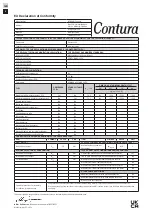
Page 2: ...laration 9 EU försäkran om överrenskommelse 10 Montering 15 Facts 3 Installation distances 4 Declaration of performance 5 EU Declaration of Conformity 6 Assembly 15 Fakta 11 Installasjonsavstand 12 Ytelseserklæring 13 EU samsvarserklæring 14 Montering 15 ...

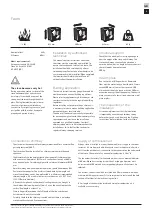
Page 3: ...of the strong heat radiated through the hatch glass Placing flammable material closer than the safe distance indicated may cause a fire Pyre lighting can cause quick gas ignition with the risk of damage to property and personal injury Connection to chimney The stove must be connected to chimneys dimensioned for a minimum flue gas temperature of 400 C The stove should not be installed in a chimney ...

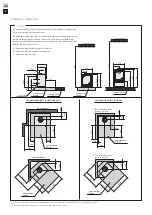
Page 4: ...on of painted non flammable walls we recommend that the same side distance as to combustible walls is used Example of an approved firewall is 120 mm solid brick or 100 mm aerated concrete INSTALLATION AGAINST COMBUSTIBLE WALLS INSTALLATION AGAINST FIREWALLS C210 170 50 305 50 570 150 500 Fire retardant wall of brick or concrete Constructional Hearth 320 200 250 400 150 150 500 Combustible wall Con...

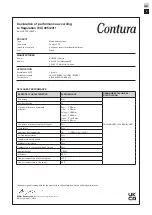
Page 5: ...e classification A1 Minimum distance to flammable materials Rear 200 mm Side 250 mm Ceiling 1200 mm Front 1400 mm Floor 0 250 mm Corner 100 mm Fire hazard due to burning fuel falling out Pass EN 13240 2001 A2 2004 AC 2007 Cleanability Pass Emissions from combustion CO 1500 mg Nm3 13 O2 Surface temperatures Pass Temperature on the handle Pass Mechanical resistance Pass Temperature in the space for ...

Page 6: ...control No In standby mode elSB kW With mechanic thermostat room temperature control No With electronic room temperature control No With electronic room temperature control plus day timer No With electronic room temperature control plus week timer No OTHER CONTROL OPTIONS Room temperature control with presence detection No Room temperature control with open window detection No With distance contro...

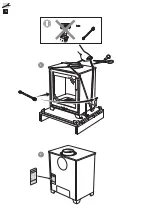
Page 7: ...løse deler demonteres Demontering av ildstedsbekledning er beskrevet til slutt i denne veiledningen 1 Brennplater og hvelv Vermikulitt 2 Typeskilt 3 Kubbestopper 4 Rist 5 Innvendig bunnplate 6 Varmluftsgitter 7 Serienummer Prior to installation If the stove needs to be laid down for it to be moved loose components should be removed A description of how to remove hearth cladding can be found at the...

Page 8: ...16 10 10 VA NA DIU M No 7 CHROME 1 2 LEK 10 10 VA NA DI UM No 7 CHRO M E ...

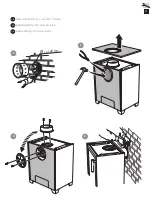
Page 9: ...17 Ø ca 180 mm 2 1 4 3 SE NO GB Bakåtanslutning till murad skorsten Bakmontering til murt skorstein Rear connection to a masonry chimney ...

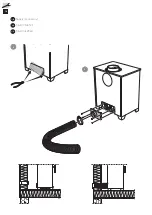
Page 10: ...18 HK HK 1 2 SE GB NO Tilluft Tillbehör Supply Accessory Tilluft Tilbehør ...

Page 11: ...19 1 3 2 ...

Page 12: ...20 4 3 1 2 SE GB NO Demontera eldstadsbeklädnaden Vermiculit How to remove the hearth surround Vermiculite Slik demonterer du ildstedsbekledningen Vermikulitt Handle with care ...

Page 13: ...21 7 5 6 ...

Page 14: ...rmanent stop to prevent closure of the air control unit beyond 31 open position Note When refuling open the air control fully for 3 5 minutes before closing down to the minimum air setting Mandatory for smoke control areas The permanent stop must be installed if the appliance is to be used in a smoke control area this stop must not be removed in smoke control areas otherwise an offence will be com...

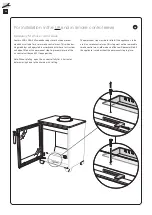
Page 15: ...23 1 2 SE GB NO Placering på vedfack Tillbehör Positioning the log box Accessory Plassering av vedrom Tilbehør ...

Page 16: ...24 4 5 3 ...

Page 17: ...25 6 7 8 ...

Page 18: ...26 1 3 2 SE GB NO Montering av nedre lucka Tillbehör Installing the bottom door Accessory Montering av dør til nedre del Tilbehør ...

Page 19: ......

Page 20: ...811482 IAV SE EX C210 2 2022 08 31 NIBE AB Box 134 285 23 Markaryd Sweden contura eu ...

Reviews: