
2549736-D | 22 July 2014
Introduction |
1
1
-
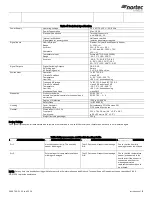
Wall Humidity Control Installation
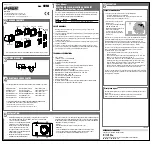
Location:
1
Do not install humidistat on an outside wall, near a heat source and/or in direct sunlight.
2
Install the humidistat on a surface that is flat and clean.
3
Install a vapor barrier to prevent sensor from interacting with inner wall draft.
4
Use a sealed, single gang electrical mounting box (recessed in the wall) to mount the humidity sensor.
Installation:
1
Pull cables 6” (15 cm) out of the wall.
2
Remove front face with digital display by loosening plastic retaining screw at the bottom. The front face
will unhinge from the top of the retaining clips.
3
Connect the control wires to the terminals according to wiring diagram 2548733 in this document. Figure
2 outlines the terminal layout.
4
Secure the metal bracket to the mounting electrical box using 2 screws (#6 x 3/4” Phillips). Make sure the
heads do not stand out more than 1/5” (5 mm) from mounting surface.
5
Remount front face on metal bracket. Ensure clips engage the grooves on top of the bracket. Gently
tighten bottom plastic retaining screw.
Configuration:
1
Using keypad, set specified humidity. For general health and comfort, a humidity setting of 50% is
recommended.
2
See Table 3 for outdoor temperature setback configuration, if optional outdoor temperature sensor is
supplied (P/N 2520263 or 2553858).
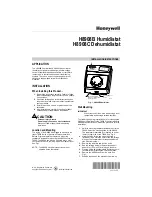
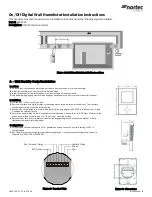
On/Off Digital Wall Humidistat Installation Instructions
This document covers the operation and installation instructions for the following digital humidistat:
Part #: 2548731
Description: ON/OFF Wall Humidistat
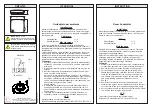
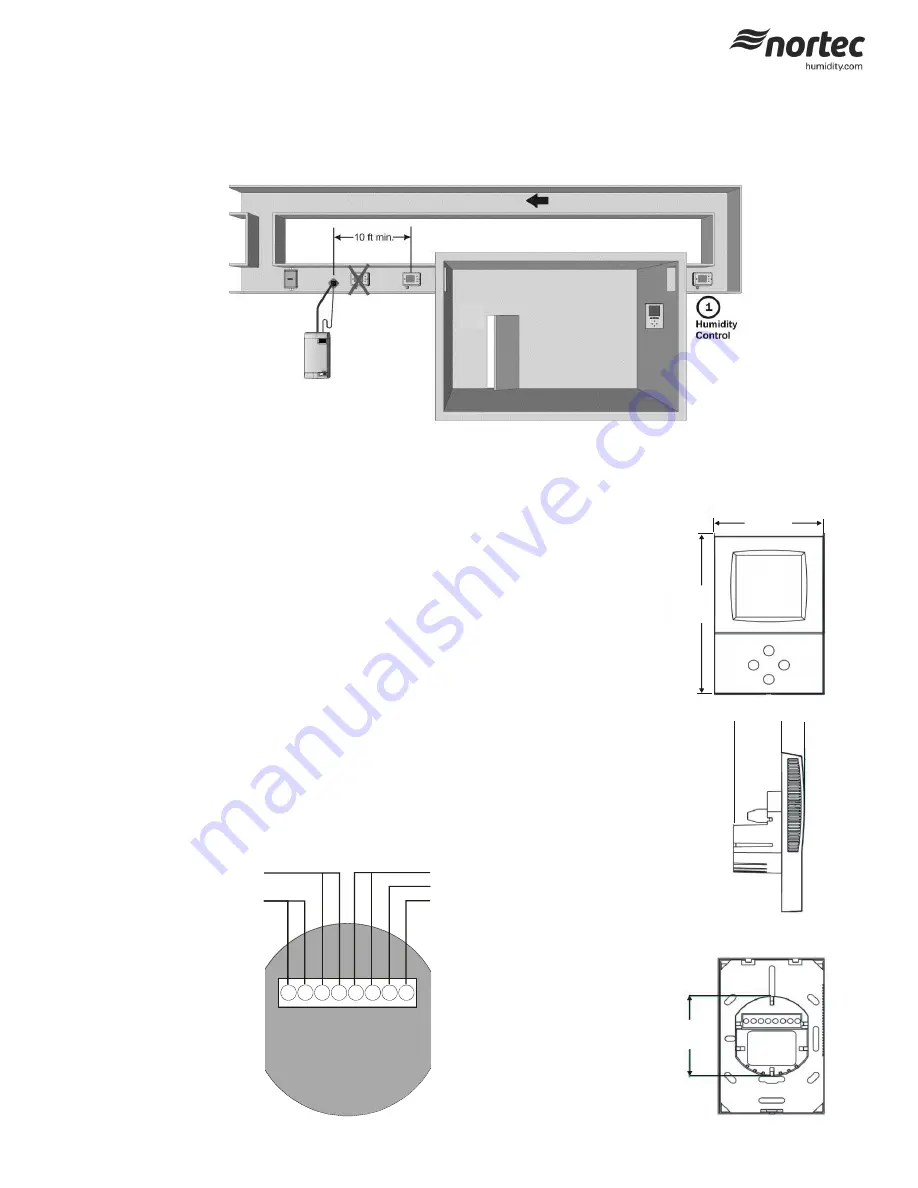
1
2
3
4
5
6
7
8
Humidify Relay
24 Vac
Com
Fan (Furnace) Relay
NTC Sensor
Figure 2: Terminal Strip
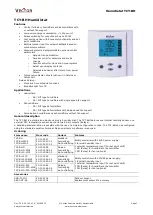
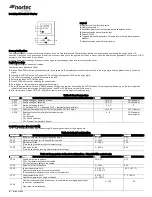
11
2
(4
.4
")
73 (2.9")
32 (1.2")
5
8
(
2
.3
")
15
(.6")
Figure 1: Wall Humidistat Installation Locations
Figure 3: Dimensions
Summary of Contents for 2548731
Page 4: ...4 Introduction ...